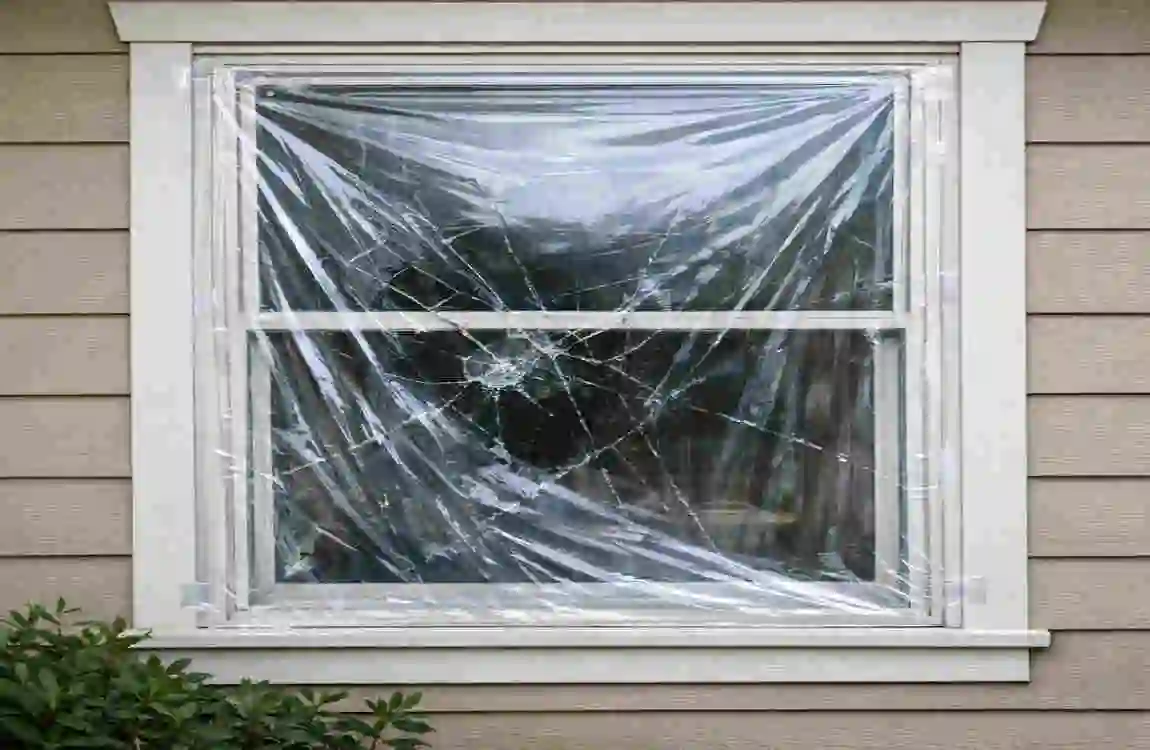
Imagine this scenario: You wake up to the sound of shattered glass. Whether caused by a powerful storm, an accidental mishap, or some other unforeseen event, your home is suddenly exposed to the elements. A broken window not only disrupts the comfort of your living space but also poses serious risks to your safety, privacy, and property.
In such situations, acting quickly is vital. A broken window leaves your home vulnerable to pests, weather damage, and even intruders. Moreover, it can lead to drafts that increase energy costs or allow moisture to seep in, potentially causing mold. Covering the window is a temporary yet essential fix to minimize these risks until a professional repair or replacement can be arranged.
Why Cover a Broken Window Immediately?
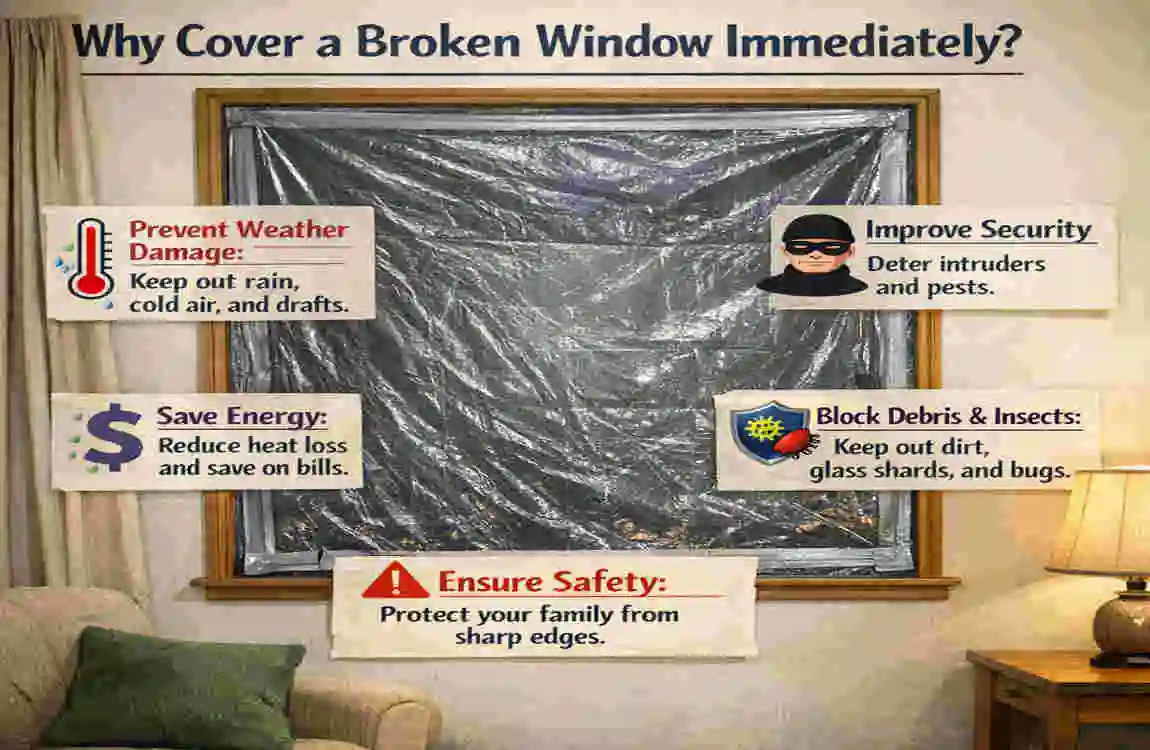
A broken window isn’t just an eyesore—it’s a gateway for a host of problems. Let’s break this down into a few key reasons why covering it immediately is essential:
Protect Insulation and Energy Efficiency
Did you know that an uncovered broken window can reduce your home’s energy efficiency by up to 20%? This leads to higher heating or cooling costs as your HVAC system works overtime to compensate. Temporary coverage helps maintain insulation, saving you money in the short term.
Prevent Moisture Damage
Rain, snow, or even high humidity can easily seep into an exposed window opening. This moisture can damage your walls, flooring, and furniture, and even lead to mold growth—posing health risks to your family.
Enhance security
Statistics show that homes with broken or unsecured windows are three times more likely to be targeted by burglars. Quickly covering the window acts as a deterrent against potential intruders.
Buy Time for Repairs
Professional window replacement can cost between $200 and $600 per pane and may take days to schedule. A temporary fix keeps your home secure while you make arrangements for a permanent solution.
Safety Precautions Before Starting
Before you begin any DIY repair, safety should be your top priority. Broken glass can be dangerous, and working around sharp edges requires caution. Follow these guidelines to protect yourself and others:
Wear Protective Gear
- Gloves: Use heavy-duty gloves to avoid cuts while handling glass shards.
- Goggles: Protect your eyes from small glass fragments that could fly during cleanup.
- Long Sleeves: Cover your arms to minimize the risk of scratches or abrasions.
Clean up debris
- Carefully remove any large pieces of glass.
- Use a vacuum to collect smaller shards and dust.
- Tape the edges of the broken window frame to prevent accidental cuts.
Secure the Area
- Keep children and pets away from the workspace.
- Work during daylight hours to ensure good visibility while handling tools and materials.
By taking these precautions, you’ll create a safe environment to proceed with covering the window.
Essential Tools and Materials
Having the right tools and materials on hand can make all the difference when tackling a broken window. Here’s what you’ll need:
Tools:
- Utility Knife: For cutting materials like plastic sheeting or cardboard.
- Measuring Tape: To ensure precise cuts that fit the window frame.
- Screwdriver/Drill: Needed for more secure methods like plywood covers.
Materials:
- Duct Tape or Packing Tape: Heavy-duty tape ensures a strong seal.
- Plastic Sheeting (6-mil or Painter’s Plastic): Ideal for quick weatherproofing.
- Cardboard or Corrugated Board: A lightweight and recyclable option.
- Plywood: For maximum security and durability.
- Optional: Temporary window film or shrink wrap for cracked panes.
Budget Estimate:
Most materials can be found at your local hardware store, with a total cost ranging from $10 to $50, depending on the method you choose.
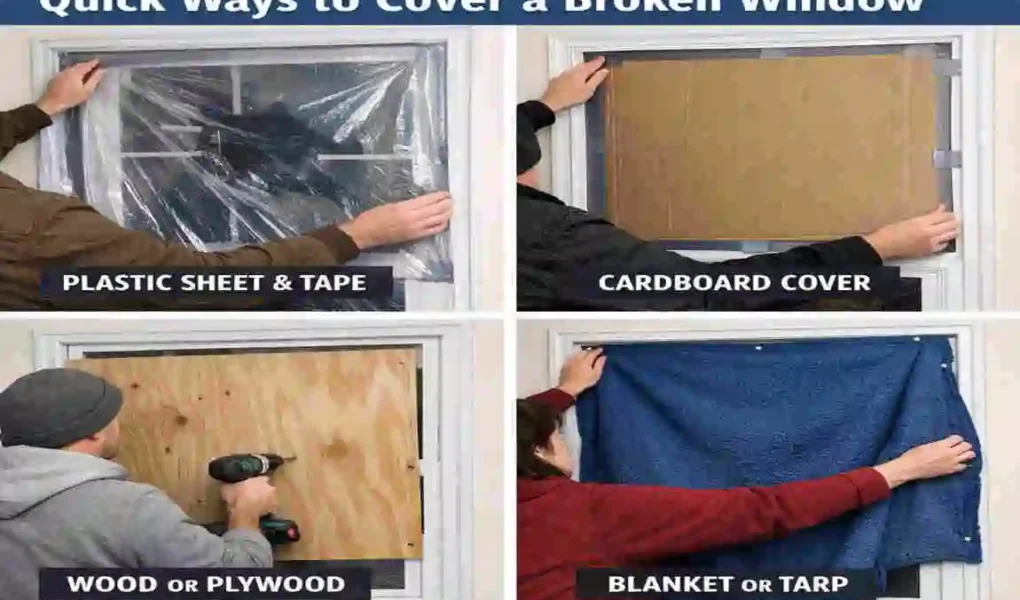
Plastic Sheeting Cover
Why Choose Plastic Sheeting?
Plastic sheeting is one of the quickest and most cost-effective ways to cover a broken window temporarily. It provides decent weatherproofing and still allows light to pass through.
Step-by-Step Guide:
- Clean the Frame: Remove loose glass and clean the window frame to ensure the tape adheres properly.
- Measure and Cut Plastic: Cut a piece of plastic sheeting 6-12 inches larger than the window opening on all sides.
- Secure with Tape: Attach the plastic to the window frame using heavy-duty tape, ensuring there’s no slack. Overlap seams and tape them to ensure a tight seal.
- Double Layer: For extra insulation, add a second layer of plastic.
Pros:
- Very affordable ($5-$15).
- Quick and easy to install.
- Transparent, allowing natural light in.
Cons:
- Not very durable against strong winds or impacts.
- May not provide adequate security.
Temporary Window Film or Shrink Wrap
Why Choose Cardboard?
Cardboard is a great option if you’re looking for a free or recyclable solution, especially for smaller windows or rental properties where minimal damage is required.
Step-by-Step Guide:
- Measure the Frame: Measure the dimensions of the window opening.
- Cut the Cardboard: Trim the cardboard or corrugated board to fit snugly within the frame.
- Secure with Tape or Staples: Attach the cardboard from the inside using strong tape or a stapler.
Pros:
- Free or very low cost.
- Lightweight and easy to handle.
- Provides privacy by blocking visibility.
Cons:
- Absorbs moisture in rainy conditions.
- Less durable compared to other materials.
Plywood Boarding Up
Why Choose Plywood?
For maximum security and durability, plywood is the go-to option. This method is particularly effective for areas prone to storms or if you’re worried about intruders.
Step-by-Step Guide:
- Measure and Cut Plywood: Cut the plywood to fit the window opening or slightly larger.
- Install with Screws: Use screws to attach the plywood to the wall studs around the window opening.
- Seal Edges: Apply caulk tape to seal the edges and prevent drafts or moisture.
Pros:
- Extremely sturdy and secure.
- Protects against weather and intruders.
Cons:
- Blocks light and visibility.
- Requires tools and more effort to install.
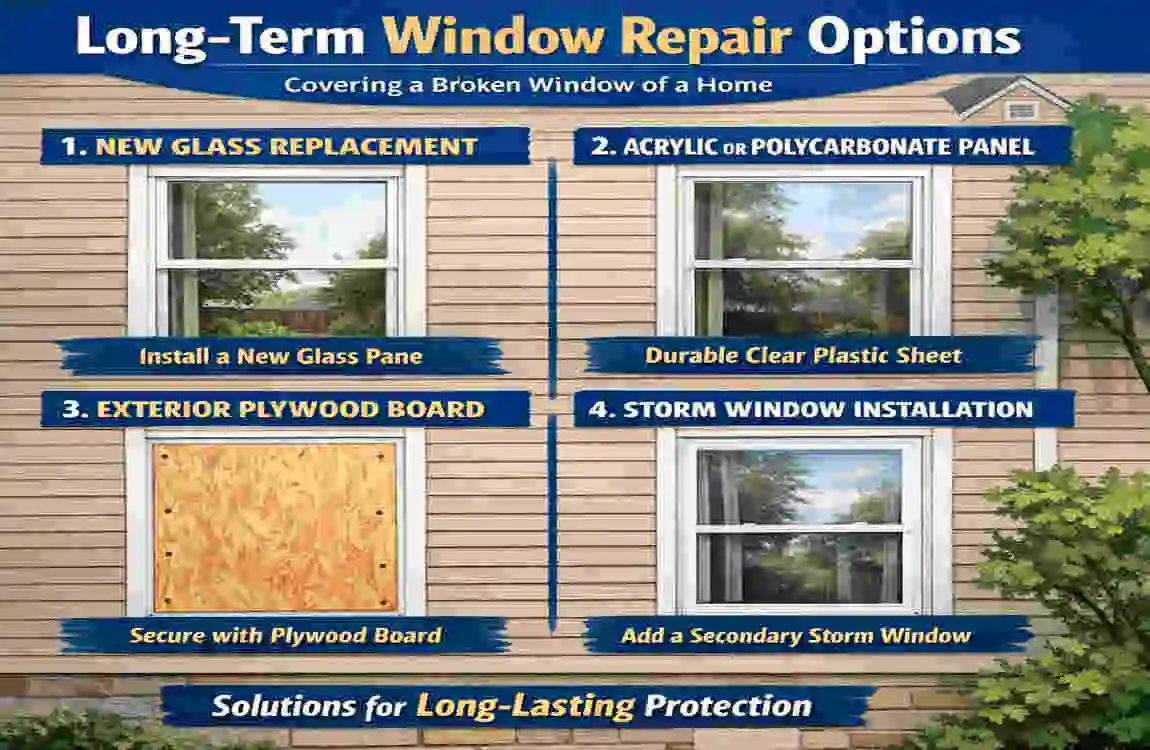
Long-Term Window Repair Options
Method Cost Durability (Days) security Light Block Ease of install
Plastic Sheeting Low 3-7 Medium Low Easy
Cardboard Free 1-3 Low High Easy
Plywood Med 7+ High High Moderate
Window Film Med 7-30 Medium Low Moderate
Garbage Bags Free <1-2 Low High Very Easy
Common Mistakes to Avoid
- Skipping Cleanup: Leaving glass shards behind can lead to injuries or mold growth.
- Insufficient Overlap: Always ensure at least 4 inches of overlap when taping materials to prevent leaks.
- Overlooking Frame Damage: Failing to inspect or repair the window frame can worsen the problem over time.
FAQs for covering a broken home window:
Q: What’s the quickest temporary fix?
A: Use thick plastic (like a garbage bag or plastic sheet) and strong tape to seal the opening. It blocks wind and rain immediately.
Q: Can I use cardboard?
A: Yes. Cardboard works well for short-term coverage, especially if layered and taped securely.
Q: Is it safe to leave broken glass in place?
A: No. Carefully remove loose shards first to avoid injury, then cover the area.
Q: What’s best for weather protection?
A: Plastic sheeting or a tarp is better than cardboard because it’s water-resistant.
Q: How do I secure the covering?
A: Use duct tape, nails, or screws depending on the material and frame.
Q: Can I use wood?
A: Yes. Plywood is a strong, more secure temporary solution, especially for larger windows.
Q: How long can a temporary cover last?
A: A few days to a couple of weeks, depending on materials and weather conditions.
Q: Should I replace the window immediately?
A: Yes, arrange proper repair or replacement as soon as possible for safety and insulation.
| Method | Best For | Estimated Cost | Durability | Security Level | Key Tip |
|---|---|---|---|---|---|
| Plastic Sheeting | Quick weatherproofing | $5–$15 | 3–7 days | Medium | Double-layer for better insulation |
| Cardboard | Small windows / renters | Free | 1–3 days | Low | Reinforce with cross-pattern tape |
| Plywood | Storms / large windows | $15–$40 | 7+ days | High | Screw or nail into place for best hold |
| Window Film / Shrink Wrap | Cracked (not shattered) panes | $15–$30 | 7–30 days | Medium | Use a hairdryer to heat-shrink for a taut fit |
| Heavy-Duty Garbage Bags | Ultra-fast emergency fix | Free | <1–2 days | Low | Use high-density bags and tape tautly |