If you have a small pile of old DVDs sitting in a drawer, on a shelf, or in a box you never open, you already have a surprising decorating material at home. DVDs at home decoration ideas are becoming more popular because DVDs are shiny, colorful, sturdy, and easy to shape into creative designs. They can catch light beautifully, add a nostalgic feel, and turn ordinary spaces into something personal and eye-catching.
What makes DVDs special is that they are not just old discs anymore. In the right hands, they become wall art, mirrors borders, table tops, hanging decor, and even garden accents. That means you do not need to spend a lot of money to make your home look stylish. You can reuse what you already own and create something that feels both modern and meaningful.
This is also a great choice if you like DIY decorating. DVD decor is beginner-friendly, budget-friendly, and flexible enough for many rooms in your home. You can keep the style simple and minimal, or go bold with sparkle and texture. Either way, DVDs at home decoration ideas give you a fun way to decorate with personality.
Why DVDs Are the Ultimate Upcycled Material for Home Decor
When people think of home decor, they often think of expensive frames, ceramic pieces, fancy lights, or custom furniture. But DVDs at home decoration ideas prove that good design does not always need a big budget. DVDs are one of the easiest items to reuse because they already have a polished surface, a circular shape, and a reflective finish that works well in many styles.
Eco-friendly and budget-smart at the same time
Reusing DVDs is a simple way to reduce waste. Instead of throwing them away, you give them a second life in your home. That matters because lots of household items end up unused for years. Repurposing them helps keep less plastic and disc material out of the trash.
At the same time, this is one of the most budget-friendly decor choices you can make. If you already own DVDs, your material cost may be almost zero. You may only need glue, string, paint, or a frame. That is a major win for anyone who wants a fresh look without spending a lot.
Why DVDs look better than you might expect
One of the strongest aspects of DVDs for home decoration ideas is how they reflect light. DVDs have that shiny surface that shifts color when the angle changes. This can make a room feel brighter and more dynamic. Even one disc can catch sunlight in a lovely way. A cluster of discs can create a dramatic focal point.
They also bring a nostalgic touch. For many people, DVDs remind them of family movie nights, favorite films, or a time when physical media mattered more. That emotional connection can make your decor feel warmer and more personal.
Quick wins you can enjoy right away.
Here are a few fast benefits you will notice when you start with DVDs for home decoration ideas:
- They are easy to cut, drill, glue, or hang.
- They work in modern, eclectic, retro, and artistic spaces.
- They add shine without needing expensive metallic decor.
- They can be used as full pieces or broken into smaller parts.
- They are durable enough for many indoor projects.
Why this matters for everyday homes
Not every home needs expensive styling to feel beautiful. Sometimes the best spaces are those with clever details. A disc wall hanging, a mirrored border, or a DIY centerpiece can subtly but powerfully change a room’s mood. That is why DVDs as home decor ideas are a good fit for people who want decor that feels creative, personal, and affordable.
Essential Tools and Safety Tips for DVD Decor Projects
Before you begin, it helps to prepare a simple DIY setup. Most home decoration ideas for DVDs do not require advanced tools. You can do a lot with basic supplies from a craft drawer or local shop.
Tools you should keep ready
- Hot glue gun
- Strong craft glue or epoxy
- Scissors or craft knife
- Marker and ruler
- Fishing wire or string
- Frame kits
- Protective gloves
- Safety glasses
- Drill with a small bit if you want to make hanging holes
- Sandpaper for smoothing rough edges
Safety tips to keep the project easy
DVDs can crack or create sharp edges when cut, so handle them carefully. Wear gloves if you are breaking discs into shards. If children are helping, keep the cutting and drilling steps for adults only. Also, work on a covered table so small shiny pieces do not scatter everywhere.
If you are using glue, make sure the room has good airflow. And if your project involves heat, like a glue gun or resin, let each layer dry fully before moving the piece. This will help your home DVD decoration ideas look neat and last longer.
A simple rule for beginners
Start small. One coaster set, one framed disc piece, or one mirror border is enough for your first project. Once you understand how DVDs behave, you can move on to larger decor pieces with more confidence.
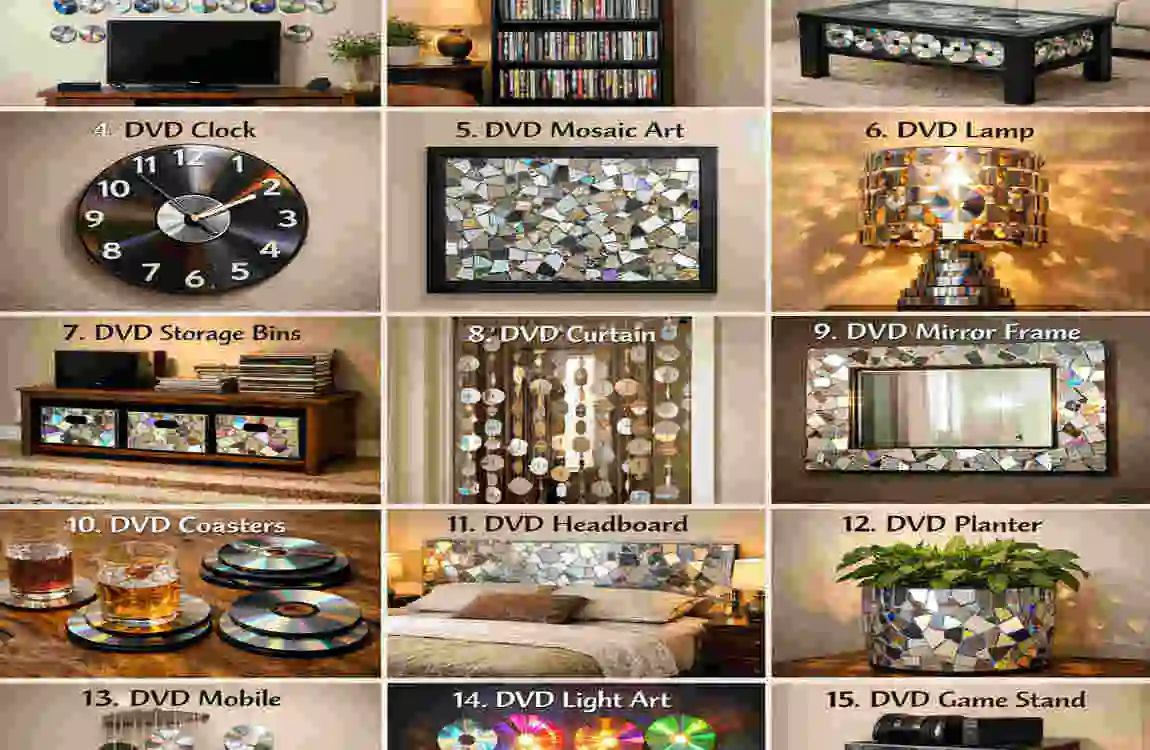
15 Creative DVDs at Home Decoration Ideas by Room
This is where the fun begins. The best thing about DVDs for home decoration ideas is that you can match them to different rooms based on the mood you want to create. Some ideas look elegant and polished. Others feel playful, colorful, or artistic. Below are 15 practical ideas, grouped by room, so you can choose the one that best fits your space.
Living Room DVDs at Home Decoration Ideas
The living room is usually the first place guests see, so it is the perfect spot for a statement piece. If you want your home to feel creative right away, try one of these home decor DVD ideas.
DVD Mosaic Coffee Table Top
A mosaic table top is one of the most impressive uses for old discs. The shiny pieces reflect light, giving the table a unique, textured look.
How to make it:
- Clean the DVDs and remove any paper labels.
- Carefully cut the discs into small shards or irregular shapes.
- Arrange the pieces on the table surface in a pattern you like.
- Glue them down one by one.
- Seal the surface with resin or a clear protective coat.
Time estimate: About 2 hours, plus drying time.
Best for: Side tables, coffee tables, and accent tables.
Style tip: Use a geometric pattern for a modern look or an abstract layout for a more artistic feel.
Image suggestion: A living room coffee table covered in shimmering DVD mosaic pieces.
Alt text: DVDs at home decoration ideas for a mosaic coffee table top.
Hanging DVD Chandelier
This idea looks dramatic and stylish, especially near a window or in a room with strong light. The discs move slightly and beautifully catch reflections.
How to make it:
- Gather 20 or more DVDs.
- Drill a tiny hole near the edge of each disc.
- Thread fishing wire or a strong string through the holes.
- Hang the discs from a circular frame or hoop.
- Adjust the lengths so they hang at different levels.
Time estimate: 1 to 2 hours.
Best for: Corners, windows, or above a reading nook.
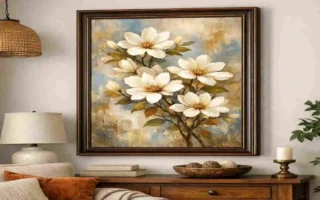
Framed DVD Art Wall
This is one of the easiest DVDs on home decoration ideas for beginners. It turns ordinary discs into modern wall art.
How to make it:
- Choose a frame with enough depth.
- Place one disc or several discs inside.
- Glue them in a pattern or layer them for texture.
- Use plain backgrounds to make the shine stand out.
- Hang the framed piece at eye level.
Time estimate: 30 to 45 minutes.
Best for: Hall walls, living rooms, or gallery-style corners.
Style tip: Try grouping three framed pieces for a more balanced look.
Image suggestion: Framed DVD wall art arranged in a modern living room.
Alt text: Home decoration ideas featuring DVDs, with framed DVD wall art.
Bedroom DVDs at Home Decoration Ideas
The bedroom should feel calm, soft, and personal. That makes it a lovely place for gentle, glowing DVDs at home decoration ideas.
Dreamy DVD Nightlight
This idea creates a soft, magical glow. It works especially well if you like a cozy, starry effect in your room.
How to make it:
- Poke or drill small holes in a disc design.
- Place LED string lights behind or around it.
- Mount the disc on the wall or place it in a frame.
- Turn the lights on at night for a glowing pattern.
Time estimate: 45 minutes.
Best for: Bedside walls, reading corners, or children’s rooms.
DVD Mirror Border
A mirror with a DVD border becomes instantly more glamorous. This is a smart way to use DVDs for home decor if you want a bit of shine without buying a new decorative piece.
How to make it:
- Clean the mirror frame or the mirror edge.
- Cut discs into circles, halves, or shards if needed.
- Glue the pieces around the edge.
- Let them dry completely.
- Wipe the mirror clean before using it.
Time estimate: 1 hour.
Best for: Vanity mirrors, closet mirrors, or decorative wall mirrors.
Headboard DVD Inlay
If you like furniture projects, this idea gives your bedroom a luxury feel. A DVD inlay can make a plain headboard look textured and artistic.
How to make it:
- Choose a headboard with a flat surface.
- Break or cut discs into pieces.
- Arrange the pieces in a repeating or wave pattern.
- Glue them carefully in place.
- Add a clear coating for protection.
Time estimate: 2 to 3 hours.
Best for: Wooden or upholstered headboards with a decorative panel.
Kitchen and Dining DVDs at Home Decoration Ideas
The kitchen and dining area benefit from decor that feels clean, fun, and easy to maintain. Here, DVD home decor ideas can be both practical and attractive.
DVD Coasters Set
DVD coasters are one of the most useful repurposing ideas because they look decorative and protect your table at the same time.
How to make it:
- Pick 6 to 8 discs.
- Clean them well.
- Add cork, felt, or rubber backing underneath.
- Seal the top with epoxy for waterproof protection.
- Let them cure before using.
Time estimate: 30 to 60 minutes.
Best for: Coffee tables, dining tables, and serving trays.
Image suggestion: A set of shiny DVD coasters on a kitchen table.
Backsplash Accent Tiles
This is one of the boldest DVD home decoration ideas, but it can look amazing when used in small areas. A little shine near the sink or shelf can make the kitchen feel more modern.
How to make it:
- Choose a small backsplash area or accent strip.
- Cut or use whole discs depending on the layout.
- Combine them with ceramic or plain tiles.
- Attach everything securely with strong adhesive.
- Seal the surface for easier cleaning.
Time estimate: 2 to 4 hours, depending on size.
Best for: Small accent sections rather than the whole kitchen.
Centerpiece DVD Orb
A DVD orb makes an eye-catching centerpiece for dining tables. It looks artistic and modern, especially when light hits it from different angles.
How to make it:
- Create a base sphere using wire, foam, or a small ball form.
- Cut discs into pieces or use small circles.
- Glue them around the base layer by layer.
- Fill gaps with small reflective pieces if needed.
- Place the finished orb on a stand or bowl.
Time estimate: 2 hours.
Best for: Dining tables, shelves, and console tables.
Entryway and Hallway DVDs at Home Decoration Ideas
The entryway sets the tone for the whole house. Hallways also deserve attention because they connect your rooms and often feel empty. These DVD home decoration ideas can help make those spaces feel more alive.
DVD Welcome Sign
A welcome sign made from discs feels creative and inviting. It is a great way to introduce guests to your style right at the door.
How to make it:
- Arrange discs to spell a word or form a shape.
- Use paint, markers, or letters on the discs if needed.
- Glue the pieces onto a board or wreath base.
- Add a string or a hook for hanging.
- Place it near your front door or entry wall.
Time estimate: 1 hour.
Best for: Entryways, porches, or hallway walls.
Floating DVD Shelves
This idea uses DVDs as a reflective backing behind shelves. It is subtle, useful, and stylish.
How to make it:
- Measure the shelf backing area.
- Attach full discs or cut pieces to the back of the shelf.
- Keep the arrangement even and neat.
- Add books, candles, or small plants in front.
- Check that the shine does not feel too strong under lighting.
Time estimate: 1 to 2 hours.
Best for: Narrow hallway shelves or entry consoles.
DVD Mobile for Light Play
A hanging mobile is perfect if you want movement and sparkle in a hallway or near a doorway.
How to make it:
- Drill tiny holes in several discs.
- Thread them onto fishing line or string.
- Hang them at different lengths from a hoop, branch, or frame.
- Place it near natural light.
- Move it until the balance feels right.
Time estimate: 45 minutes.
Best for: Hallways, stair landings, or open entry spaces.
Style tip: Use fewer discs for a clean look or more discs for a fuller decorative effect.
Outdoor and Patio Bonus DVDs at Home Decoration Ideas
If you want to go beyond indoor decorating, DVDs can work outdoors, too. Just remember to protect them from the weather whenever possible. These DVD home decoration ideas can add a touch of shine to gardens and patios.
13. Garden DVD Wind Chimes
Wind chimes made from DVDs create gentle movement and catch the sunlight beautifully.
How to make it:
- Drill small holes near the top and bottom of each disc.
- Hang them from a string or thin wire.
- Attach them to a wooden branch, hoop, or frame.
- Place them where the wind can reach.
- Use sealant if the area gets damp.
Time estimate: 1 hour.
Best for: Covered patios, balconies, or garden corners.
DVD Bird Deterrent Ornament
The shiny surface can reflect light, keeping some birds from landing in certain areas.
How to make it:
- Hang a few discs in open spaces.
- Space them so they move gently in the wind.
- Add strings or ribbons for extra motion.
- Hang them near plants or fruit areas.
- Replace damaged pieces when needed.
Time estimate: 20 to 30 minutes.
Best for: Balconies, gardens, and outdoor plant areas.
Patio Privacy Screen
A disc screen can add visual interest while providing a bit more privacy on a patio or balcony.
How to make it:
- Drill holes into discs at equal points.
- Connect them into rows with wire or cord.
- Hang the rows from a frame or lattice.
- Let the pieces overlap slightly for coverage.
- Secure the top so it stays stable in the breeze.
Time estimate: 2 to 3 hours.
Best for: Balconies, patio edges, or outdoor sitting spaces.
Image suggestion: A patio screen made from hanging reflective DVDs.
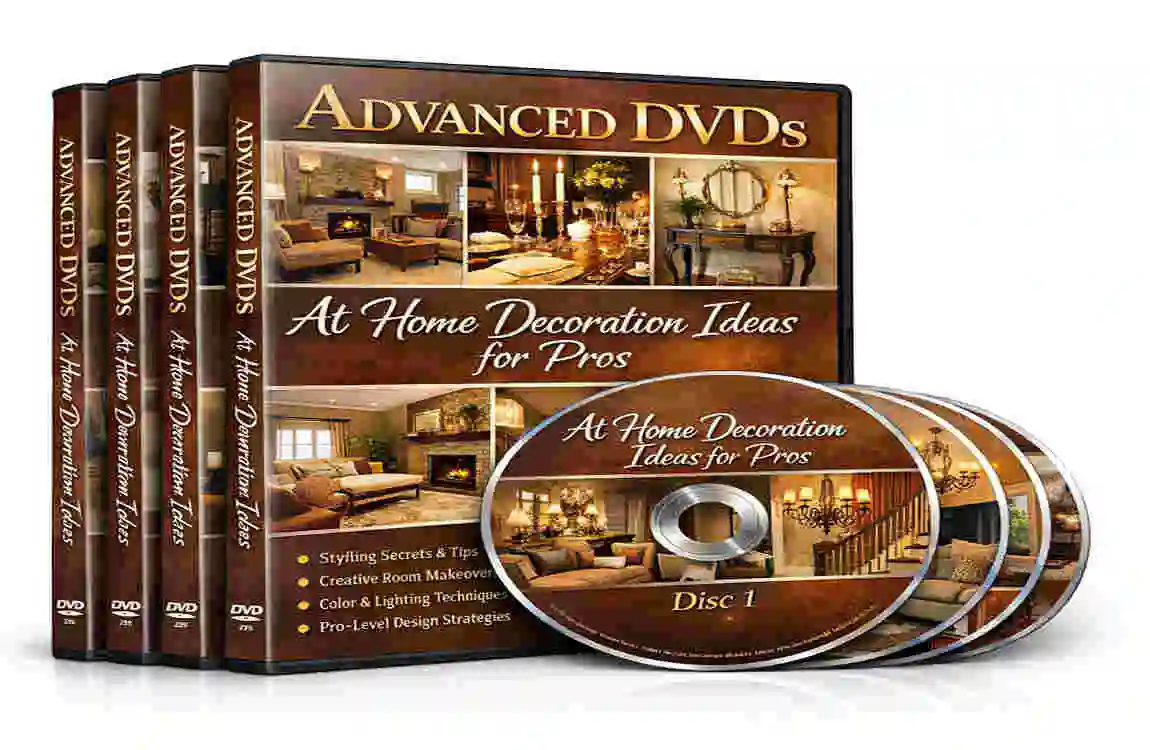
Advanced DVDs at Home Decoration Ideas for Pros
Once you have tried a few beginner projects, you may want to create something more artistic. Advanced DVD home decor ideas are great for people who enjoy larger builds, mixed materials, and custom design.
LED-integrated DVD sculptures
Adding LEDs behind or inside your DVD piece creates a glowing effect that works beautifully at night. You can build a wall sculpture, a table sculpture, or even a corner installation. The light makes the shiny disc surface feel more dramatic and modern.
Custom furniture inlays
You can use DVDs in furniture panels, cabinet fronts, drawer covers, or tabletop inlays. This works best when you want a unique one-of-a-kind finish. If you mix disc pieces with wood, paint, or resin, the result can feel high-end without being too difficult to manage.
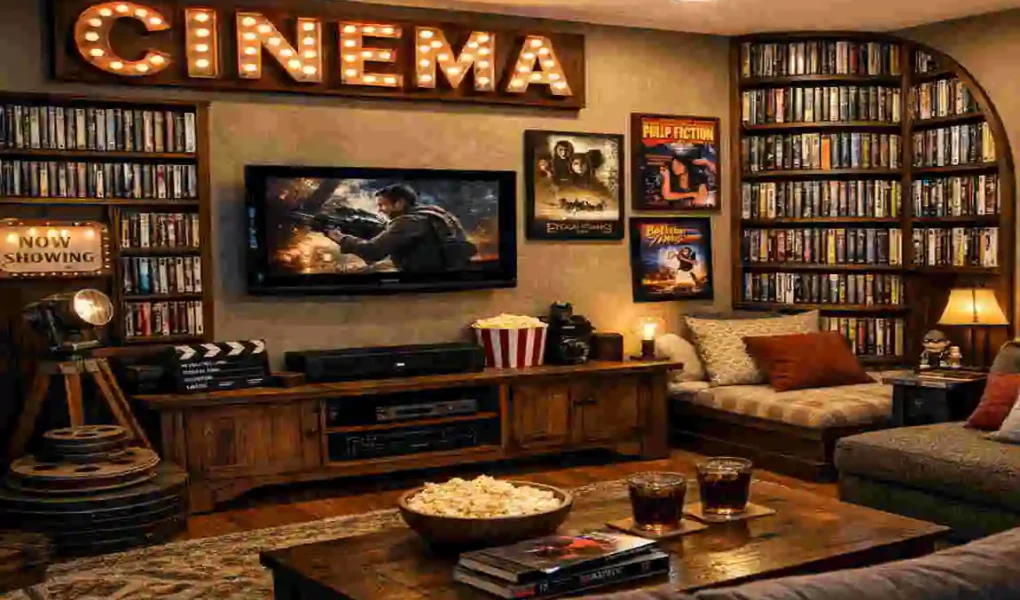
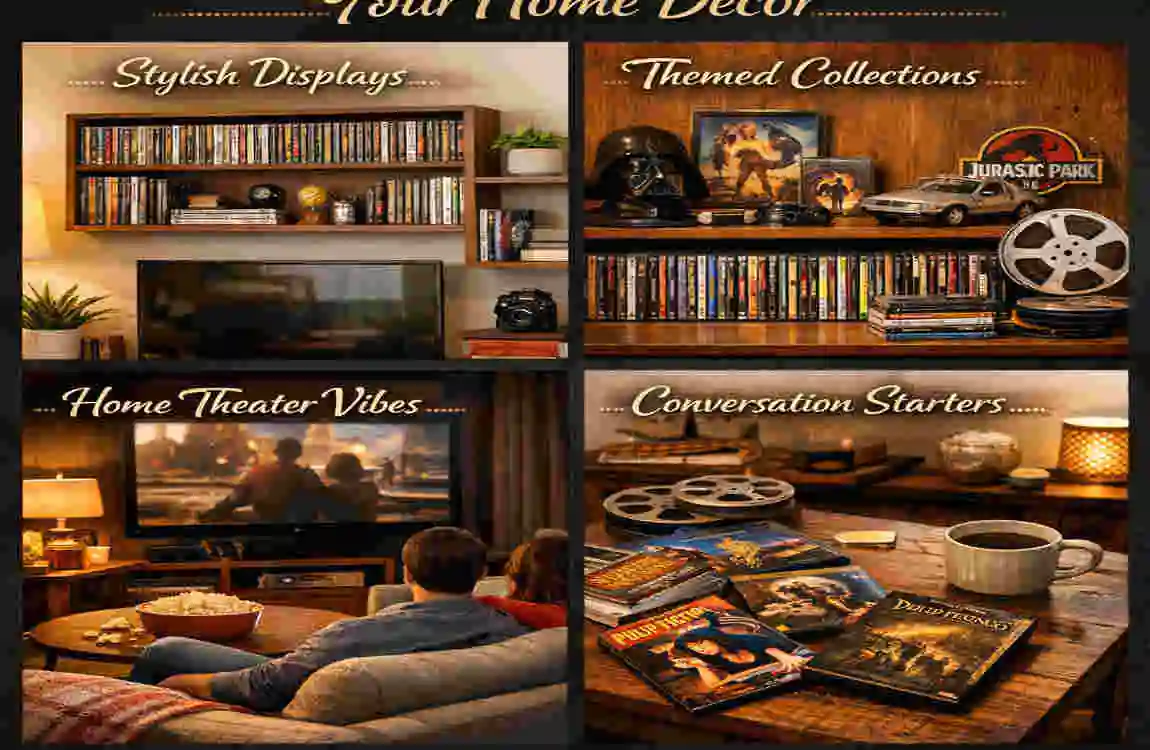
Themed DVD collection walls
If you have a collection of old movies, you can turn them into a display wall. Group them by color, genre, era, or packaging style. This works especially well in a media room or family room. It is a great example of advanced home DVD storage ideas because it turns storage into decor.
Mixed-media art pieces
You do not have to use DVDs alone. Combine them with fabric, mirrors, rope, beads, wood, or metal pieces. This adds depth and helps the final work feel more custom. A mixed-media approach is also ideal if you want your decor to look like a true art piece rather than a simple craft project.
Common Mistakes to Avoid in DVDs at Home Decoration Ideas
Even simple projects can go wrong if you rush them. To get the best results from home decoration ideas using DVDs, avoid these common mistakes.
- Using too much shine in one spot. Too many reflective pieces together can create glare instead of beauty.
- Choosing weak glue. Some adhesives may not hold up over the long term. Strong glue or epoxy works better.
- Skipping surface prep. Dirty or dusty discs do not stick well.
- Ignoring rough edges. Cut pieces should be handled carefully and, if possible, smoothed.
- Overcrowding the design. Leave space so the piece feels balanced.
- Using fragile placement outdoors. The weather can damage your project if it is not sealed properly.
A little planning goes a long way. When you take your time, your DVDs at home decoration ideas will look cleaner, last longer, and feel more polished.
Budget Breakdown and Sourcing DVDs for Decor
One reason people love DVDs at home decoration ideas is the low cost. You may already have everything you need at luxury home. If not, most supplies are inexpensive.
Where to find DVDs for decor
- Your own shelf or storage box
- Thrift stores
- Garage sales
- Friends or family who no longer use them
- Local resale shops
- Old collections from movie nights or forgotten cases
Budget table
IdeaMaterials CostTimeDifficulty
Mosaic Table $10 2 hrs Medium
Chandelier $5 1 hr Easy
Framed DVD Art $3 30 mins Easy
Mirror Border $8 1 hr Easy
DVD Coasters $6 45 mins Easy
Centerpiece Orb $12 2 hrs Medium
Patio Screen $15 3 hrs Medium
Why the savings matter
If you compare these projects to store-bought decor, the savings can be significant. A decorative mirror border, wall art piece, or table accent could cost much more if bought new. With DVDs at home decoration ideas, you use what you already have and spend money only on small supplies.
FAQs: DVDs at Home Decoration Ideas
Are DVDs at home decoration ideas durable?
Yes, they can be durable if you use strong glue, seal the surface, and avoid rough handling. Indoor pieces usually last very well.
Can I use scratched DVDs for decor?
Absolutely. Scratches often do not matter in decor projects. In fact, they can add texture and character.
Are DVDs safe for kids’ craft projects?
Some projects are safe for older children with adult supervision. However, cutting, drilling, and hot glue should always be handled by adults.
What glue works best for DVD decor?
Strong craft glue, epoxy, or a hot glue gun often works well. For heavier pieces, epoxy usually gives better hold.
Can I use DVDs outdoors?
Yes, but outdoor DVDs at home decoration ideas should be sealed to protect them from moisture and weather. Covered areas are best.
Do DVDs look too shiny in small rooms?
They can, if you use too many at once. The best approach is to keep the design balanced and use reflective pieces in small sections.
What is the easiest DVD decor project for beginners?
Framed DVD art, coasters, and a simple mirror border are all easy first projects.
| Benefit | How DVDs Enhance Decor | Quick Example | Cost Savings |
|---|---|---|---|
| Affordability | Repurpose old collections for free/cheap shine | DVD coasters from thrift stack | 90% vs. buying metallic tiles |
| Sustainability | Upcycle waste into eco-art; reduces landfill | Mosaic wall from scratched discs | Zero waste, green cred |
| Versatility | Reflective surfaces for any room/style | Hanging chandelier in living room | Fits modern, boho, or rustic |
| Light Play | Iridescent glow amplifies natural light | Nightlight or mobile for bedrooms | Free ambient lighting effect |
| Personalization | Theme by movie genres/colors | Framed favorites as gallery wall | Nostalgic, custom vibe |
| Durability | Tough plastic withstands daily use | Outdoor wind chimes | Lasts years with sealant |