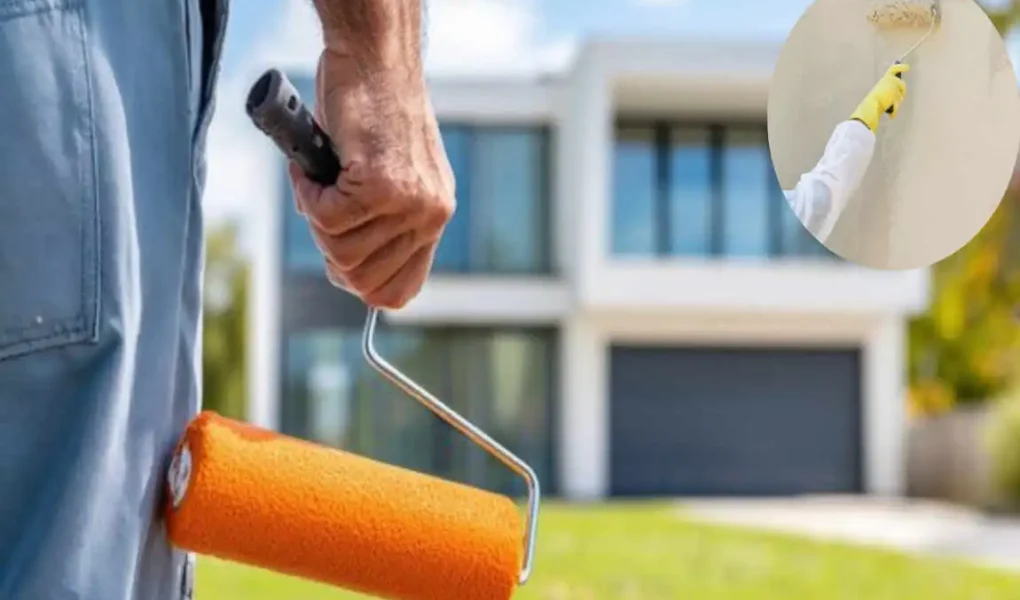
Imagine stepping back and admiring your home’s fresh, vibrant exterior that turns heads in the neighborhood. A well-painted house not only boosts curb appeal but also protects your walls from the elements, potentially adding value to your property. If you’re wondering how to paint an exterior house with a roller, you’re in the right place—this method is a game-changer for DIY enthusiasts.
Why Choose a Roller for Painting Exterior Walls?
Painting house exterior can feel overwhelming, but picking the right tool makes all the difference. So, why go with a roller? Let’s break it down.
Rollers beat brushes for large surfaces because they cover more ground quickly. Brushes are great for details, but they tire you out on big walls. Sprayers? They’re fast but can overspray, wasting paint and creating a cleanup nightmare. A roller strikes the perfect balance—efficient and controlled.
When it comes to types of rollers for exterior work, focus on nap length and material. Nap refers to the thickness of the roller’s fuzzy cover. For smooth walls, a short nap (1/4-inch) works best. Rough textures, such as stucco, require a longer nap (3/4 inch or more) to reach into crevices. Materials matter too: Lambswool or synthetic blends hold up well against outdoor paints.
Efficiency is a huge plus. Rollers apply paint evenly, reducing the chance of brush strokes or uneven spots. You’ll get a high-quality finish that lasts longer, especially with exterior-grade paints designed to withstand sun, rain, and wind.
And here’s the key: If you’re learning how to paint an exterior house with a roller, you’ll appreciate how forgiving it is for beginners. It minimizes drips and lets you work in sections without rushing. Ready to see why this is your go-to method? Let’s move on to what you’ll need.
Essential Tools and Materials Needed
Before you start rolling, gather your gear. Having the right tools ensures a smooth process and a flawless finish. Don’t skimp here—quality items make the job easier and safer.
Let’s list out the must-haves in a simple bulleted rundown:
- Paint rollers: Choose frames with 9-inch or 18-inch widths and extension handles for added convenience. Get covers in various nap lengths based on your surface.
- Roller trays and liners: Metal or plastic trays hold paint; disposable liners save time on cleanup.
- Extension poles: These screw onto rollers, allowing for easy access to high spots without the need for ladders.
- Painter’s tape and masking supplies: Blue tape for clean edges; plastic sheeting to protect windows and doors.
- Paint: Opt for exterior-grade latex or acrylic paint in your chosen color, along with a primer for improved adhesion.
- Drop cloths and protective gear: Canvas cloths for floors; gloves, goggles, and old clothes to keep you safe from splatters.
Selecting the ideal paint for exterior surfaces is crucial. Look for weather-resistant formulas that resist fading and mildew. Check the label for “exterior use” and consider your climate—darker colors absorb heat, while lighter ones reflect it.
Where to buy? Head to home improvement stores like Home Depot or Lowe’s for quality rollers. Online options, such as Amazon, offer deals, but be sure to read reviews to avoid cheap knockoffs that shed fibers.
Pro tip: Invest in reusable tools if you paint often. This setup not only helps with how to paint an exterior house features with a roller but also ensures your project stays on budget—do you have everything? Great—now let’s prep those walls.
Preparing Your Exterior Walls for Painting
Preparation is the secret sauce to a perfect paint job. Skip it, and you’ll end up with peeling paint or uneven spots. But do it right, and your roller will glide on like a dream.
Start with cleaning. Dirt, mildew, and grime prevent paint from sticking. Use a pressure washer on low setting to blast away buildup—rent one if you don’t own one. For stubborn spots, scrub with a brush and mild detergent solution. Rinse thoroughly and let it dry.
Next, remove old paint. Scrape off peeling areas with a putty knife. If there’s a lot, consider a paint stripper, but wear gloves—safety first!
Repair any damage. Fill cracks and holes with exterior caulk or patching compound. Let it harden, then sand smooth. This creates a flat surface for your roller.
Sanding uneven areas evens things out. Use medium-grit sandpaper and apply gentle pressure to avoid gouging the wall.
Now, apply primer—it’s non-negotiable for rollers. Primer seals the surface, helps paint adhere, and prevents absorption issues. Roll it on just like paint, using the same techniques we’ll cover later.
Allow drying time: At least 24 hours for the primer, depending on the weather conditions. Check the forecast—avoid rainy days.
These prep tips are tailored to help you paint an exterior house with a roller, ensuring even coverage without wasted effort. Take your time here; it’s worth it. Feel prepared? Let’s get to the fun part: the actual painting.
Step-by-Step Guide: How to Paint an Exterior House with a Roller
Ready to roll? This numbered guide breaks down the process of painting an exterior house with a roller into manageable steps. Follow along, and you’ll avoid rookie mistakes.
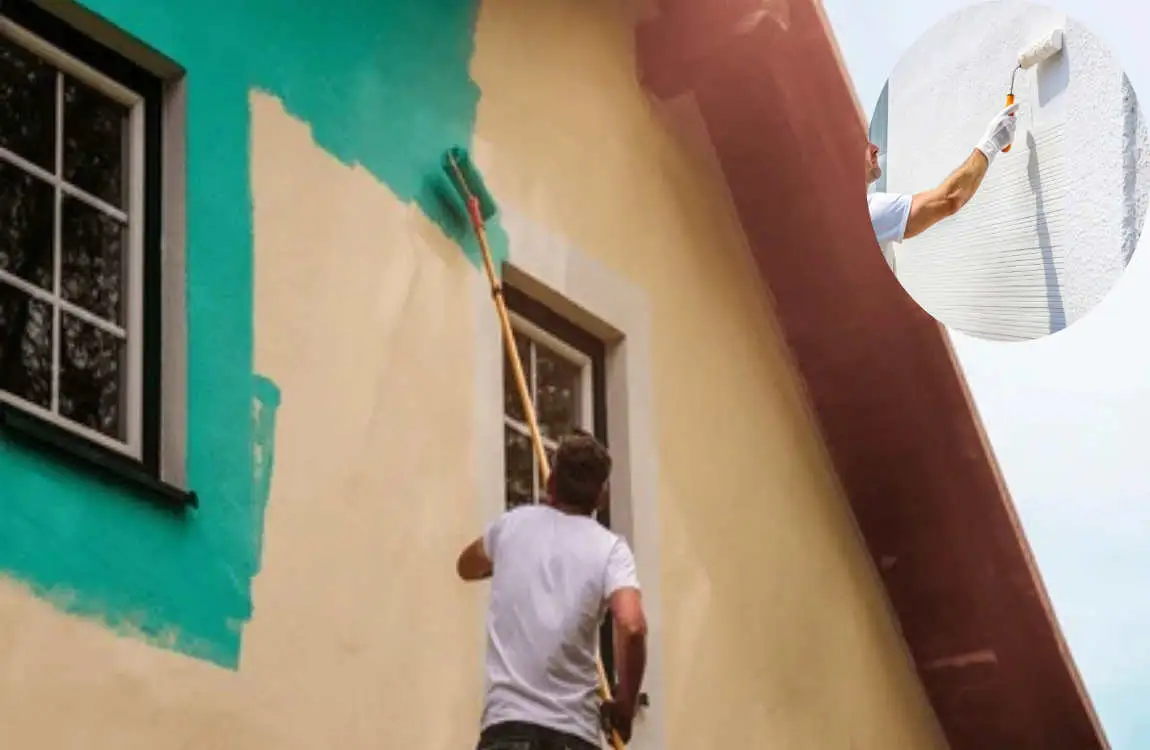
Step 1: Setting Up Your Workspace
First, protect your surroundings. Cover plants with plastic sheets and drape drop cloths over walkways and porches. Tape off windows, doors, and trim to keep paint where it belongs.
Safety comes next. Secure ladders on level ground or use scaffolding for two-story homes. Wear non-slip shoes and have a spotter if needed. You don’t want accidents derailing your project—stay safe so you can enjoy the results.
Step 2: Loading the Roller with Paint
Pour paint into your tray, filling it about halfway to avoid spills. Dip the roller in, rolling it back and forth to load evenly. Don’t overload; excess causes drips.
Spin the roller on the tray’s ridges to remove extra paint. This ensures a thin, even coat. Practice on scrap cardboard if you’re new—it’s all about getting that perfect saturation.
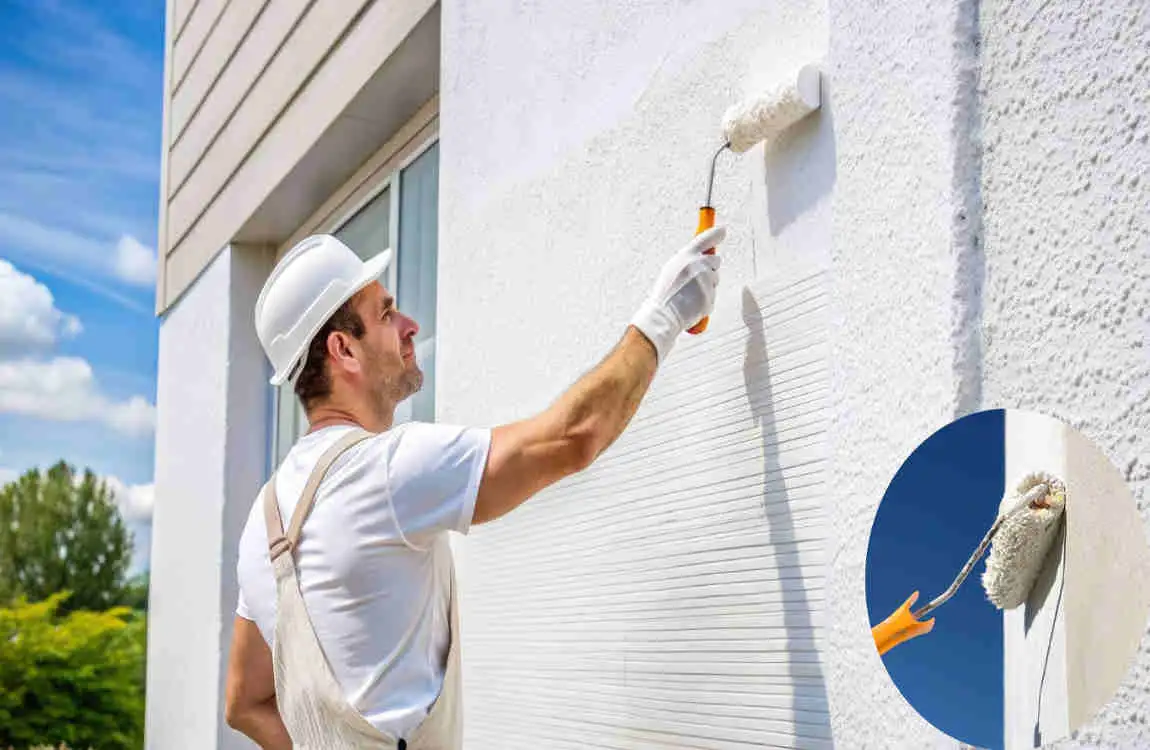
Step 3: Rolling Technique for Smooth Coverage
Start painting with a “W” or “M” pattern. This distributes paint evenly across the section. Roll upward first, then fill in the pattern without lifting the roller.
Work in small 4×4-foot sections. This prevents the paint from drying too fast, which can cause visible lines. Keep a wet edge—overlap slightly with the previous section while it’s still tacky.
To avoid roller marks, thin the paint if it’s too thick (follow the instructions). Apply light pressure; let the roller do the work. You’ll see a smooth finish emerging—exciting, right?
Step 4: Cutting in Edges and Trim Areas
For edges, switch to a brush or angled sash brush. Paint a 2-3 inch border around corners, windows, and trim. This “cuts in” the area.
Blend it with the roller while it is still wet. Roll close to the edge to merge seamlessly—no visible lines. If trim is textured, use a mini roller for better control.
Step 5: Applying Multiple Coats
Let the first coat dry—usually 2-4 hours, but check the paint label for the recommended drying time. Test by touching; it should feel dry, not sticky. Apply a second coat if needed for full coverage, especially on porous surfaces. Roll in the same patterns, smoothing over any imperfections from the first layer. A third coat? Rare, but recommended for dark colors or heavily worn areas. Patience here pays off in durability.
Step 6: Final Touch Ups and Clean-Up
Inspect your work in good light. Touch up missed spots with a small roller or brush—blend carefully. Clean tools immediately: Rinse rollers under running water (for latex paint) until they are clear. Store them dry for future use. Dispose of paint responsibly by taking leftovers to a recycling center. Pat yourself on the back; you’ve just mastered how to paint an exterior house design with a roller!
Common Problems and How to Avoid Them
Paint drips and runs happen with overloads. Wipe them immediately with a damp cloth, then re-roll the area smoothly. Peeling or flaking soon after? Blame poor prep. Always clean and prime—it’s your best defense. Weather woes, such as high humidity or extreme temperatures, can ruin the drying process. Paint in mild conditions (50-85°F) and low humidity. Check forecasts and plan accordingly. You see? Most problems can be prevented with these tips. Apply them, and your how-to-paint-exterior-house-with-roller project will be flawless.