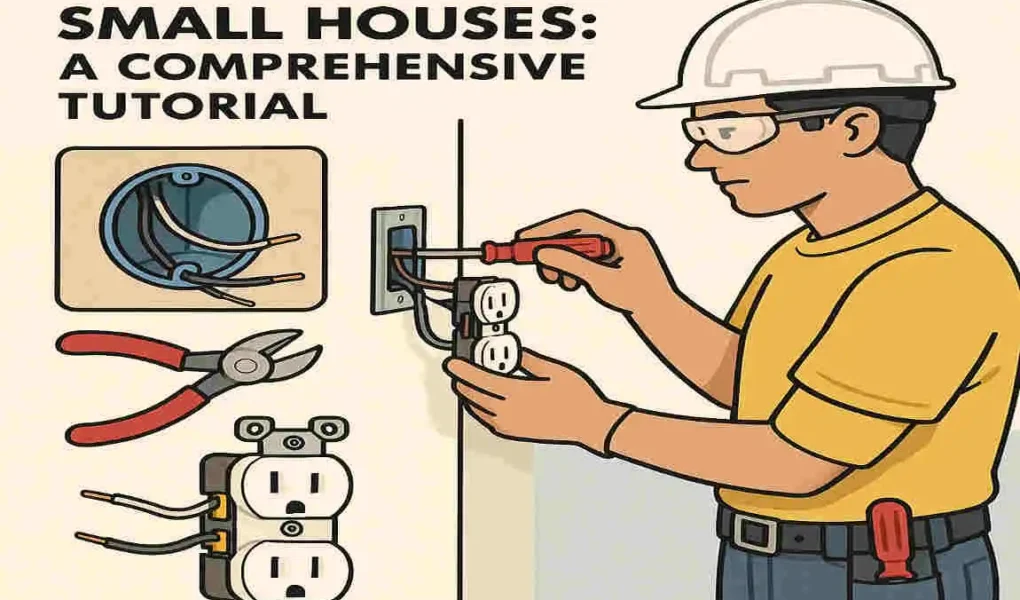
DIY wiring for small houses offers an empowering way to control your home’s electrical setup safely and efficiently. This comprehensive tutorial covers the basics, helping beginners understand key concepts like planning wiring routes, creating wiring diagrams, and following safety precautions. Whether upgrading an old system or wiring a new small house, this guide ensures a clear path to making reliable home electrical connections that power your lights, outlets, and appliances with confidence and safety.
Understanding Electrical Safety and Building Codes
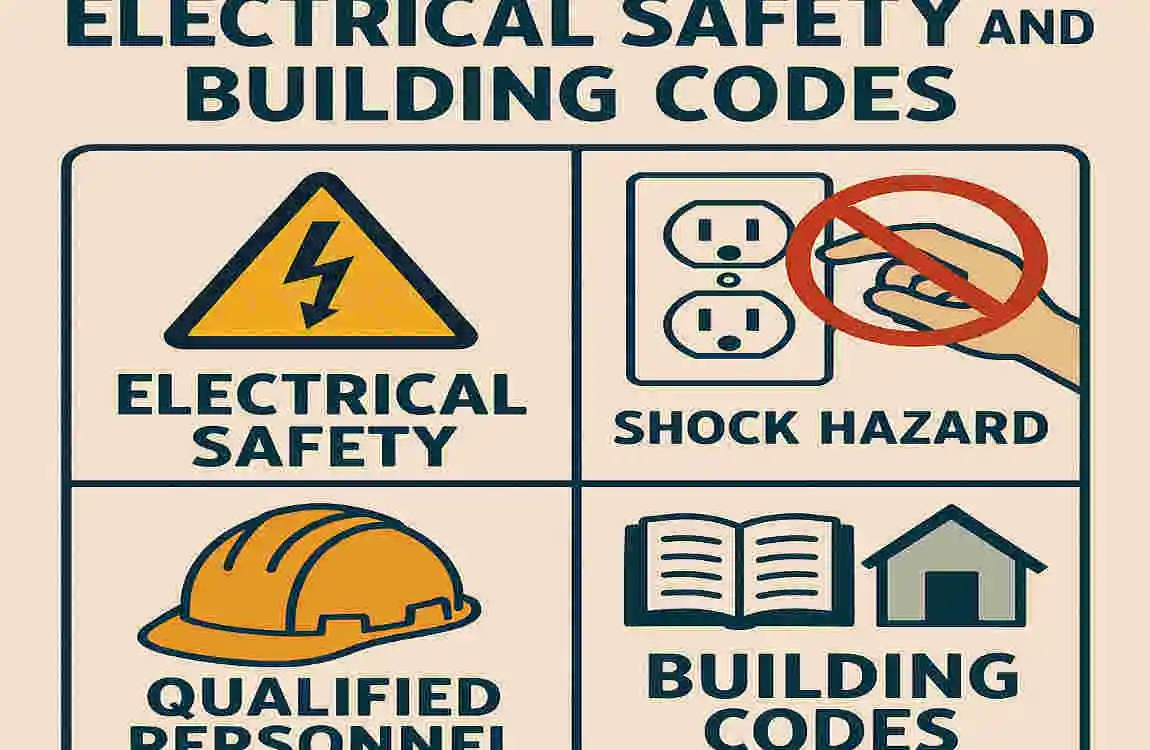
Electrical safety is paramount when tackling any DIY wiring project. Understanding the risks associated with electricity will help you avoid accidents and injuries.
Familiarize yourself with your local building codes. These regulations ensure that all electrical work meets safety standards. They cover everything from wire sizing to outlet placement, helping to create a safe environment in your home.
Always turn off the power at the circuit breaker before starting any wiring task. Using a voltage tester can give you peace of mind by confirming that wires are not live.
Personal protective equipment is essential, too. Wear insulated gloves and use tools designed for electrical work. This minimizes the risk of electric shock while working on projects around your house.
Consider consulting an electrician if you’re ever unsure about a particular aspect of your project; it’s better to be cautious than sorry when it comes to electricity.
Tools and Materials Needed for DIY Wiring
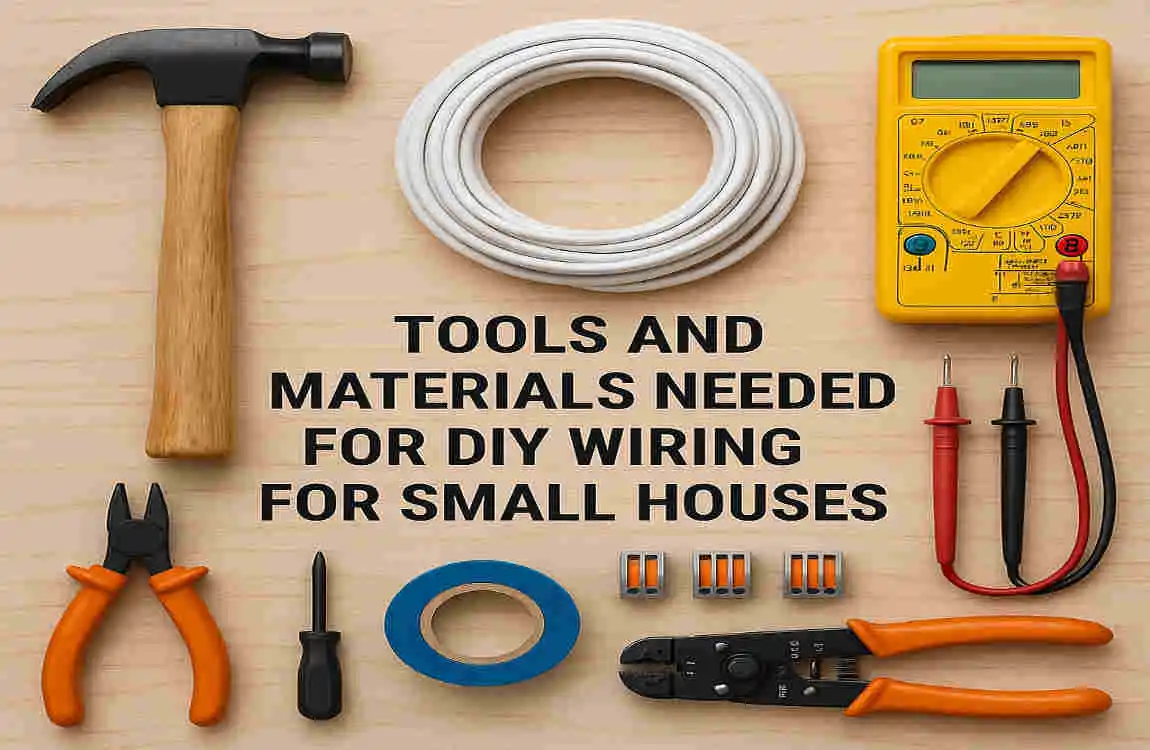
Before diving into your DIY wiring project, gather the right tools and materials. This will make your work smoother and safer.
Start with essential hand tools like wire strippers, pliers, and screwdrivers. A multimeter is crucial for checking voltage and ensuring circuits are safe before you begin.
Next, you’ll need various types of wires—THHN or NM cables are commonly used in small houses. Don’t forget circuit breakers to protect against overloads.
For outlets and switches, choose quality brands that meet safety standards. Junction boxes are also necessary to house connections securely.
Consider getting a label maker to keep track of your circuits easily. Organizing everything from the start can save time during installation and troubleshooting later on.
Wiring Basics: Circuits, Wires, and Outlets

Understanding the basics of wiring is crucial for any DIY project. At the heart of electrical systems are circuits, which provide a path for electricity to flow. Each circuit has its own specific purpose and capacity.
Wires are the conduits that carry electrical current. They come in different gauges, with lower numbers indicating thicker wires capable of handling more power.
Outlets serve as access points where you can plug in devices or appliances. It’s essential to choose outlets rated appropriately for your needs—standard 15-amp outlets work well for most household items, while heavier-duty options exist for high-powered tools.
When planning your layout, consider how much energy each area will require and ensure circuits don’t overload. This foundational knowledge sets the stage for effective and safe DIY wiring projects throughout your small house.
Step-by-Step Guide to Wiring a Small House
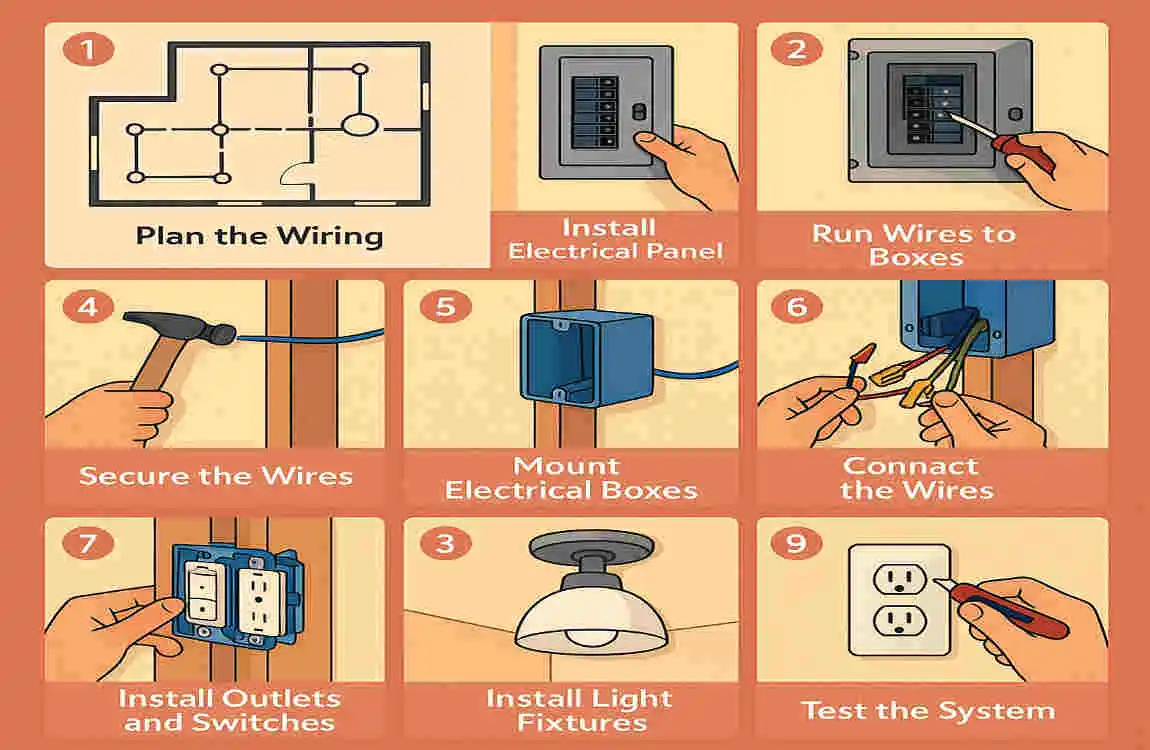
Start by planning your layout. Sketch a diagram of where you want outlets, switches, and fixtures. This visual guide will streamline the entire process.
Next, turn off the main power supply to avoid accidents. Safety first! Use voltage testers to confirm that wires are dead before touching them.
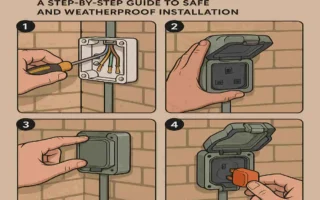
Now it’s time to install electrical boxes at each outlet and switch location. Securely attach them to studs or joists according to your plan.
When running wires, make sure they follow the correct path from the service panel through walls and ceilings. Use appropriate gauge wire for your circuits—typically 14-gauge for general lighting and 12-gauge for heavy appliances.
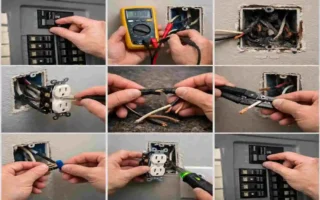
Connect wires using twist-on wire connectors. Be mindful of color coding: black is hot, white is neutral, and green or bare is ground. Double-check all connections before securing everything back in place with covers or plates.
Troubleshooting Common Wiring Problems
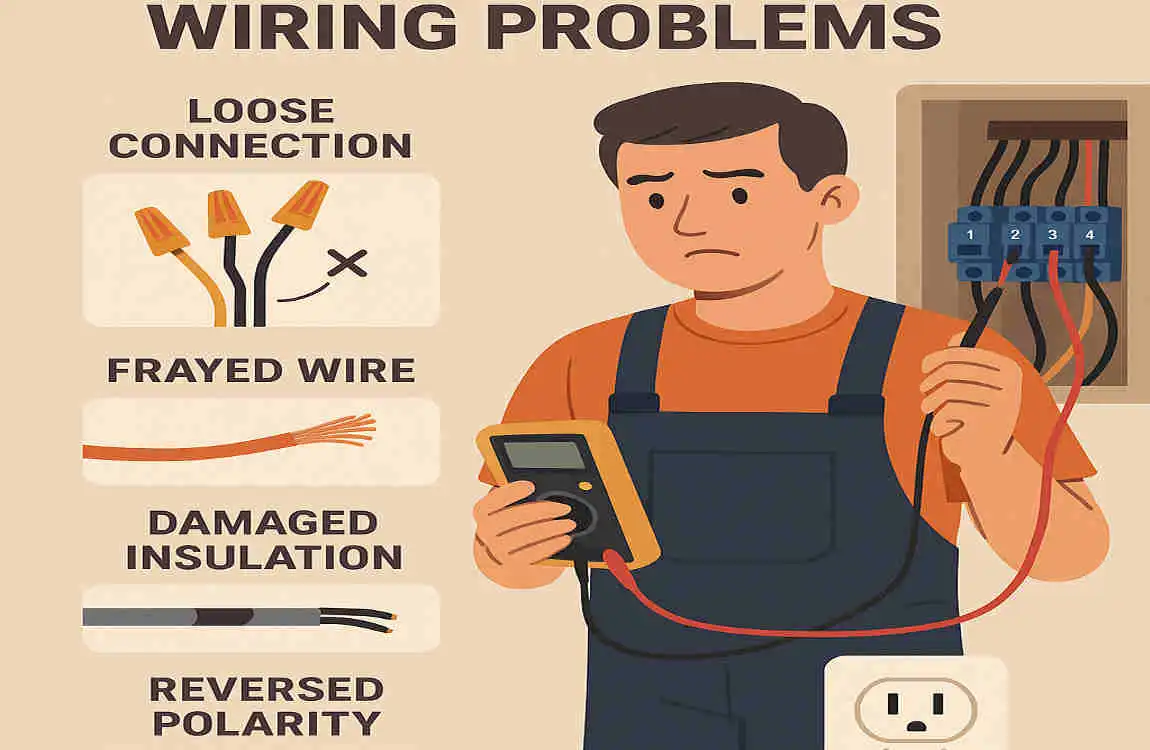
Wiring issues can be frustrating, but many problems are straightforward to fix. Start with flickering lights. This often indicates a loose bulb or wiring connection. Check the fixture and tighten any loose screws.
If outlets aren’t working, begin by testing other devices in the same outlet. If they don’t work either, it could mean a tripped circuit breaker or blown fuse. Locate your electrical panel and reset the breaker if necessary.
For circuits that feel warm to the touch, stop using them immediately. Overheating can indicate overloaded circuits or faulty wiring, which poses fire risks.
Strange odors from outlets should not be ignored; this may signal burnt wires inside the wall. Turn off the power at the circuit box and consult an electrician right away for these serious concerns. Always prioritize safety when troubleshooting home wiring issues.
FAQ: How to Wire a Small House?
Q: What tools and materials do I need to wire a small house?
A: Basic tools include wire cutters, wire strippers, screwdrivers, voltage tester, drill, fish tape, and a circuit tester. Materials typically include electrical wires (Romex or similar), outlets, switches, circuit breakers, electrical boxes, conduit (if required), and a main electrical panel.
Q: What are the first steps to wiring a small house?
A:
- Plan the electrical layout: Decide where outlets, switches, and fixtures will go.
- Obtain permits: Electrical work usually requires permits and inspections for safety compliance.
- Install the main electrical panel: Connect to the utility supply and plan circuits.
- Run wiring: Route wires from the panel to outlets, switches, and fixtures using approved methods.
Q: How do I ensure safety when wiring?
A: Always turn off power at the breaker before working on circuits, use proper wire gauges, ground all circuits correctly, and follow local electrical codes.
Q: Can I wire a house myself or should I hire a professional?
A: While DIY wiring is possible for skilled individuals, hiring a licensed electrician is recommended to ensure safety and code compliance.
Q: How many circuits does a small house typically need?
A: Usually around 10–20 circuits, including dedicated ones for appliances, lighting, HVAC, and general outlets.