Are you tired of cracks, stains, dust, and daily wear on your garage floor? If so, sealing it is one of the smartest upgrades you can make.
A concrete garage floor takes a lot of abuse. Cars leak oil, moisture gets tracked in, and temperature changes slowly break down the surface. Over time, that can leave your floor looking rough and damaged. A good sealer helps protect the concrete, makes cleaning easier, and gives the garage a cleaner finish.
Why Should You Seal Your Concrete Garage Floor?
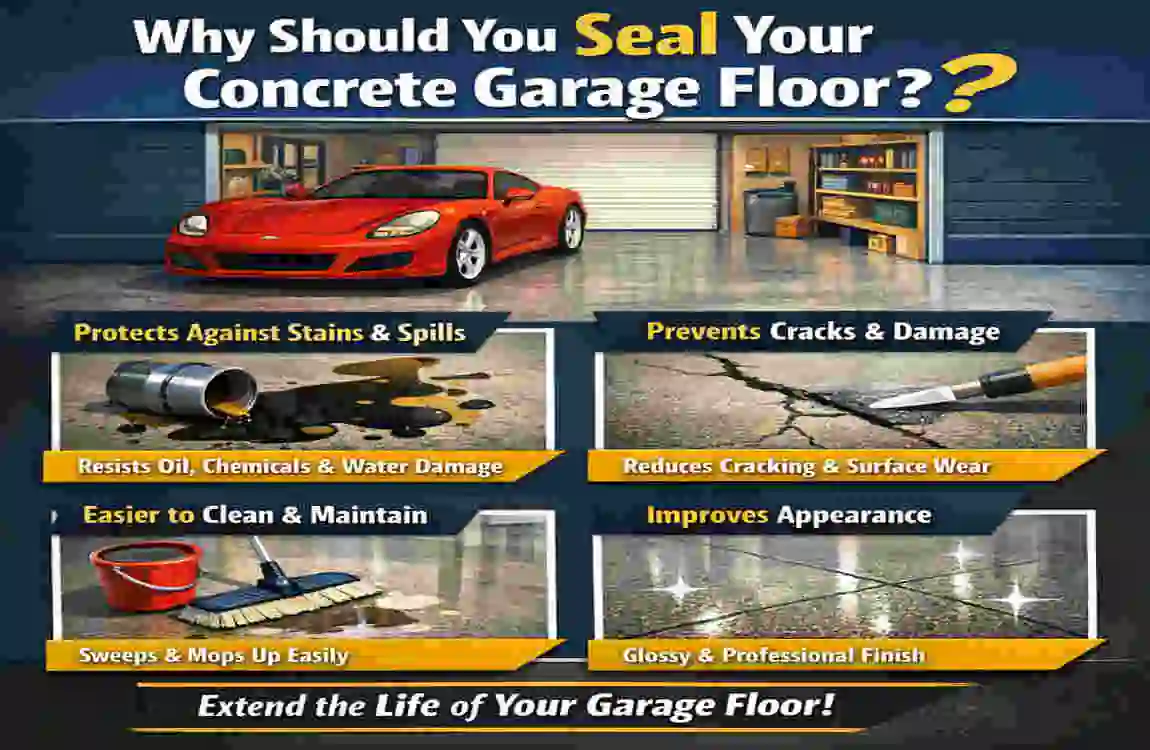
A garage floor may seem tough on its own, but concrete is still porous. That means it can absorb water, oil, salt, and other messy materials. Once that happens, stains can settle in, and damage can spread.
Protects the Floor from Damage
Sealing helps form a barrier on or inside the concrete. This reduces cracking, chipping, and surface wear. If your garage gets heavy use, a sealed floor lasts much longer than an untreated one.
Blocks Moisture and Chemicals
Moisture is one of concrete’s biggest problems. Water can seep into tiny holes, and when temperatures change, that moisture can expand, causing damage. Sealers also help protect against oil, antifreeze, and deicing salt, which are common sources of garage mess.
Improves the Look
A sealed garage floor usually looks cleaner and more polished. Some sealers leave a slight shine, while others preserve the concrete’s natural look. Either way, the floor tends to look fresher and more finished.
Saves Money Over Time
Repairing damaged concrete can cost much more than sealing it early. Learning how to seal a concrete garage floor can help you avoid costly repairs later. It is a simple step that supports long-term value.
Penetrating Sealers
These go deep into the concrete instead of sitting on top. They are a strong choice if your garage deals with moisture or cold weather. They are also a good option if you want protection without changing the look much.
Acrylic Sealers
Acrylic sealers are popular because they are easy to use and can give the floor a nice finish. They are a solid choice if you want your garage to look a little more polished.
Epoxy Coatings
Epoxy is one of the toughest options. It handles stains, spills, and traffic very well. If you use your garage as a workshop or see a lot of vehicle traffic, epoxy may be a strong fit.
Polyurethane Sealers
Polyurethane offers strong protection and works well where sunlight reaches the floor. It is known for lasting well and holding up to wear.
Natural Look Sealers
If you want the floor protected but still want the original concrete style, a natural look sealer is a good match. It keeps things simple while still helping protect the surface.
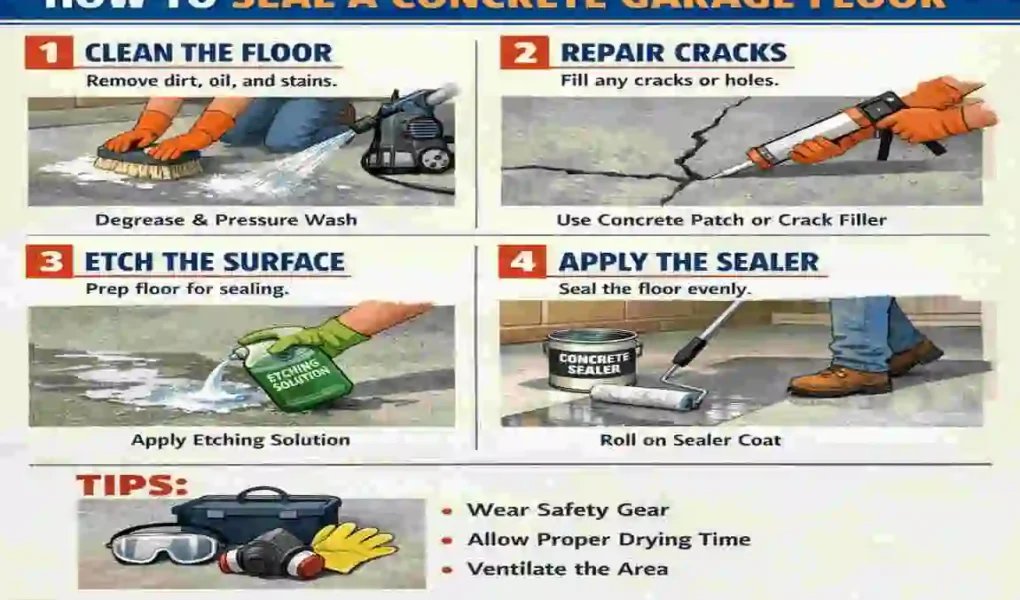
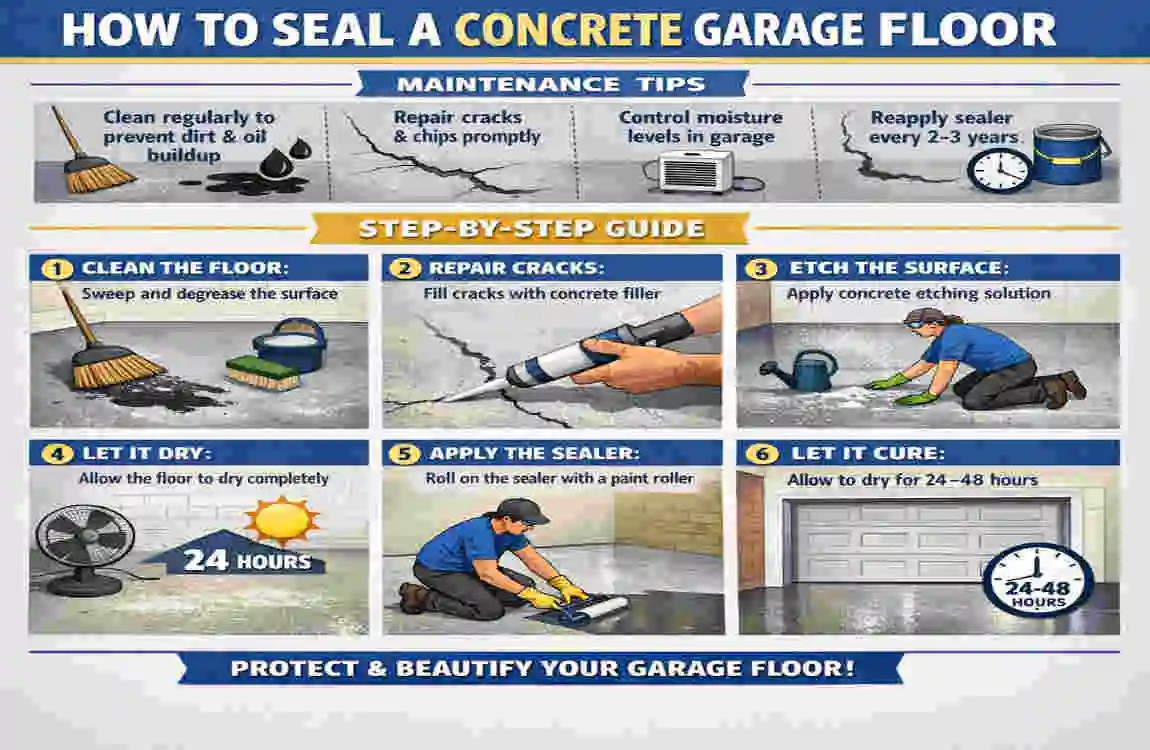
How to Seal a Concrete House Garage Floor
If you want to know how to seal a concrete house garage floor the right way, the process starts with prep. A clean, dry, and repaired surface gives you much better results.
Prepare the Surface
Good preparation matters more than many people think. If the floor is dirty, oily, or damp, the sealer may not bond well.
Clean the Floor Well
Sweep the floor first. Then scrub away dirt, dust, and stains. If there are oil spots, use a concrete cleaner or degreaser. You want the surface as clean as possible before moving on.
Repair Cracks and Chips
Small cracks and holes should be filled with a concrete patching product. This helps smooth the surface and prevents damage from spreading.
Let the Floor Dry Completely
Concrete must be fully dry before sealing. If moisture is trapped under the sealer, it can cause cloudy spots, peeling, or poor adhesion.
Maintenance Tips
Think about how your garage is used.
- Choose a penetrating sealer if moisture is your biggest concern.
- Choose acrylic if you want a cleaner, slightly shiny look.
- Choose epoxy if the garage gets heavy use.
- Choose polyurethane if sunlight and durability matter most.
The right product depends on your space, climate, and finish preference.
Apply the Sealer
Most sealers can be applied with a roller, sprayer, brush, or squeegee. Follow the label directions carefully, because each product is a little different.
Start at the edges and work your way across the floor. Apply an even coat. Do not let the sealer pool in one area, because thick spots can dry unevenly.
If the product calls for a second coat, wait until the first coat is dry before applying the second.
Let It Cure
Drying time is not the same as full curing time. The floor may feel dry sooner, but it still needs time to harden properly.
During this time, avoid parking on it or exposing it to water too soon. Always follow the manufacturer’s instructions for the best results.
Maintain the Sealed Floor
After sealing, the floor is easier to care for, but it still needs basic upkeep.
- Sweep dirt and grit often
- Mop spills quickly
- Use a mild cleaner when needed
- Reseal when the finish starts wearing down
Most floors need resealing every 2 to 5 years, depending on the product and traffic.
Common Mistakes to Avoid
Even a good sealer can fail if the job is rushed. Avoid these simple mistakes.
Skipping Surface Prep
If you do not clean and repair the floor first, the sealer may not stick properly. That can lead to peeling, dull spots, or weak protection.
Choosing the Wrong Product
Not every sealer fits every garage. A decorative sealer may not be strong enough for a busy floor, while a heavy coating may feel like too much for a simple space.
Applying Too Much or Too Little
A thin, even coat usually works best. Too much product can puddle and dry poorly. Too little may not adequately protect the floor.
Ignoring Directions
Every product has its own drying time, coverage rate, and application method. Reading the label saves time and helps you avoid mistakes.
Benefits of a Properly Sealed Garage Floor
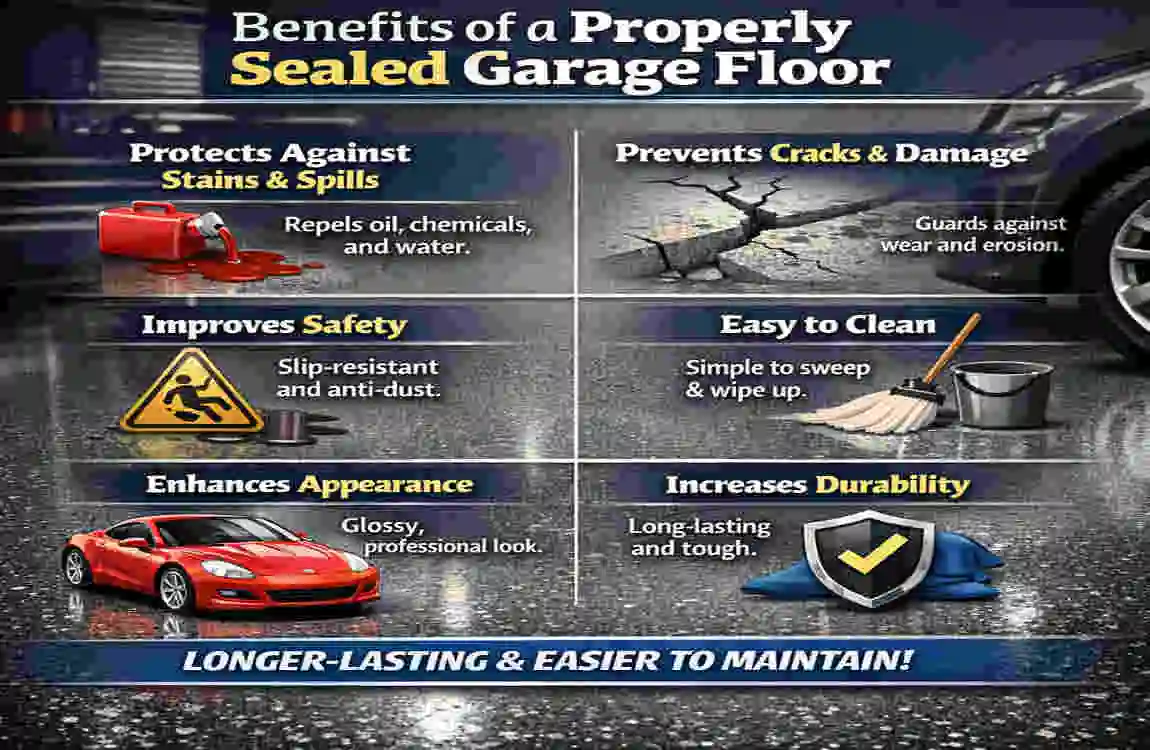
A well-sealed floor does more than look nice. It changes how your garage performs day to day.
Stronger Surface Protection
Sealing helps reduce wear from cars, tools, and foot traffic. That means the floor stays in better shape for longer.
Easier Cleaning
Dust, spills, and stains are much easier to wipe away on a sealed surface. This is one of the biggest reasons homeowners choose to seal.
Better Appearance
A sealed garage floor looks more finished and cared for. Even a basic concrete slab can feel upgraded with the right sealer.
Higher Home Appeal
A clean, protected garage adds value to the home. Buyers often notice when a garage is well-maintained.
FAQs
How often should I reseal my garage floor?
Most garage floors need resealing every 2 to 5 years, but it depends on the sealer type, traffic, and climate.
Can I seal a previously sealed garage floor?
Yes, but you should first check the condition of the old sealer. If it is peeling or worn, you may need to clean or remove it before applying a new one.
What does it cost to seal a concrete garage floor?
Costs vary based on the size of the garage and the product used. DIY sealing is usually more affordable than hiring a pro.
Is sealing a garage floor a DIY project?
Yes, many homeowners can do it themselves if the floor is in decent shape. If the surface is badly damaged or large, hiring a professional may be a better option.
| Topic | Short Answer | Why It Matters |
|---|---|---|
| Best Method | Clean, repair, and apply the right concrete sealer evenly | This gives the floor the strongest protection and best finish |
| Best Sealer Type | Epoxy for durability, penetrating sealer for moisture protection | Different floors need different levels of defense |
| Surface Prep | Sweep, degrease, and patch cracks first | A clean, dry floor helps the sealer bond properly |
| Application Tool | Roller, sprayer, or squeegee | These tools help spread the sealer evenly |
| Drying Time | Follow the product’s curing instructions | Proper curing improves strength and performance |
| Maintenance | Clean regularly and reseal every 2–5 years | This keeps the floor protected for the long term |