Building a kitchen counter frame is a practical DIY project that can significantly improve kitchen organisation and workspace. It involves creating a sturdy base structure using wood, typically 2×4 or 2×6 lumber, which provides support for the countertop and offers additional storage space. The process begins with accurate measurements of the space, followed by cutting and assembling the lumber to form a solid rectangular base. Next, vertical supports and horizontal beams are added to complete the frame. Finishing touches, such as sanding, staining, and selecting the countertop material, personalise and protect the frame, making it both functional and visually appealing. This project is suitable for both beginners and experienced DIYers, offering a rewarding way to enhance your home kitchen‘s layout and usability.
Benefits of Building Your Own Counter Frame

Building your own kitchen counter frame offers a range of advantages that can elevate both your space and your skills. First, it allows for complete customisation. You choose the dimensions, materials, and design to fit your kitchen layout perfectly.
Cost savings are another significant benefit. By opting for a DIY approach, you can often cut down on expenses compared to purchasing pre-made options. Plus, you have the flexibility to select budget-friendly materials without sacrificing quality.
Building your counter frame means you’re able to create something unique that reflects your personal style. This level of personalisation adds character and warmth to any home environment.
Tools and Materials Needed for the Project
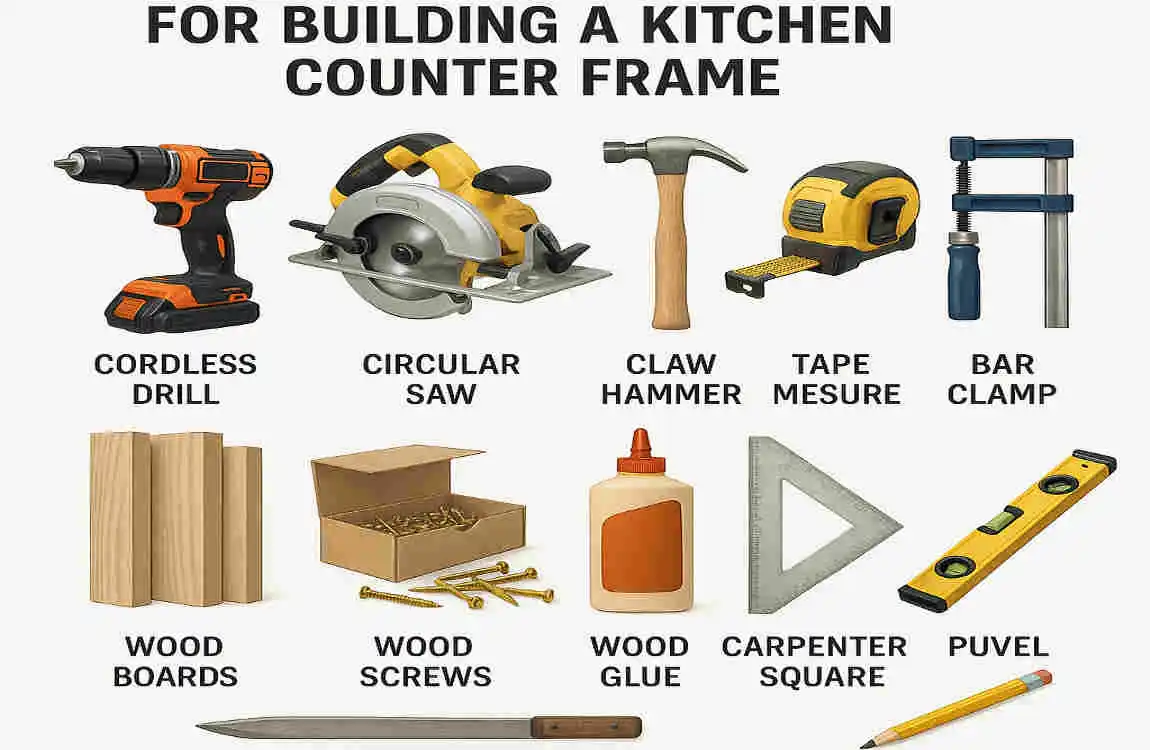
Before diving into your kitchen counter frame project, gather the right tools and materials. This will make your experience smoother and more enjoyable.
Start with essential hand tools like a measuring tape, level, and square. These are critical for ensuring accuracy in measurements and cuts. A saw—either a circular or mitre saw—is necessary to cut your wood pieces to size.
For assembly, grab a drill or screwdriver for fastening screws securely. Wood glue can add extra strength to your joints.
When selecting materials, opt for sturdy lumber, such as plywood or hardwood, depending on your design preferences. You’ll also need screws that match the thickness of your wood.
Don’t forget safety gear! Safety goggles and ear protection should be nearby as you work through this rewarding DIY task. With these items at hand, you’re ready to create something beautiful for your home.
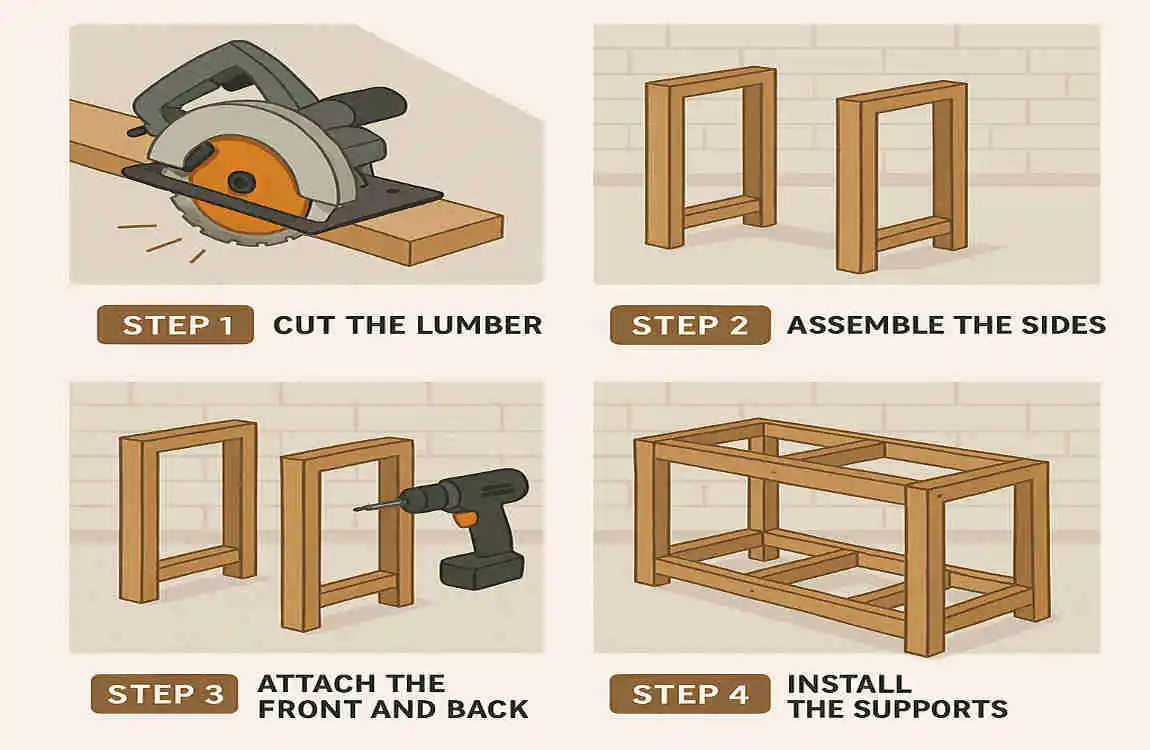
Step-by-Step Guide to Building a Kitchen Counter Frame
Start by measuring the area where your counter will sit. Accurate dimensions are crucial for a snug fit.
Next, gather your materials. You’ll need plywood or MDF for the frame, screws, and brackets to ensure stability.
Cut your wood according to the measurements taken earlier. Use a circular saw for straight edges and wear safety goggles while cutting.
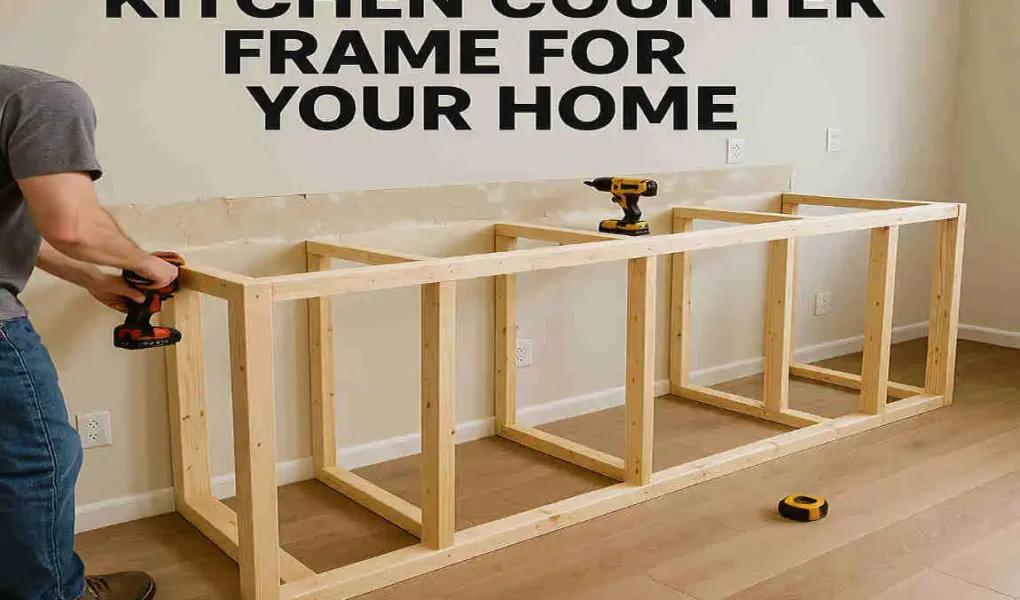
Assemble the frame on the floor first. Lay out vertical and horizontal pieces based on your design—this step gives you an overview of how it’ll look.
Secure each joint with screws and brackets as needed. Don’t rush; double-check everything is aligned correctly before tightening all screws.
Once assembled, lift it into place carefully. Ensure it’s level using a spirit level tool; adjust if necessary before securing it to any wall studs or cabinets nearby.
Finishing Touches: Painting and Staining

Once your kitchen counter frame is built, it’s time to focus on the finishing touches. This step can genuinely transform your project.
Choosing between paint and stain depends on the look you’re aiming for. Paint offers a vibrant pop of colour, while stain highlights the natural beauty of wood grain.
If you opt for paint, ensure that you use high-quality options designed for durability in kitchens. A primer can help with adhesion and longevity, giving you a smooth base layer.
For those opting for a stain, consider applying a sealant afterwards to protect against moisture and wear. Sanding lightly before staining helps achieve an even finish.
Don’t rush this stage—take your time to apply multiple thin coats rather than one thick layer. Allow each coat to dry completely before moving on to the next for best results.
FAQ: How to Build a Kitchen Counter Frame?
Q: What materials do I need to build a kitchen counter frame?
A: Common materials include 2×4 or 2×6 lumber for the frame, wood screws or nails, a level, measuring tape, and wood glue.
Q: What are the basic steps to build a kitchen counter frame?
A:
- Measure and plan: Determine the size and height of your countertop.
- Cut lumber: Cut the horizontal and vertical frame pieces to size.
- Assemble the base: Build the outer frame using 2x4s for the perimeter.
- Add supports: Install vertical studs or braces inside for stability and countertop support.
- Check for level: Use a level to ensure the frame is even.
- Secure joints: Use screws or nails and wood glue for strong connections.
- Attach to wall/floor: Anchor the frame securely for safety.
Q: How high should the kitchen counter frame be?
A: Standard counter height is about 36 inches (91 cm) from the floor.
Q: Can I build the frame myself?
A: Yes! With basic woodworking skills and tools, building a kitchen counter frame is a doable DIY project.
Q: Should I add plywood on top?
A: Typically, a plywood sheet is attached over the frame to create a sturdy surface for the countertop material.