If you’ve ever dreamed of adding a bathroom to your home but don’t know where to start, you’re in the right place. Building a bathroom on a concrete slab can seem intimidating, especially since there’s no crawl space to work with. However, with the proper guidance, tools, and preparation, this project is entirely achievable—even for DIY enthusiasts.
Why Build a Bathroom on a Concrete Slab?
Bathrooms are essential spaces in modern homes, and adding one to your home can significantly improve your quality of life and increase its resale value. But why specifically build one on a concrete slab?
The Benefits of Building a Bathroom on a Concrete Slab
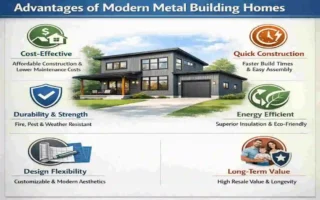
- Cost-Effective: Compared to full-scale renovations or adding a bathroom upstairs, adding one on a concrete slab can be much less expensive.
- Space Efficiency: Utilising slab spaces, such as garages or unfinished basements, allows you to make use of areas that might otherwise go underutilised.
- Durability: Concrete slabs are structurally solid and provide a stable foundation for plumbing and fixtures.
Addressing Concerns
One common misconception is that building a bathroom on a concrete slab is far more difficult than other types of bathroom construction. However, with proper planning, the right tools, and a clear step-by-step guide, it’s a manageable project for most homeowners. Plus, the long-term benefits, such as increased home value (a 50–70% return on investment), make it a worthwhile endeavour.
Tools and Materials Needed
Before diving into the project, gather all the tools and materials you’ll need. Investing in quality tools can save you time and frustration down the line.
Essential Tools
To ensure a smooth process, you’ll need the following tools:
- Power Tools: Angle grinder, jackhammer, reciprocating saw, and concrete saw.
- Plumbing Supplies: PEX piping, PVC drain pipes, pipe fittings, and shutoff valves.
- Safety Gear: Gloves, protective goggles, dust masks, and ear protection.
- Other Tools: Chalk line, measuring tape, level, and a shovel.
Materials Breakdown
Here’s a breakdown of the materials you’ll need, along with their estimated costs:
Category Items Estimated Cost
Plumbing Pipes, fittings, and sealants $800–$1,500
Flooring: Waterproof vinyl, tiles $500–$1,000
Walls Moisture-resistant drywall $300–$600
Concrete Gravel, concrete mix, rebar $200–$400
Fixtures: Toilet, vanity, shower $1,000–$3,000
Pro Tip: Buy materials in bulk or shop during sales to save on costs. Many hardware stores also offer tool rentals, which can be more budget-friendly than purchasing outright.
Preparation and Planning
Proper preparation is the foundation of any successful bathroom construction project. Skipping this step can lead to costly mistakes later on.
Assess Your Space and Permits
Start by assessing the space where you plan to build the bathroom. Measure the room’s dimensions and determine the size and location of each fixture (toilet, sink, shower, etc.). Additionally, check the structural integrity of your concrete slab.
Next, research local building codes and obtain the necessary permits. Most municipalities require permits for plumbing, electrical work, and structural changes. Skipping this step can result in fines and potential legal issues.
Design the Layout
Designing a functional layout is crucial. Consider the following when planning:
- The proximity of plumbing lines to existing sewer systems.
- Space for ventilation and electrical wiring.
- Easy access to fixtures for repairs and maintenance.
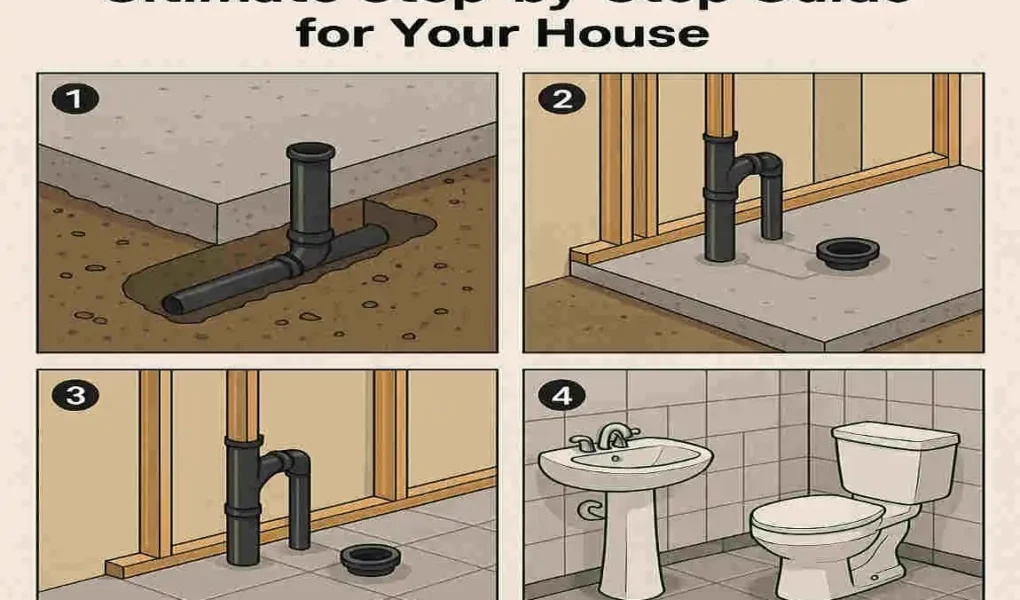
Step-by-Step Guide: How to Build a Bathroom on a Concrete Slab
Now, let’s dive into the detailed step-by-step process for constructing your bathroom.
Mark and Cut the Concrete Slab
- Locate Utilities: Before cutting, contact your local utility service (call 811 in the U.S.) to mark underground lines.
- Mark the Area: Use a chalk line to outline where you’ll cut the concrete for plumbing trenches.
- Cut the Slab: Use a concrete saw to cut 4–6 inches deep along the marked lines. Wet cutting is recommended to minimise dust.
Break and Remove the Concrete
- Break the Slab: Use a jackhammer to break the concrete into manageable pieces.
- Dispose of debris: Rent a dumpster for concrete disposal, which can cost around $300–$400.
- Level the Subfloor: Once the concrete is removed, level the exposed subfloor and add a gravel base for stability.
install Plumbing Rough-In
This is one of the most critical steps in building a bathroom on a concrete slab.
- Dig Trenches: Dig trenches to route the supply and drain lines to their respective fixtures.
- Install Plumbing: Lay PEX pipes for the water supply and PVC pipes for the drains. Ensure the drainpipes are sloped at 1/4 inch per foot for proper drainage.
- Test for Leaks: Before pouring the concrete back, perform a leak test to ensure all connections are sealed.
Waterproof and Pour the New Concrete Slab
- Waterproof the Area: Lay a waterproof membrane, such as Delta-MS, to prevent moisture issues.
- Pour the Concrete: Mix and pour a 4-inch layer of concrete over the plumbing trenches. Reinforce the slab with rebar for added strength.
- Cure the Concrete: Allow the concrete to cure for at least 48 hours before proceeding to the next step.
Frame the Walls and install Fixtures
- Build the wall frames using 2×4 lumber. Insulate the walls to prevent moisture buildup.
- Hang moisture-resistant drywall and finish with tape and mud.
- Install the toilet flange, vanity rough-in, and shower base.
Electrical Wiring and Fixtures
Run conduit for GFCI outlets and light fixtures. If you’re not experienced with electrical work, consider hiring a licensed electrician to ensure the wiring meets local codes.
Finishing Touches
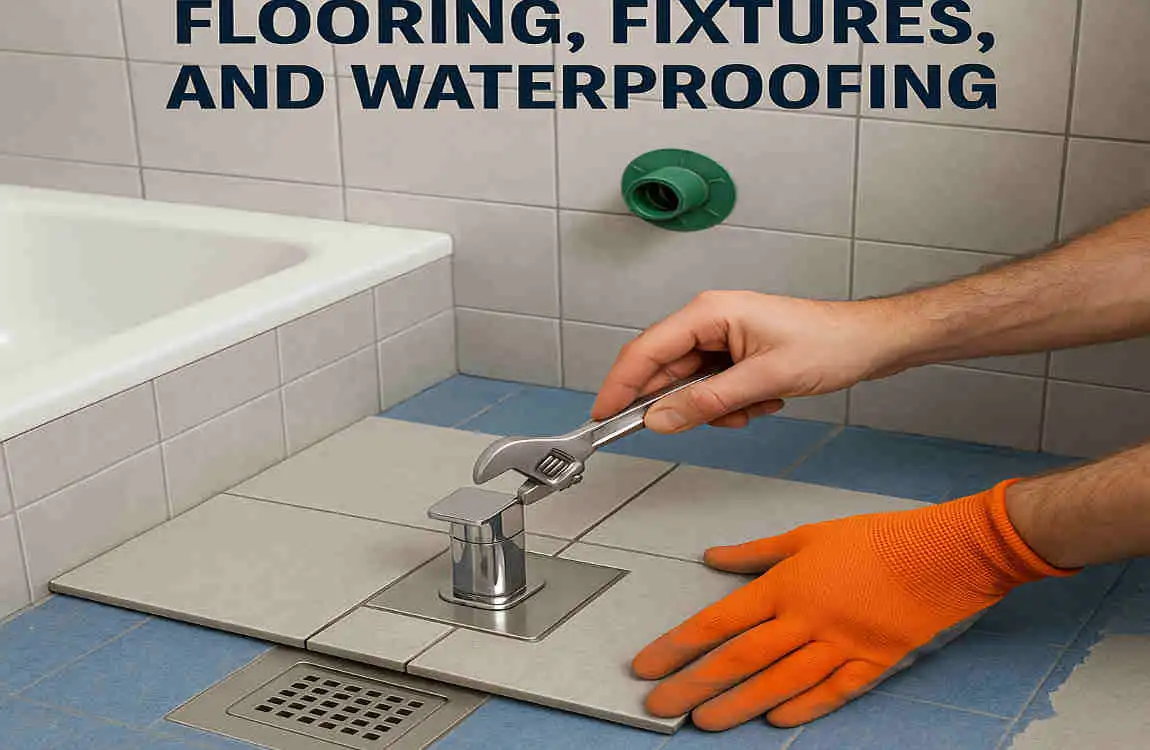
- Install flooring (vinyl planks or tiles) over the waterproof membrane.
- Mount bathroom fixtures, including the toilet, sink, and shower.
- Seal all seams with caulk to prevent water leakage.
Common Mistakes to Avoid
Avoid these pitfalls to ensure a smooth construction process:
- Skipping Permits: This can lead to fines and complications during resale.
- Improper Drain Slope: A poor slope can result in clogged drains.
- Neglecting Waterproofing: This can cause mould and structural damage over time.
Cost Breakdown and Budget Tips
Here’s a quick look at how much you can expect to spend:
Item Low-End High-End
Demolition/Pour $1,000 $3,000
Plumbing $1,500 $4,000
Fixtures $1,000 $3,000
Total $5,000 $15,000
Budget Tip: Save money by doing the demolition yourself and sourcing materials during sales.