Have you ever looked down at your house floors and felt a pang of disappointment? Maybe the tiles are chipped, the concrete cracked, or stubborn stains refuse to budge. These worn-out floors drag down the vibe of your entire home. But what if I told you there’s a game-changing solution that can turn those drab surfaces into stunning showstoppers? Welcome to the world of insane epoxy flooring transformations in-house!
Epoxy flooring has taken the home renovation scene by storm, and for good reason. It offers a glossy, seamless surface that’s durable, easy to maintain, and downright beautiful. Imagine your kitchen, garage, or basement transformed with a sleek floor that’s both functional and stylish.
What is Epoxy Flooring and Why It’s Perfect for Your House
The Basics of Epoxy Floor Coatings
Epoxy flooring is essentially a two-part resin system. When mixed, these parts react chemically to harden into a tough, glossy, and seamless surface. Think of it as a shiny, super-strong skin for your floors that resists wear and tear.
This material is incredibly versatile, especially for homes. It’s waterproof so that spills won’t seep through. It’s stain-resistant, which means your kitchen or garage floors can stay looking fresh even after years of use. Plus, it’s great for areas like basements, where moisture can be a problem.
An insane epoxy flooring transformation in the house starts with understanding this material. Unlike traditional flooring, epoxy bonds directly to concrete, creating a surface that’s both beautiful and functional. Its smooth finish also makes cleaning a breeze, which is a huge plus for busy households.
Epoxy vs. Traditional Flooring Options
Choosing the right flooring for your house is a big decision. Let’s compare epoxy to some popular traditional options:
Feature: Epoxy Flooring, Tile Flooring, Hardwood Flooring, Laminate Flooring
Durability Extremely durable, resists stains and chemicals. Durable but grout-prone to stains. Durable but scratches easily. Moderate durability, prone to water damage
Cost (per sq ft) $3 – $8 $5 – $15 $7 – $15 $3 – $7
Maintenance: Easy to clean, low maintenance. Requires grout cleaning. Needs regular polishing. Can be damaged by moisture
Appearance: Glossy, seamless, customizable. Variety of styles. Natural, warm look. Imitates hardwood
Installation Time 1-3 days Several days Several days 1-2 days
home renovation experts have reported a 40% increase in epoxy flooring installations. This trend reflects the growing appreciation for epoxy’s durability and style versatility. Compared to tile or hardwood, epoxy offers a cost-effective, long-lasting solution that suits many household needs.
With this in mind, it’s easy to see why more homeowners are choosing epoxy for their flooring makeover. It blends functionality and aesthetics into one seamless package.
Jaw-Dropping Before & After: Real House Transformations
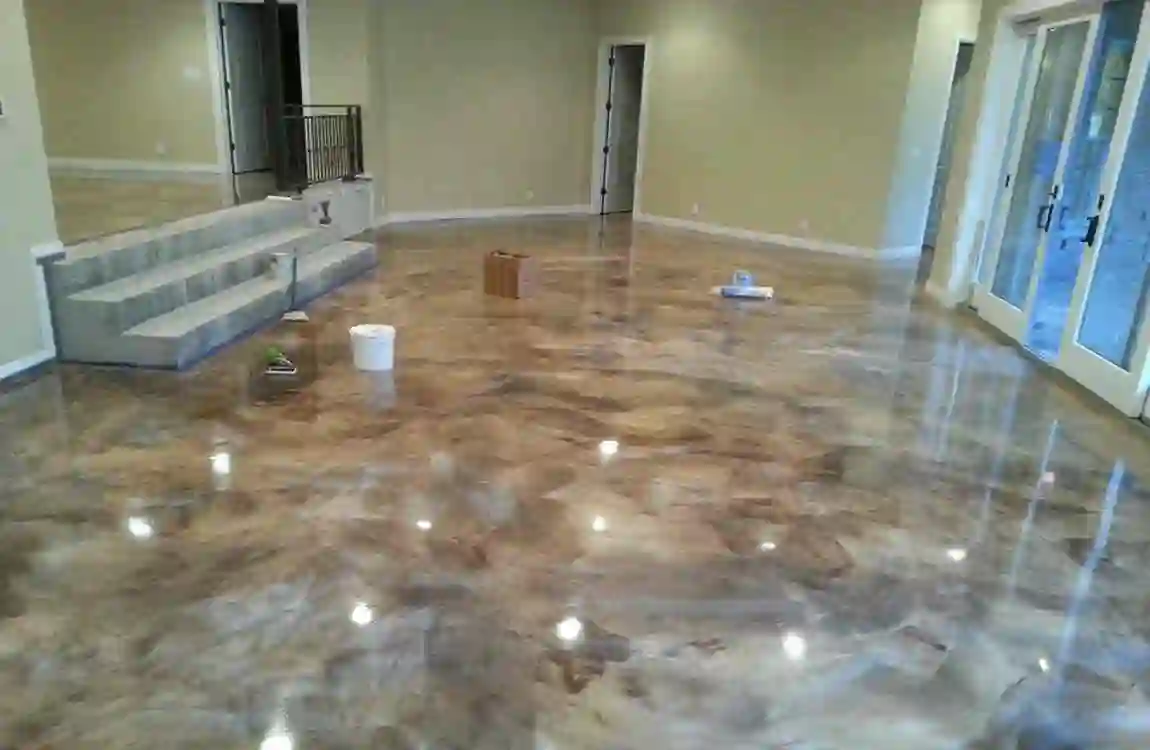
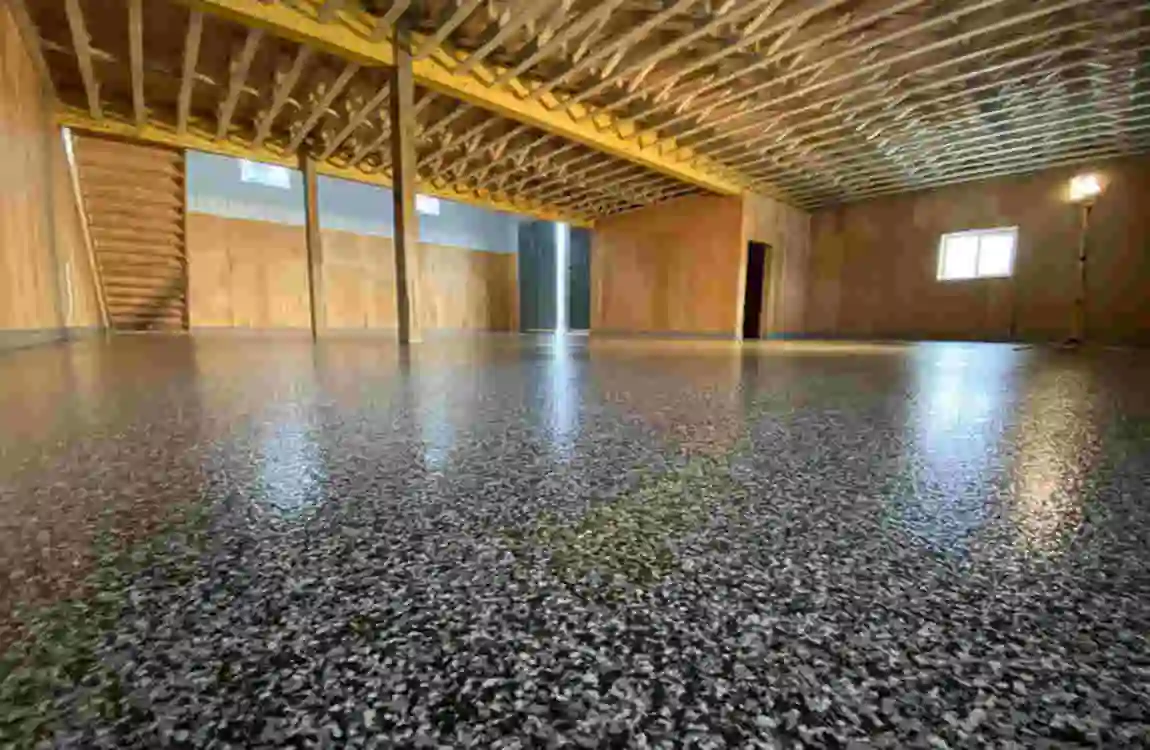
Case Study 1: Garage Glow-Up
Imagine walking into a garage that feels more like a showroom than a workspace. Before this transformation, the garage floor was marred by cracked concrete and unsightly oil stains. It was dull, rough, and hard to clean.
After applying a metallic epoxy coating with a flake finish, the floor now gleams with a sleek, reflective surface that brightens the entire space. The flakes add texture and depth, making the floor not only beautiful but also slip-resistant.
This insane epoxy flooring transformation in the house didn’t just improve aesthetics—it boosted the home’s value by 15%! The homeowners now enjoy a space that’s practical for projects and inviting for family hangouts.
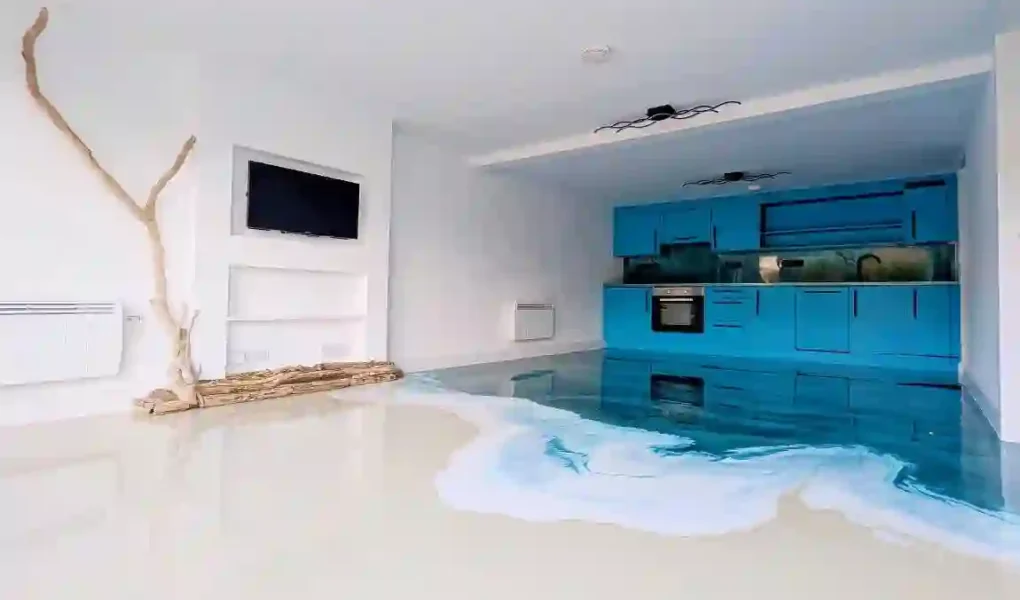
Case Study 2: Kitchen Makeover
The kitchen is the heart of any home, but peeling vinyl floors can make it feel tired and neglected. This family wanted a solution that combined style, safety, and ease of cleaning.
Enter custom color epoxy flooring with an anti-slip additive. The new floor features a rich, warm color that complements the cabinetry and countertops. The anti-slip texture ensures safety for kids running around, while the glossy finish makes spills easy to wipe away.
One homeowner shared, “Our kitchen feels like a brand new space. The epoxy floor makes cooking and family time more enjoyable. It’s durable, safe, and stunning.”
A time-lapse video captures the entire process—from prep to polish—showing just how transformative epoxy flooring can be for a home.
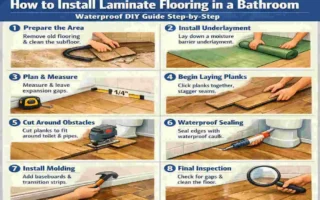
Step-by-Step Guide to Your Own Insane Epoxy Flooring Transformation in Your House
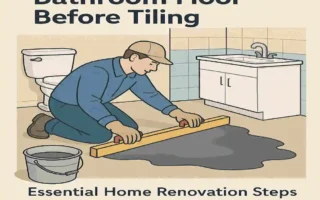
Planning and Surface Prep
Before you get started, it’s essential to assess your existing floor. Look for cracks, chips, or uneven spots that need repair. Proper surface prep is the foundation of a successful epoxy application.
Common prep steps include:
- Crack repair: Fill in any holes or cracks with a suitable filler.
- Diamond grinding: Use a grinder to roughen the surface so the epoxy bonds better.
- Cleaning: Remove dust, grease, and debris thoroughly.
Tools checklist:
- Grinder with diamond cup wheel
- Etch solution (for concrete)
- Cleaning supplies (broom, vacuum, degreaser)
Taking your time here pays off in a flawless, long-lasting finish.
Priming and Base Coat Application
Properly mixing epoxy resin and hardener is crucial. Follow the manufacturer’s mixing ratios exactly to avoid issues such as bubbling or poor adhesion.
Apply the primer evenly across the floor. This helps the epoxy stick and prevents moisture from causing bubbles. Once dry, apply the base coat with a roller or squeegee in smooth, even strokes.
Creative Finishes and Flakes
This is where your floor gets personality! Epoxy lets you choose from:
- Metallic finishes: Create a swirling, marble-like effect.
- Glitter: Add sparkle and shine for a bold look.
- 3D effects: Use decals or embedded objects for unique designs.
These creative options truly unlock the full potential of your in-house epoxy flooring transformation, allowing you to customize the look to your exact style.
Topcoat and Curing
Seal your masterpiece with a UV-resistant topcoat. This protects the floor from yellowing and wear while adding extra gloss.
Curing times vary but generally range from 24 to 72 hours. Avoid heavy traffic during this period to ensure the best results.
Maintenance for Longevity
Epoxy floors are low maintenance but still benefit from simple care:
- Sweep or vacuum regularly to keep dust off.
- Mop with mild detergent as needed.
- Avoid harsh chemicals or abrasive cleaners.
With proper care, epoxy floors can last 20+ years without losing their shine.
Common Mistakes to Avoid
- Applying epoxy to a dirty or damp surface.
- Skipping primer or improper mixing.
- Walking on the floor before it cures.
Avoiding these helps ensure your floor stays flawless for years.
Top Benefits of an Epoxy Flooring Transformation in the House
Why are homeowners so excited about epoxy flooring? Here’s the scoop:
- Durability: It stands up to heavy foot traffic, chemicals, and impacts without chipping or cracking.
- Aesthetics: Choose from endless colors and finishes to match any home décor.
- Cost savings: At $3-$8 per square foot, epoxy is more affordable than many alternatives.
- Health: Modern epoxy formulas are low-VOC and hypoallergenic, making them safe for families.
- ROI: According to Zillow 2026 data, epoxy flooring can increase your home’s resale value significantly.
These perks make an insane epoxy flooring transformation in the house a no-brainer for anyone looking to improve their living space.
Cost Breakdown: Is Epoxy Flooring Worth It for Your House?
Let’s break down the numbers for a typical 500 sq ft house garage:
Installation TypeCost RangeNotes
DIY Epoxy Kit $1,000 – $2,000 Requires time and skill, risk of errors
Professional install $2,000 – $5,000 Guaranteed quality, faster turnaround
Factors affecting cost include:
- Location: Prices vary; for example, Lahore and Punjab may have different rates.
- Square footage: Larger areas increase total cost.
- Material quality: Higher-end epoxy costs more but offers better durability.
Savings tips:
- Buy materials in bulk.
- Schedule installation during off-peak seasons for discounts.
Thinking about your budget? Get a free quote for your epoxy flooring transformation in-house to see what best fits your needs!
Common Myths About House Epoxy Flooring Debunked
Let’s clear up a few misconceptions:
- Myth 1: Epoxy floors are too slippery.
- Fact: Textured and anti-slip additives make epoxy safe for busy family homes.
- Myth 2: Epoxy yellows over time.
- Fact: Modern UV-resistant formulations prevent yellowing, keeping floors vibrant for years.
These myths shouldn’t hold you back from enjoying the benefits of an epoxy floor!
Insane Epoxy Flooring Transformation in House FAQ
Is epoxy flooring slippery?
No! Epoxy floors can include textured or anti-slip additives to ensure safety, especially in homes with kids or pets.
Will epoxy floors yellow over time?
Modern epoxy coatings use UV-resistant formulas that prevent yellowing, keeping your floors bright and fresh for years.
How long does epoxy flooring last?
With proper maintenance, epoxy floors can last 20+ years without losing durability or shine.
Can I apply epoxy flooring myself?
Yes, DIY kits are available, but professional installation ensures a flawless, long-lasting finish.
How soon can I walk on my new epoxy floor?
Typically, epoxy floors cure in 24 to 72 hours; avoid heavy traffic during this period for best results.
Is epoxy flooring expensive?
Epoxy is cost-effective, ranging from $3 to $8 per square foot, usually less than tile or hardwood options.
Can epoxy flooring be customized?
Absolutely! Choose from metallic, glitter, or 3D effects to create a unique look that fits your home style.