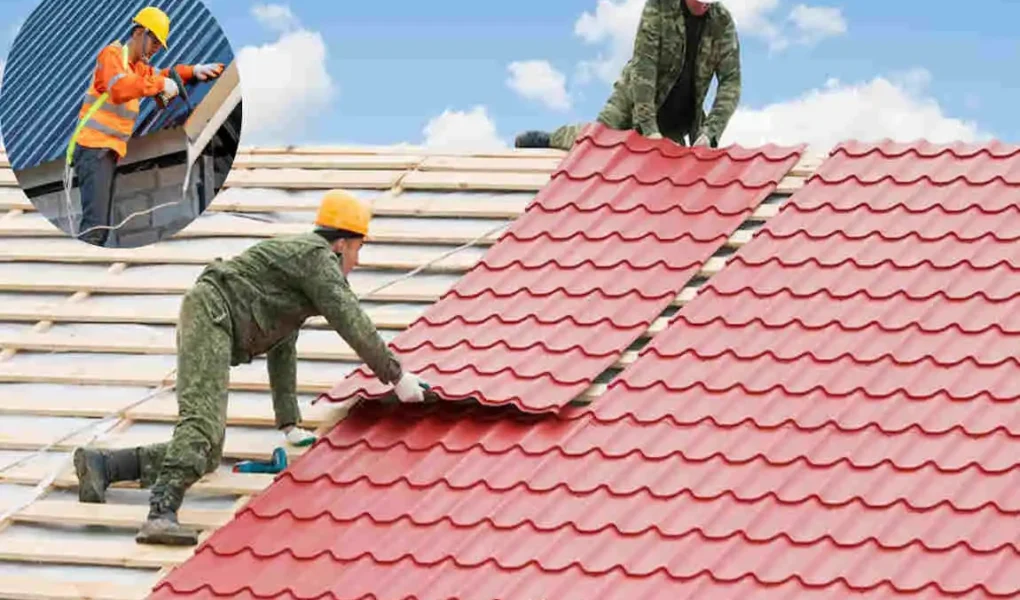
Your roof is more than just shingles or tiles. It’s a complete system that protects your home from rain, heat, wind, and more. At the heart of this system is roof sheathing, and learning how to install plywood on a roof correctly can make a huge difference in how strong and long-lasting your roof will be.
If you’re a homeowner, DIY enthusiast, or someone trying to save money on roofing projects, this guide is for you. Installing plywood on a roof might sound complicated, but breaking it down into simple steps makes it much more manageable.
When done correctly, plywood installation offers several benefits. It strengthens your roof structure, improves resistance against harsh weather, and extends the life of your roofing materials. On the other hand, poor installation can lead to leaks, sagging, and costly repairs.
What Is Roof Plywood & Why Does It Matter
What is Roof Sheathing?
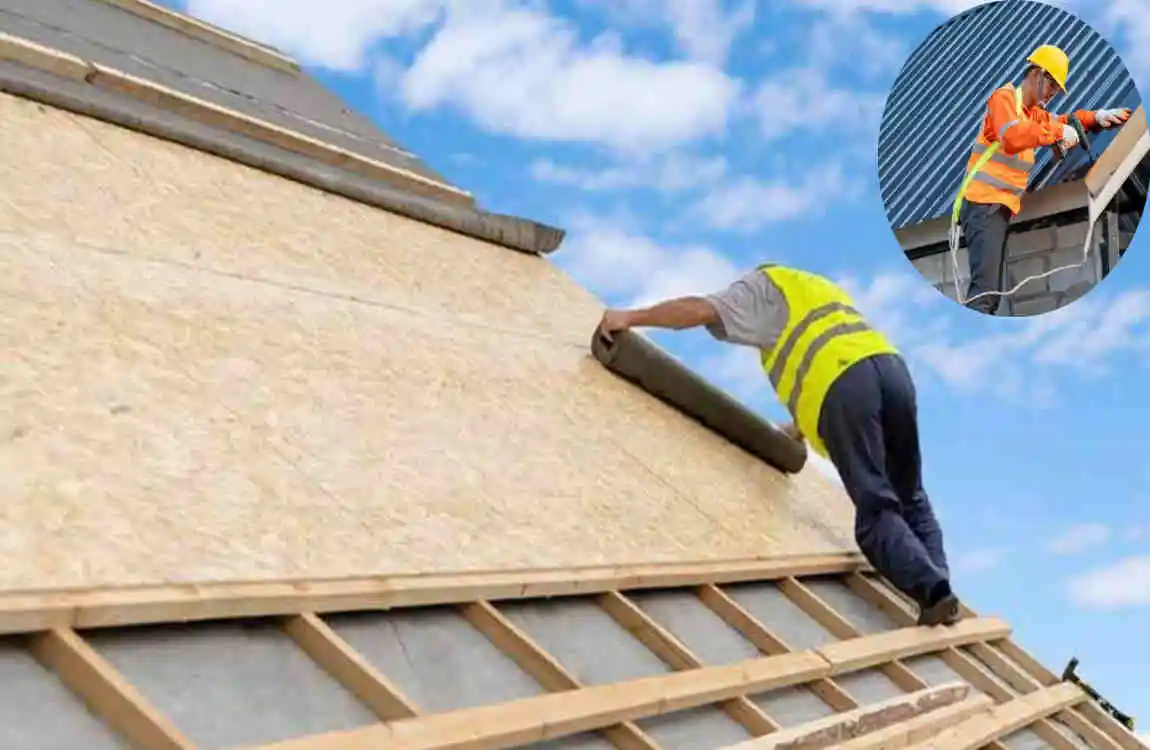
Roof sheathing is the layer of material installed over the rafters or trusses of your roof. It acts as a base for shingles, tiles, or other roofing materials.
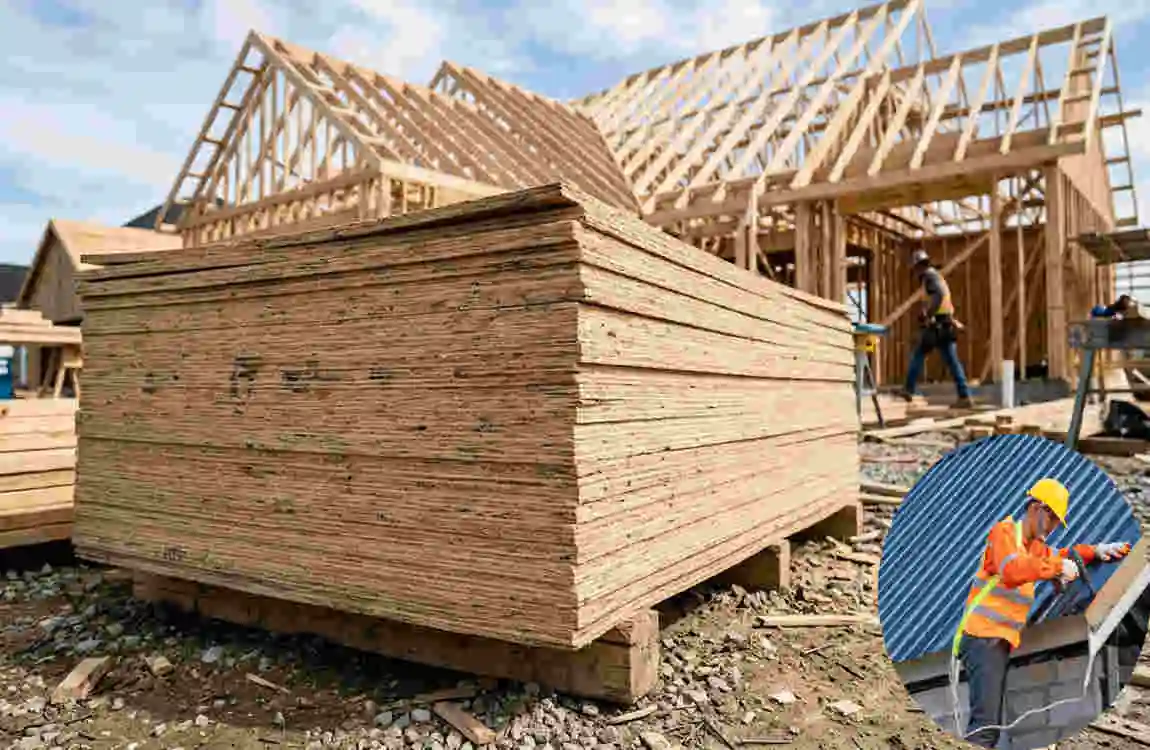
Plywood is one of the most commonly used sheathing materials. It is made by gluing thin layers of wood veneer together, which gives it strength and durability.
You may also hear about OSB (Oriented Strand Board). While both plywood and OSB serve similar purposes, plywood tends to be more durable and moisture-resistant.
Why Plywood is Used on Roofs
Plywood plays a key role in your roof’s performance. It:
- Provides structural support to hold the roof together
- Distributes weight evenly across the structure
- Acts as a solid base for shingles or tiles
Without proper sheathing, your roof would not be able to handle weather stress or long-term wear.
Types of Plywood for Roofing
Not all plywood is the same. Choosing the right type is important.
Here’s a quick breakdown:
Type of Plywood, Best Use Case, Key Feature
CDX Plywood Standard roofing , affordable and durable
Pressure-Treated Moisture-prone areas are resistant to rot and insects
Sanded Plywood Less common for roofing Smooth finish
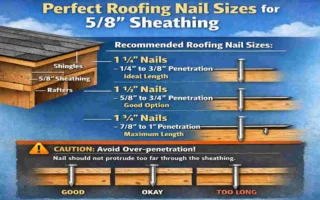
Thickness options usually include ⅜”, ½”, ⅝”, and ¾”. Most residential roofs use ½” or ⅝” plywood, depending on the spacing between rafters.
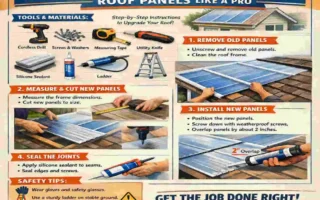
Tools and Materials Needed
Before you begin, gather everything you need. Having the right tools will make your job smoother and safer.
Essential Tools
You’ll need:
- Hammer or nail gun
- Circular saw
- Measuring tape
- Chalk line
- Ladder or scaffolding
- Safety gear (gloves, goggles, harness)
Materials Checklist
Make sure you have:
- Plywood sheets
- Roofing nails
- H-clips
- Construction adhesive (optional but helpful)
Safety Precautions Before You Start
Working on a roof comes with risks. Taking safety seriously is not optional—it’s essential.
Personal Safety
Start with proper gear. Wear non-slip shoes to avoid slipping. Use a safety harness if your roof is steep. Gloves and goggles will protect your hands and eyes.
Also, pay attention to the weather. Avoid working in rain, strong winds, or extreme heat.
Roof Inspection
Before installing anything, inspect the structure. Check the rafters and trusses carefully. Look for signs of damage, rot, or weakness.
Fixing these issues now will save you trouble later.
Legal Considerations
Some areas require permits for roofing work. Check your local building codes before starting. Following regulations ensures your work is safe and compliant.
Preparing the Roof Structure
Preparation is the foundation of a successful roofing project.
Removing Old Roofing
If you’re replacing an old roof, start by removing existing shingles or materials. Use a roofing shovel or pry bar.
Once removed, thoroughly clean the surface. Remove nails, debris, and dust.
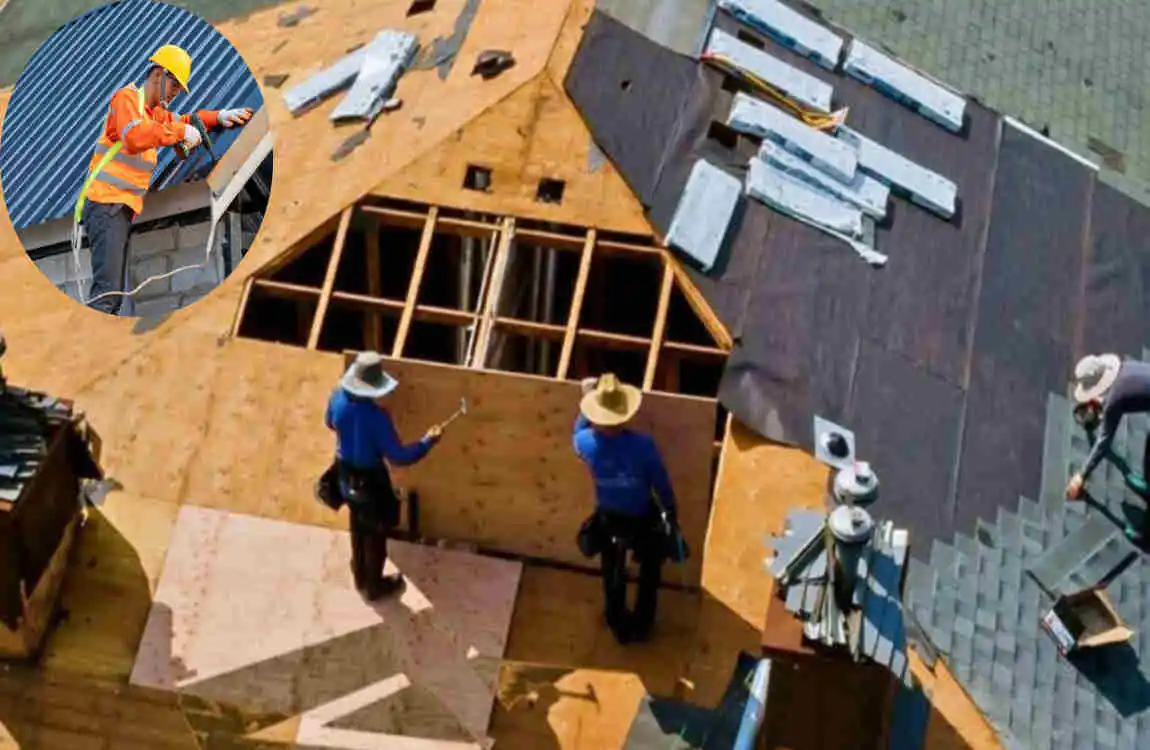
Inspecting and Repairing Framing
Check all wooden framing. Replace any damaged rafters. Make sure spacing is even, as uneven spacing can affect plywood installation.
Measuring the Roof
Measure your roof carefully to calculate how many plywood sheets you need.
A simple approach:
- Measure length and width
- Multiply to get the total area
- Divide by sheet size (usually 32 sq ft per sheet)
Always buy a few extra sheets to account for cuts and mistakes.
Step-by-Step Guide: How to Put Plywood on a Roof
This is the most important part of the guide. Follow each step carefully for the best results.
Start at the Bottom Edge
Begin at the eaves, which are the lower edges of your roof. Starting here allows water to flow properly once roofing materials are added.
Align your first sheet with the edge. Make sure it sits straight.
Leave Proper Gaps
Always leave a small gap (about 1/8 inch) between sheets.
This gap allows the plywood to expand and contract with temperature changes. Without it, the wood can warp or buckle.
Lay the First Row
Place the first row of plywood across the roof.
Take your time to align each sheet properly. Use a chalk line to keep everything straight. A straight first row makes the rest of the job much easier.
Secure the Plywood
Now it’s time to nail the plywood in place.
Follow this pattern:
- Nails every 6 inches along edges
- Nails every 12 inches in the middle
You can use a hammer or a nail gun. A nail gun is faster, but a hammer gives you more control if you’re new.
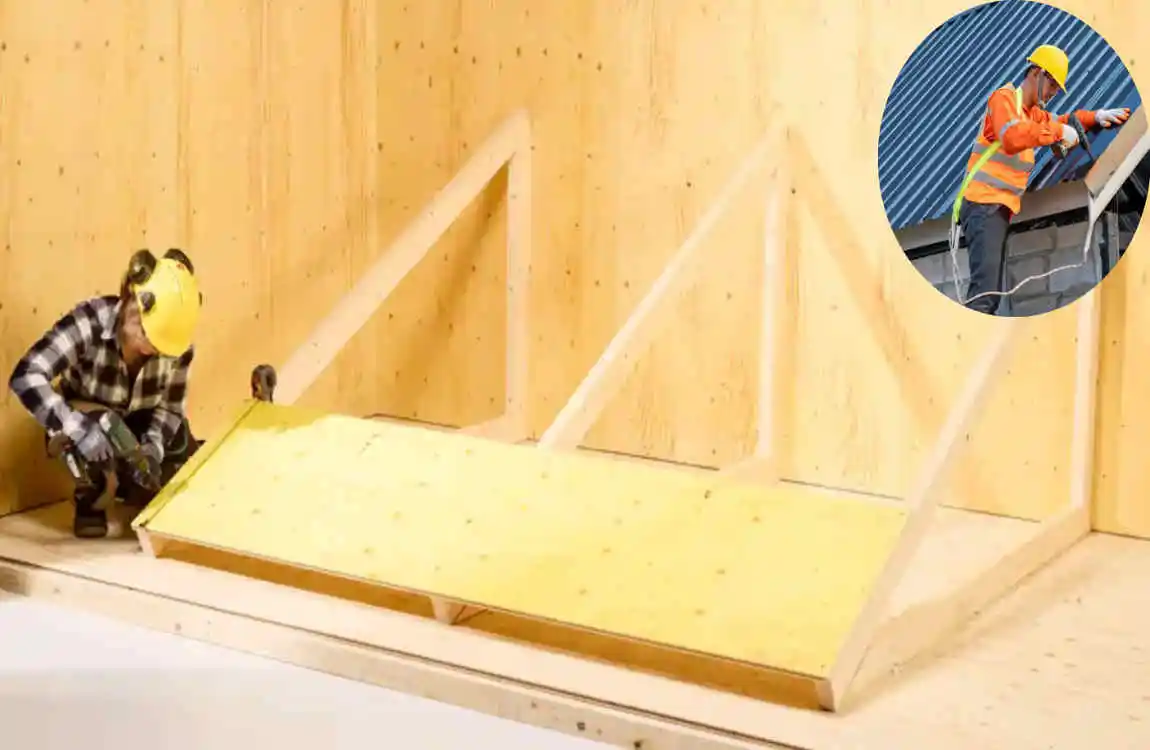
Stagger the Seams
Don’t line up all the seams in one row. Instead, stagger them like bricks in a wall.
This pattern increases strength and prevents weak points.
install H-Clips
H-clips go between plywood sheets along the edges.
They provide extra support and help keep the panels level. This is especially useful for thinner plywood.
Continue Up the Roof
Work your way up, row by row.
Keep checking alignment as you go. Small mistakes can add up quickly, so correct them early.
Cut Plywood for Edges and Peaks
You’ll need to cut plywood to fit around edges, vents, and chimneys.
Measure carefully before cutting. A circular saw works best for clean cuts.
Final Inspection
Before moving on, inspect your work.
Check for:
- Loose nails
- Uneven surfaces
- Missing gaps
Fix any issues now to avoid problems later.
Common Mistakes to Avoid
Even small mistakes can affect your roof’s performance.
Here are some common ones to watch out for:
- Not leaving expansion gaps
- Misaligned plywood sheets
- Using the wrong thickness
- Incorrect nailing pattern
- Ignoring safety precautions
Avoiding these mistakes will save you time, money, and stress.
Plywood vs OSB: Which Is Better for Roofing?
Both plywood and OSB are popular choices, but they have differences.
Plywood is stronger and better at handling moisture. It dries faster and resists warping.
OSB, on the other hand, is cheaper and more uniform in appearance. However, it tends to absorb moisture more easily.
For DIY projects, plywood is often the better choice because it is more forgiving and durable.
Cost Breakdown of Installing Roof Plywood
Understanding costs helps you plan your project better.
Material Costs
Plywood prices vary depending on thickness and quality.
Item Average Cost (Per Unit)
Plywood Sheet $20 – $60
Roofing Nails $5 – $15 per box
H-Clips $10 – $30 per pack
Labor Costs (If Hiring)
Professional installation can cost between $1.50 to $3 per square foot.
DIY Savings
Doing it yourself can save you a significant amount on labor. For many homeowners, this can mean hundreds or even thousands of dollars saved.
Maintenance Tips After Installation
Once your plywood is installed, regular maintenance is key.
Inspect your roof at least twice a year. Look for signs of water damage or sagging.
Keep gutters clean to prevent water buildup. Moisture is one of the biggest threats to plywood.
If you notice soft spots or damage, address them quickly to prevent bigger issues.
FAQs
How thick should roof plywood be?
Most roofs use ½-inch or ⅝-inch plywood. Thicker plywood is better for wider rafter spacing.
Can I install plywood over old boards?
In some cases, yes. But it’s usually better to remove old materials and start fresh for a stronger result.
How long does roof plywood last?
With proper installation and maintenance, plywood can last 20–30 years or more.
Do I need a professional?
Not always. If you’re comfortable with tools and safety precautions, you can handle it yourself.
What nails should I use?
Use galvanized roofing nails. They resist rust and provide strong holding power.