
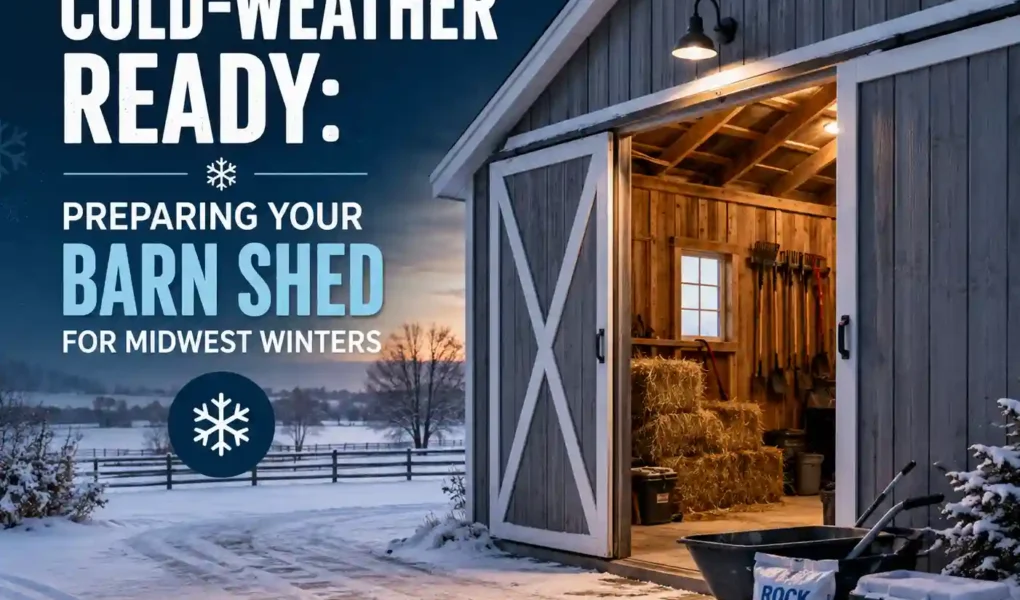
If you live anywhere across the Midwest, you already know that winter does not send a polite warning before it shows up. One week you are raking leaves, and the next you are scraping ice off the windshield while the wind cuts through your jacket. Your barn sheds face the same weather you do, only they cannot come inside to warm up.
A storage building left unprepared for winter can end up costing you a lot more than a few cold mornings. Snow loads, moisture, freezing temperatures, and wind gusts all take a toll on outdoor structures. The good news is that most winter damage is preventable with a little attention before the first hard freeze. This guide walks through the practical steps you can take to get your barn shed ready for the long Midwest winter.
Why Winter Hits Outdoor Structures Hard
Midwest winters bring a combination that outdoor structures are not naturally fond of. Heavy snowfall, repeated freeze and thaw cycles, biting wind, and lingering moisture all work together to test every joint, seam, and surface on a building.
Snow is the obvious one. A single foot of fresh snow can weigh close to 20 pounds per square foot. Wet snow is even heavier. When that weight sits on a roof for weeks at a time, it puts real stress on trusses, fasteners, and the walls supporting them. Buildings that were not engineered with snow loads in mind can sag, leak, or worse.
Moisture is the quieter threat. When warmth from inside a shed meets cold surfaces, condensation forms. Over time, that moisture can lead to wood damage, rust on metal components, and a damp environment that is rough on anything you have stored inside.
Wind is the third factor, especially across open farmland and suburban lots with few windbreaks. A strong winter storm can push against walls and roofs with surprising force, testing every connection that holds the building together.
Understanding these threats is the first step. The next is doing something about them before the ground freezes.
Start With a Thorough Fall Inspection
Walk around your shed before the weather turns. You are looking for small problems that could become big ones once snow and ice arrive.
Check the roof first. Look for loose or missing shingles, gaps in metal panels, and any sagging between trusses. A roof that looks fine in October can become a real problem under two feet of January snow. If you spot damage, get it addressed now. Roof repairs are much harder once everything is frozen.
Inspect the siding next. Look for cracks, warping, or areas where the finish has worn thin. Wood siding that has lost its protective coating is more likely to absorb moisture, and absorbed moisture freezes and expands, which opens the door to further damage.
Examine the doors. Do they close fully and latch securely? Gaps around doors let in snow, wind, and moisture. Hinges and latches should move freely. A little lubricant now saves you from fighting a frozen lock later.
Finally, look at the foundation. Check for any shifting, settling, or gaps between the skids and the ground. A level building handles snow weight far better than one that has started to tilt.
Clear the Area Around the Building
This is one of the simplest and most overlooked steps. Anything stacked against the sides of your shed, from firewood to old lumber to leaf piles, creates a bridge for moisture and a hiding spot for pests looking for winter shelter.
Pull anything combustible or moisture holding at least a foot away from the walls. Trim back branches that hang over the roof. A heavy snowfall can bring down a limb that damages your roof or siding, and the repairs will not be cheap in the middle of winter.
Clean out the gutters if your building has them. Clogged gutters cause water to back up and refreeze, which can push moisture under the roof edge and into the walls.
Think About Snow Load Before It Piles Up
Not every building is built to the same standard. If your shed was engineered and certified to meet local building codes, it was designed with regional snow and wind loads in mind. That matters a lot in states like Indiana, Illinois, Michigan, and Ohio, where winter storms are a regular event.
If you are not sure what your building was rated for, find out before winter. A quick call to the manufacturer or dealer can tell you whether your shed was built for the snow loads typical in your area. Some buildings can be upgraded with heavier snow load packages, and that conversation is a lot easier in the fall than after a storm has already done its work.
During the winter, keep an eye on accumulation. A roof that was built to handle normal snowfall can still struggle under an unusually heavy storm. If you see more than a foot of wet snow piled up, it is worth clearing it off with a roof rake, working from the ground whenever possible. Never climb onto a snowy roof. The risk is not worth it.
Manage Moisture Inside the Shed
Cold weather turns small moisture problems into bigger ones. Condensation forms when warm air from the ground meets cold walls and ceilings, and that moisture has nowhere to go when the building is closed up tight.
Start by keeping the floor dry. If you store anything damp, like lawn equipment that has not been wiped down or bags of soil that have been sitting in the rain, move it or dry it out before sealing the shed for winter. Wet items inside a closed building are a recipe for mold, rust, and a musty smell that lingers into spring.
Ventilation matters more than people realize. A shed that breathes a little will handle moisture better than one that is sealed up completely. If your building has vents, make sure they are clear and not blocked by stored items. If it does not have vents, consider cracking a door or window on milder days to let trapped moisture escape.
Raise stored items off the floor when you can. Pallets, shelving, or even a few bricks under storage bins keep your belongings away from the coldest, dampest surface in the building.
Secure Doors, Windows, and Latches
Winter wind finds every gap. A door that sits slightly off its frame in summer becomes a wide open invitation for snow and cold air in January.
Check the weatherstripping around doors and windows. Replace anything that is cracked, compressed, or missing. Even a small gap can let in enough wind to drop the temperature inside your shed significantly, and that temperature swing increases condensation.
Make sure latches close fully and that locks work smoothly. A latch that is hard to close in October will be nearly impossible in freezing temperatures. A little graphite or silicone lubricant now keeps things moving when the cold sets in.
If your shed has windows, inspect the seals and the glass itself. A cracked pane is a minor annoyance in summer and a real problem in winter. Replace damaged glass before the cold arrives.
Keep the Roof and Drainage Clear All Winter
Preparation does not stop once the first snow falls. Throughout the winter, take a few minutes after each storm to check on your building.
Clear snow from the roof when accumulation gets heavy, using a roof rake from the ground. Do not chip at ice with sharp tools, as you can damage shingles or metal panels. Let ice melt naturally when possible, and use calcium chloride products sparingly if you need to speed things up.
Make sure the area around the base of the shed stays clear so melting snow has somewhere to go. Snow piled against the sides of a building keeps the walls cold and wet, which is exactly what you want to avoid.
What to Store, and What to Bring Inside
Not everything belongs in an unheated shed through a Midwest winter. Think carefully about what you leave behind.
Items that can be damaged by freezing temperatures, like certain paints, liquids, electronics, and anything with a motor that still holds fuel, are better off coming inside for the season. Drain fuel from mowers, trimmers, and other equipment before storing them, and add fuel stabilizer if you cannot empty the tank completely.
Items that handle cold well, like hand tools, yard games, patio furniture, and dry building materials, are fine to leave in the shed. Organize them so air can circulate around them and so you can reach what you need without digging through a packed building in the cold.
A Little Work Now Saves a Lot Later
Getting a barn shed ready for winter is not complicated, but it does take a little time and attention. The payoff is a building that comes through the cold months in good shape, with your stored items protected and your investment intact.
The buildings that struggle in winter are almost always the ones that were ignored in the fall. A loose shingle, a gap under a door, a pile of leaves against the wall, none of these are emergencies on their own. But together, over a long cold season, they add up to real damage.
Take an afternoon before the first hard freeze. Walk the building, make your list, and handle what you can. Your shed, and everything inside it, will be in far better shape when spring finally rolls back around.