You are relaxing in your living room, enjoying the cool breeze from your air conditioner. But when it is time for bed, you walk upstairs only to find your bedroom feels like an absolute sauna. You crank up the thermostat to cool down the bedroom, but now your downstairs living room has turned into a freezing icebox.
Does this sound painfully familiar? If you are nodding your head, you are not alone. Uneven home temperatures are a massive source of frustration for homeowners everywhere. Not only does this leave you uncomfortable, but it also causes your energy bills to skyrocket because your cooling system is working overtime to compensate for these hot spots. In fact, with energy costs constantly rising, paying to cool empty rooms is a luxury most of us cannot afford anymore.
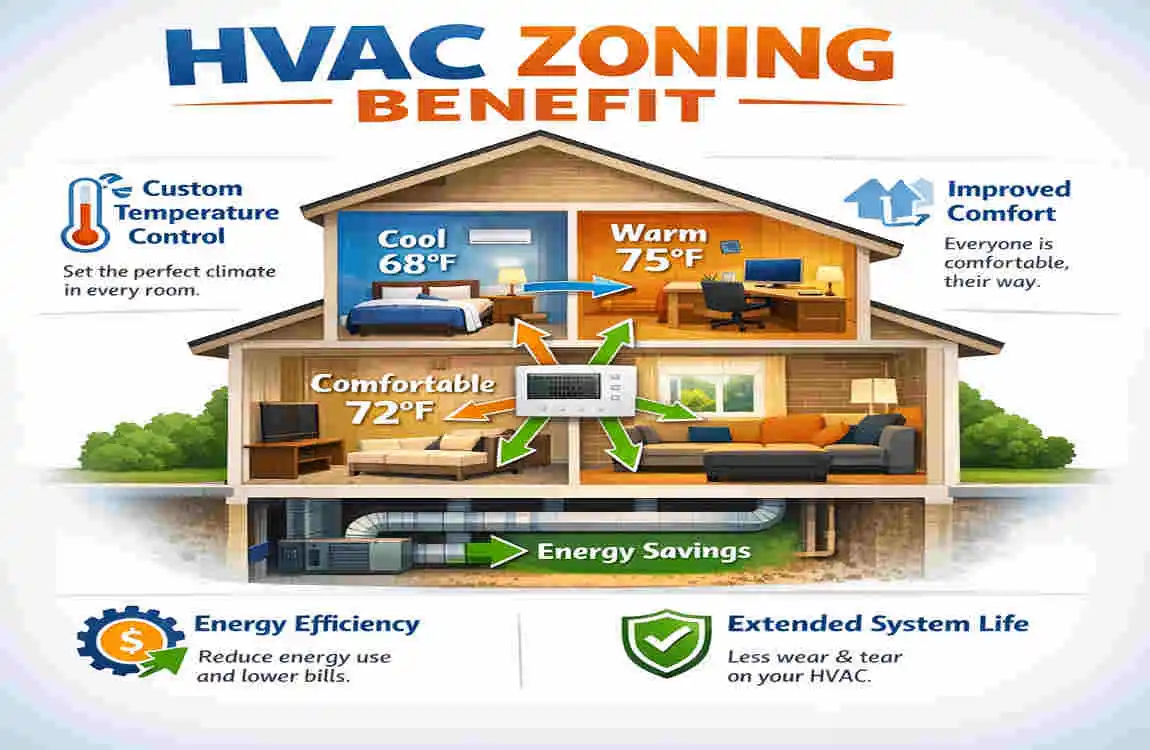
This is exactly where a zoned HVAC system steps in to save the day. Instead of relying on a single thermostat to control the climate of your entire house, zoning allows you to divide your home into distinct, independently controlled areas. By using strategically placed dampers, multiple thermostats, and a central control panel, you can direct conditioned air exactly where you need it and restrict it from the areas you do not.
The Unbeatable HVAC Zoning Benefits You Need to Know
Before you learn how to upgrade to a zoned HVAC setup, it is vital to understand exactly what you stand to gain. The HVAC zoning benefits extend far beyond just feeling a little cooler in the summer. Let us break down the core advantages of making this smart home improvement.
Energy Savings Breakdown
When it comes to energy savings, zoned HVAC setups are unmatched. Traditional systems are forced to push air through your entire duct network, conditioning every single room, whether it is occupied or not. Zoned systems drastically reduce your equipment’s runtime by delivering conditioned air only to active areas. This demand-based operation directly translates to hitting that sweet spot of 30% energy savings.
Furthermore, if you pair your new zoned HVAC system with programmable, smart thermostats, you can schedule specific temperature shifts based on your family’s daily routine, potentially saving an additional 10% on top of your baseline savings!
Year-Round Comfort
ROI and Longevity
Because your system no longer has to cool empty spaces, it runs for shorter periods. This dramatically reduces the daily wear and tear on your compressor, blower motor, and other expensive internal components. A retrofit zoning HVAC project typically pays for itself in just 3 to 5 years through lower utility bills, while simultaneously extending the overall lifespan of your expensive heating and cooling equipment.
Here is a quick breakdown of what you can expect:
Benefits, Savings & Lifestyle Impact
Energy Use Up to 30% lower monthly utility bills.
Complete Comfort Independent temperature control for every zone in the house.
Equipment Life Reduced daily runtime means fewer repairs and a longer-lasting unit.
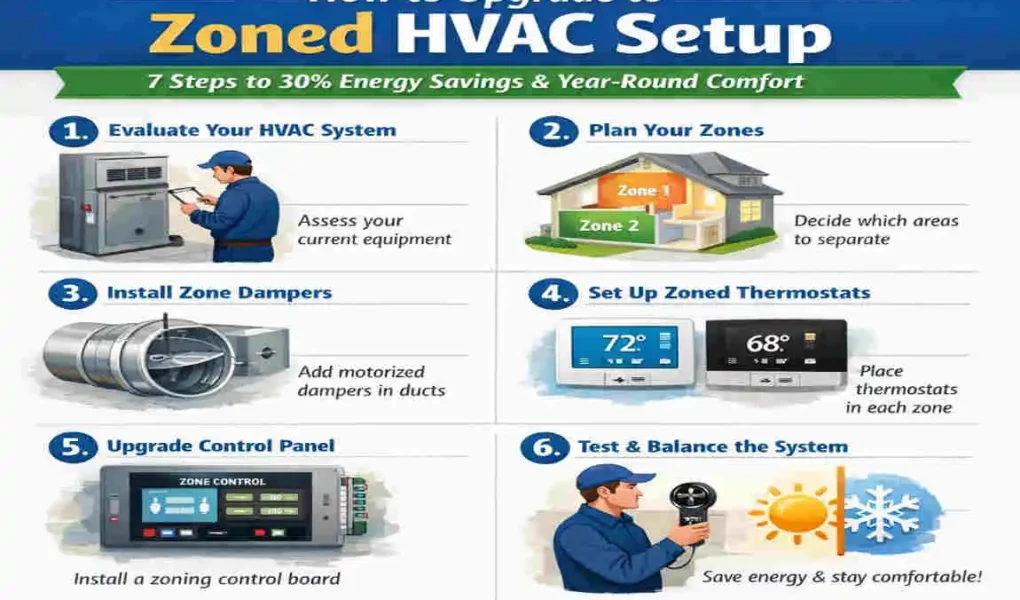
How to Upgrade to Zoned HVAC Setup: Your 7-Step Guide
Are you ready to transform your home’s climate control? A zoned HVAC installation might sound incredibly technical, but when you break it down into manageable chunks, the process makes perfect sense. Whether you are building from scratch or planning a retrofit zoning HVAC upgrade, follow these seven essential steps.
Assess Your Current HVAC Equipment
You cannot map out a destination if you do not know where you are starting. The very first step in how to upgrade to a zoned HVAC setup is to evaluate the equipment you already have in your home. You need a thorough audit of your existing ductwork, your system’s current airflow capacity, and a professional load calculation.
Not all air conditioners and furnaces are perfectly suited for a zoned HVAC installation right out of the box. Ideally, you want a system with a variable-speed blower motor or a two-stage compressor. These advanced units can easily adjust their output based on which zones are calling for air. If you have an older, single-stage system that only knows how to run at 100% capacity, you might need a bypass damper installed to relieve excess air pressure when only one small zone is open.
Design and Map Your Zones
Once you know your equipment can handle the upgrade, it is time to map out your home. Most residential zoned HVAC system setups consist of 3 to 5 distinct zones. You do not want a separate zone for every single tiny room; that overcomplicates the system and creates major airflow problems. Instead, group rooms together based on their usage and their natural temperature profiles.
For instance, a classic 3-zone layout might look like this:
- Zone 1: The primary living spaces (Living room, kitchen, dining room).
- Zone 2: The sleeping quarters (All upstairs bedrooms).
- Zone 3: The basement or guest suite.
Choose Your Zoning Components
A successful zoned HVAC installation relies on three primary pieces of hardware working in perfect harmony. You need to select the right components that fit your budget and your lifestyle needs.
First, you need the dampers. Think of dampers as physical traffic lights inside your ductwork. They are motorized metal plates that open and close to direct the flow of air. Second, you need thermostats for each zone. We highly recommend upgrading to smart thermostats, like those offered by Honeywell or Nest, because they offer Wi-Fi control and advanced scheduling. Finally, you need the zone control panel. This is the central “brain” of the operation, mounted near your indoor unit, which communicates between the thermostats, the dampers, and your HVAC equipment.
Here is an estimated breakdown of the components you will need:
Component Primary Purpose Estimated Cost
Motorized Dampers Open and close to physically control airflow inside the ducts. $200 – $500 per zone
Smart Thermostats Act as the remote control and temperature sensor for each zone. $100 – $300 each
Zone Control Panel: The central brain that receives signals and operates the system. $500 – $1,000
Gather Necessary Permits and Hire the Pros
While we love sharing DIY Home Improvement Tips, learning how to upgrade to a zoned HVAC setup is generally not a weekend project for a beginner. Because this project involves cutting into your home’s ductwork, tapping into your electrical panel, and modifying the airflow of an expensive mechanical system, it is crucial to bring in the professionals.
Before any cutting begins, check your local building regulations. In many areas, including rapidly developing cities, significant modifications to an HVAC system require a local building permit. Hiring a certified, highly experienced HVAC technician ensures that your zoned HVAC installation is entirely up to code.
A seasoned pro will know exactly how to handle a retrofit zoning HVAC project on an existing system without accidentally destroying your furnace’s heat exchanger or freezing your air conditioner’s evaporator coil due to restricted airflow.
install the Dampers and Wiring
Now we reach the physical labor of your zoned HVAC installation. This step is where your home starts to transform. Your HVAC technician will locate the main duct trunks that feed air to your newly designed zones. They will carefully cut access holes into the sheet metal of your ductwork and slide the motorized dampers into place.
Once the dampers are securely mounted and the ductwork is sealed with mastic tape to prevent any air leaks, the technician will run low-voltage wiring. This wire travels from the motor on the outside of each damper all the way back to the main zone control panel. It is a meticulous process that requires crawling through attics or basements, but it is the physical backbone of achieving massive energy savings through zoned HVAC style.
Set Up Your Thermostats and Control Panel
With the dampers safely nestled in your ductwork, it is time to connect the brains of the operation. The technician will securely mount the main zone control panel next to your indoor air handler. They will wire your HVAC equipment, the dampers, and the thermostats directly into this board.
Next comes the fun part for you as the homeowner: installing the new smart thermostats in each of your designated zones. Once they are mounted on the wall and powered up, you can connect them to your home’s Wi-Fi network. From your smartphone, you can now name your zones (e.g., “Main Bedroom,” “Downstairs Living”), set up personalized daily schedules, and even utilize geofencing features so the system adjusts automatically when you leave the house!
Test, Balance, and Optimize the System
The final step in how to upgrade to a zoned HVAC setup is the most important for ensuring equipment safety and securing those HVAC zoning benefits. Your system must be vigorously tested and balanced.
When dampers close off sections of your ductwork, the air pressure inside the remaining open ducts increases. If this “static pressure” gets too high, it creates a loud whistling noise, damages your blower motor, and ruins your system’s efficiency. Your technician will use specialized manometers to test the airflow and calibrate the dampers so that air moves smoothly and quietly.
Optimization Checklist:
- Balance the dampers: Ensure air volume is distributed evenly when multiple zones are calling.
- Verify static pressure: Confirm that closing all but one zone does not cause a dangerous spike in pressure.
- Program smart schedules: Set up your temperature routines to squeeze out that extra 10-15% in energy savings, zoned HVAC systems are famous for.
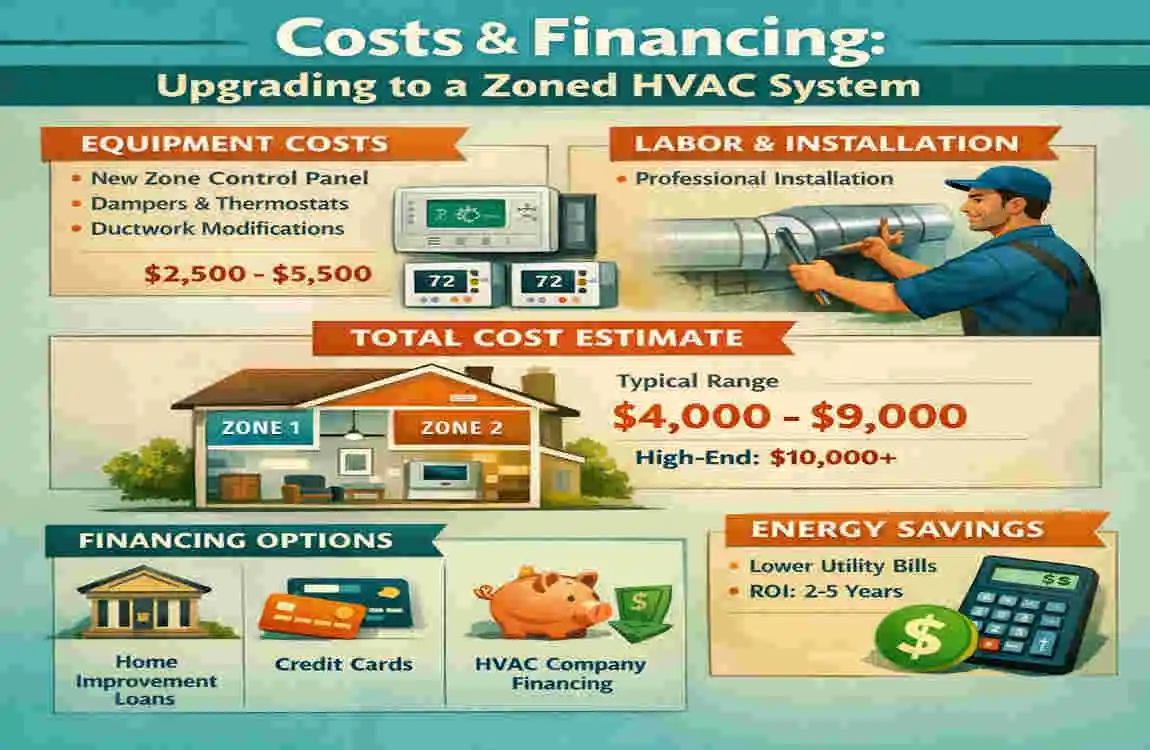
Understanding the Costs and Financing of Your Zoned HVAC Installation
Upgrading your home’s climate control is an investment in your property and your daily quality of life. But how much does a zoned HVAC system actually cost?
For a standard 4-zone retrofit zoning HVAC project on an existing system, you can expect to pay anywhere from $3,000 to $10,000. Why such a wide range? The final price tag depends heavily on the size of your home, the accessibility of your current ductwork (attics and unfinished basements are much cheaper to work in than ducts buried behind drywall), and whether your current HVAC unit needs an upgrade to a variable-speed motor to handle the new pressure demands.
While the upfront cost might seem steep, remember to factor in the massive energy savings zoned HVAC provides. Furthermore, you do not always have to pay out of pocket. Many regions, including energy-conscious programs emerging, offer energy rebates for upgrading to high-efficiency, smart systems. You can also explore low-interest home improvement loans.
Here is a quick look at how the costs compare to your long-term savings:
Number of Zones, Estimated install Cost, Annual Energy Savings, Estimated Payback Period
3 Zones $4,000 $500 (Assuming 30% savings) 8 Years
5 Zones $8,000 $900 (Assuming 30% savings) 9 Years
Common Mistakes to Avoid During a Retrofit Zoning HVAC Project
When learning how to upgrade to a zoned HVAC setup, it is just as important to know what not to do. Avoid these common pitfalls to ensure your project goes off without a hitch:
- Creating Undersized Zones: It is incredibly tempting to give a single small room, like a home office, its own dedicated zone. Do not do this. If a zone is too small, your HVAC system cannot push enough air into it without causing massive pressure backups in the ductwork. Fix: Always group smaller rooms together into a larger zone.
- Ignoring System Static Pressure: We mentioned this earlier, but it bears repeating. High static pressure will destroy your blower motor. Fix: Ensure your contractor installs a bypass damper or uses a variable-speed blower to safely manage the air pressure when only one zone is open.
- Attempting DIY Wiring: A zone control panel has dozens of tiny, low-voltage wire connections. Crossing the wrong wires can short out your furnace’s motherboard, costing you thousands of dollars in an instant. Fix: Always rely on a licensed electrician or HVAC technician for the wiring phase of your zoned HVAC installation.
Maintaining Your Zoned HVAC System for Maximum Efficiency
Congratulations! You have successfully navigated how to upgrade to a zoned HVAC setup. To ensure you keep reaping those incredible HVAC zoning benefits, you need to practice proactive maintenance.
Treat your new system like a high-performance vehicle. First and foremost, you must change your main HVAC air filters religiously—ideally every 30 to 60 days. Because a zoned system relies on precise airflow, a clogged, dirty filter will instantly throw off your static pressure and force your system to overwork.
Additionally, schedule an annual maintenance checkup with your local HVAC technician. During this visit, they should physically inspect the motorized dampers in your ductwork to ensure they are opening and closing fully without getting stuck.
Ready to Master How to Upgrade to Zoned HVAC Setup?
We have covered a lot of ground today! By following these 7 detailed steps—from assessing your current equipment and mapping out your home, to installing advanced dampers and optimizing your smart thermostats—you now know exactly how to upgrade to a zoned HVAC setup.
You do not have to spend another summer sweating in your bedroom while your living room feels like a refrigerator. A zoned HVAC system puts the power of ultimate comfort and serious financial savings right in the palm of your hand.