Electricity costs are rising each year, and many homeowners are now seeking smarter, more affordable ways to light their homes. At the same time, people are becoming more aware of the need to protect the environment. This is where solar lighting comes in as a simple and effective solution.
Solar lights are powered by sunlight, which means you don’t have to rely on expensive electricity. Even better, you don’t need to be an expert to install them. In fact, most solar lighting systems are designed for easy DIY installation, making them perfect for beginners.
What Are Solar Lights and How Do They Work?

Components of Solar Lights
Before you begin installation, it’s important to understand what a solar lighting system consists of. Each part plays a key role.
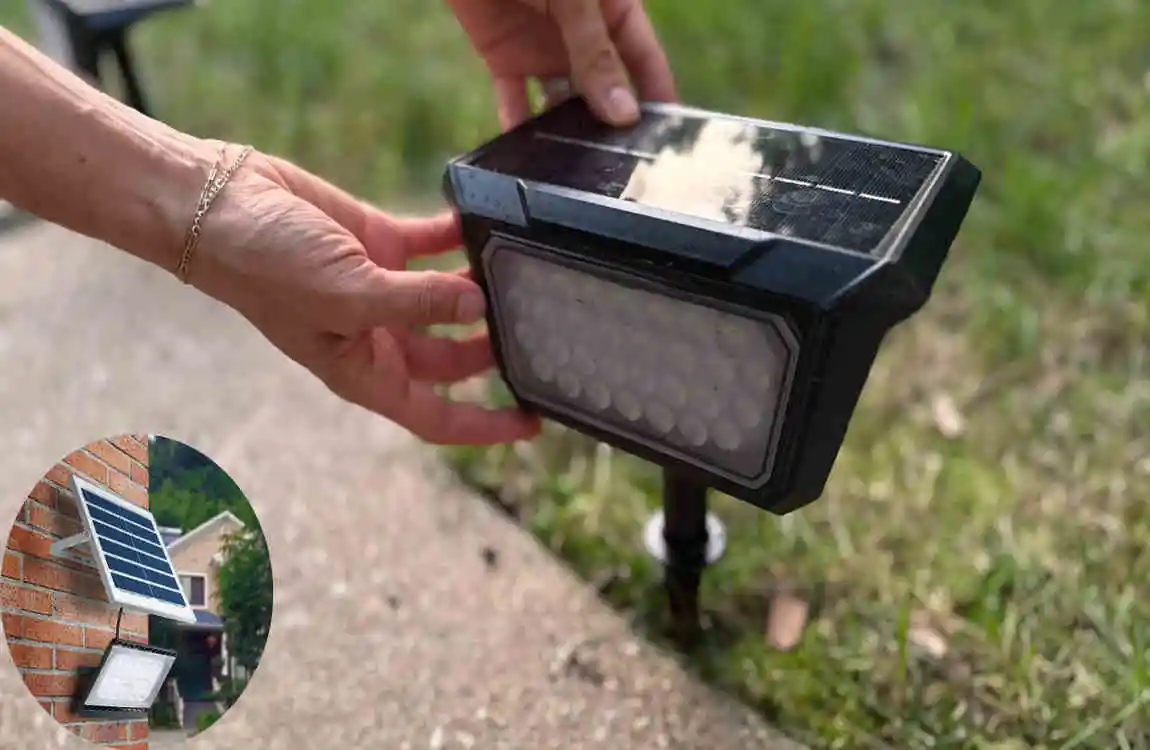
- Solar Panel – This collects sunlight and converts it into energy
- Rechargeable Battery – Stores the energy for later use
- LED Bulb – Produces light using stored energy
- Controller Unit – Manages charging and switching on/off
These components work together to provide reliable lighting without grid electricity.
Working Mechanism
The process is simple and automatic.
During the day, the solar panel absorbs sunlight and converts it into electricity. This energy is stored in the battery. When the sun sets, the system automatically turns on the light using the stored energy.
Sunlight → Electricity → Stored in Battery → Light at Night
You don’t have to switch anything on or off. It works on its own.
Types of Solar Lights
There are different types of solar lights available depending on your needs.
- Garden or Pathway Lights – Perfect for walkways
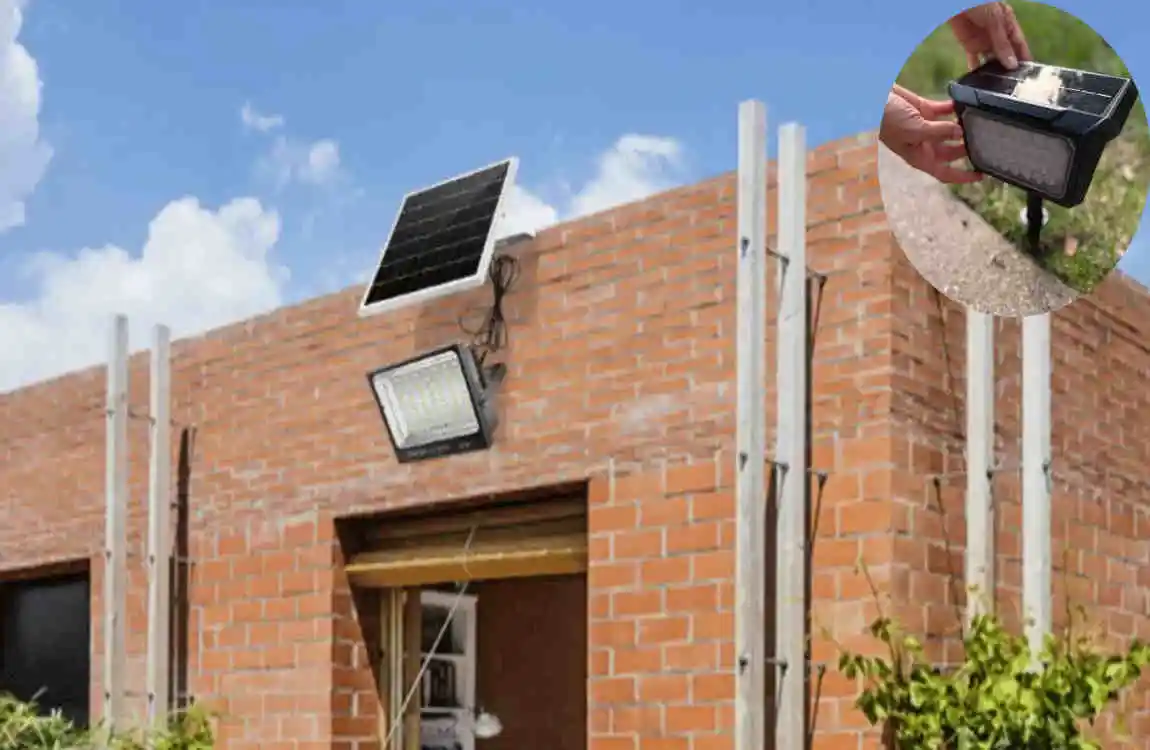
- Wall-Mounted Lights – Great for entrances and walls
- Floodlights – Provide strong light for security
- String Lights – Ideal for decoration
Choosing the right type depends on where you want to install them.
Why Choose Solar Lights for Home Use
Solar lights are becoming popular for a reason. They offer several advantages.
They use renewable energy, which means you don’t run out of power. They also don’t require wiring, which makes installation simple and safe. Plus, you can easily expand your system later by adding more lights.
Benefits of Installing Solar Lights at Home
Financial Savings
One of the biggest reasons people switch to solar lights is to save money.
Once installed, solar lights use free energy from the sun. This helps you reduce your electricity bills over time. Also, since there’s no wiring involved, you save on installation costs.
Environmental Benefits
Solar lights are a clean energy solution. They don’t produce pollution or harmful emissions.
Using solar lighting reduces your carbon footprint and contributes to a greener environment.
Convenience & Safety
Solar lights are very easy to use. Most systems turn on automatically at night and turn off during the day.
They also improve safety by illuminating dark areas around your home, such as entrances, gardens, and driveways.
Low Maintenance
Solar lights are designed to last a long time. LED bulbs have a long lifespan, and the system doesn’t require frequent repairs.
With basic care, your solar lights can work efficiently for years.
Things to Consider Before Installation
Sunlight Availability
Solar lights depend on sunlight, so placement is very important.
Make sure you install them in areas that receive direct sunlight for most of the day. Avoid placing them under trees, on roofs, or in shaded areas.
Location Planning
Think about where you actually need lighting.
Common areas include:
- Entryways
- Garden paths
- Driveways
- Backyards
Planning helps you get the best results.
Type of Solar Light Needed
Not all solar lights are the same.
Some are designed for brightness, while others are for decoration. You should also decide whether you want motion-sensor lights or continuously lit lights.
Battery Capacity & Backup
Battery size affects how long your lights will stay on at night.
If you live in a cloudy area, choose lights with higher battery capacity to last longer.
Mounting Surface
Check where you will install the lights.
Different surfaces, such as walls, poles, or the ground, require different mounting methods. Make sure your surface is strong enough to hold the light securely.
Tools and Materials Required
Before starting, gather all the necessary tools and materials.
Basic Tools List
- Solar light kit
- Screws and wall anchors
- Drill machine
- Screwdriver
- Measuring tape
- Ladder
- Marker or pencil
Having everything ready will make your work faster and easier.
Step-by-Step Guide: How to install Solar Light at Home
Now let’s move to the most important part. Follow these simple steps carefully.
Choose the Perfect Location
Start by selecting the right spot.
Look for a place that gets maximum sunlight during the day. This is the most important factor. Without enough sunlight, your solar lights won’t work properly.
Place the panel facing south (in most regions) for optimal sun exposure.
Also, check for any obstacles, such as trees or buildings, that may block sunlight.
Take your time with this step. A good location ensures better performance.
Assemble the Solar Light Components
Next, assemble your solar light system.
Most solar lights come with manufacturer instructions. Follow them carefully.
Attach the solar panel, battery, and light unit as directed. Make sure everything is connected properly.
Before mounting, test the system. Place the panel in sunlight and check if the light turns on when covered.
This small test helps you avoid problems later.
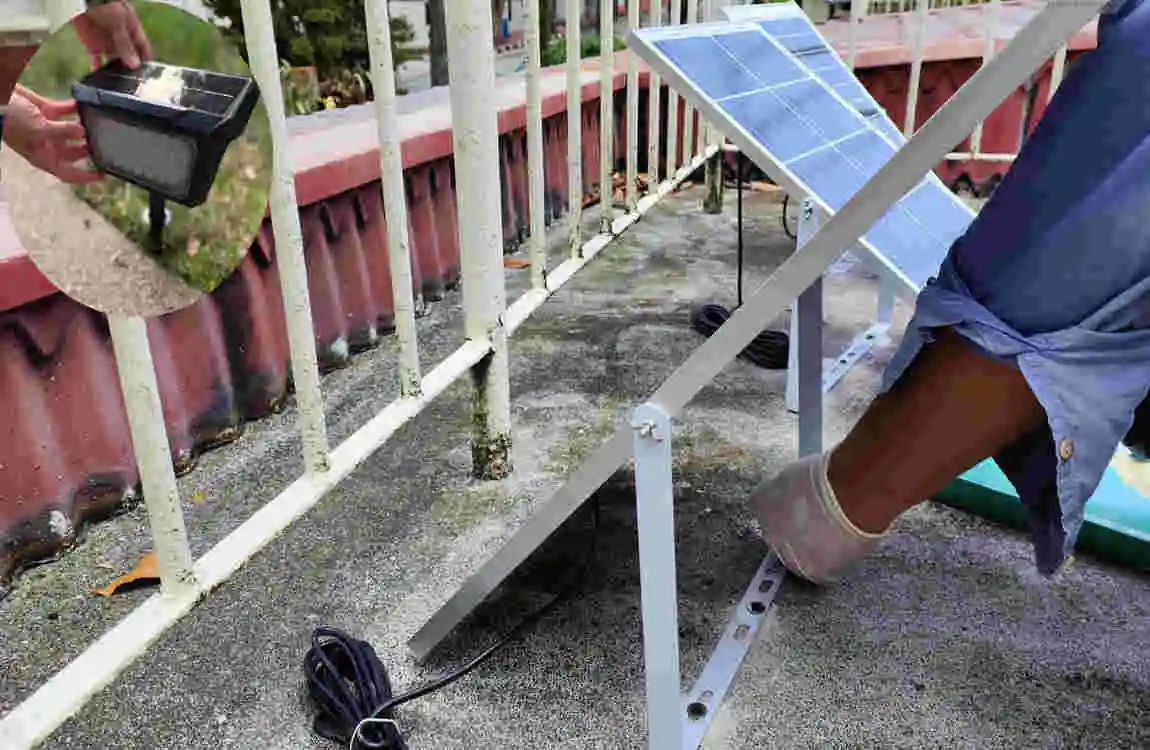
Mount the Solar Panel
Now it’s time to fix the solar panel in place.
Use a drill to make holes in the wall or surface where you want to install the panel. Insert screws and secure the panel firmly.
Make sure the panel is angled correctly to receive the most sunlight. A slight tilt works best.
Avoid placing the panel flat, as this reduces efficiency.
install the Light Fixture
Once the panel is installed, fix the light in your desired location.
Choose a height that provides proper lighting coverage. For example, wall lights should be installed high enough to spread light evenly.
Use screws to securely fasten the light. Make sure it is stable and does not move.
Take a step back and check the position. Adjust if needed.
Test and Adjust the System
Finally, test your system.
Turn on the light and check if everything is working correctly. Cover the solar panel to simulate nighttime and see if the light turns on.
If needed, adjust the panel angle or the light position.
Make sure the system operates automatically from dusk to dawn.
Congratulations! You’ve successfully learned how to install solar lights at home.
Common Mistakes to Avoid
Even though installation is simple, some common mistakes can reduce performance.
Avoid these:
- Installing lights in shaded areas
- Setting the solar panel at the wrong angle
- Ignoring battery capacity
- Using weak mounting methods
- Skipping the testing step
Being careful with these points will help you get the best results.
Maintenance Tips for Long-Lasting Solar Lights
Solar lights don’t need much maintenance, but a little care goes a long way.
Clean the solar panels regularly to remove dust and dirt. This helps them absorb more sunlight.
Check the batteries every few months and replace them if needed.
Also, inspect the fixtures to ensure everything is secure.
If you live in an area with harsh weather, protect your lights from damage.
Cost Breakdown and ROI
Here’s a simple idea of what you can expect in terms of cost and savings:
Item Estimated Cost
Basic Solar Light Low
High-Quality Solar Light Medium
Installation (DIY) Free
Installation (Professional) Higher
The good news is that once installed, solar lights cost almost nothing to run.
Over time, you recover your investment through savings on electricity bills. This makes solar lighting a smart long-term choice.
DIY vs Professional Installation
When DIY is Enough
If you’re installing simple solar lights like garden or wall lights, DIY is usually enough.
The process is easy and doesn’t require technical skills.
When to Hire an Expert
You may need a professional if:
- You’re installing a large system
- You need complex mounting
- You’re unsure about placement
Cost Comparison
DIY installation saves money, while professional installation adds convenience.
Choose based on your comfort level and project size.
FAQs
How to install a solar light at home easily?
Follow the 5-step process: choose a location, assemble, mount the panel, install the light, and test the system.
Do solar lights work in cloudy weather?
Yes, but performance may be slightly reduced due to less sunlight.
How long do solar lights last?
Most solar lights last between 3 and 5 years, depending on quality.
Can I install solar lights without wiring?
Yes, that’s the main advantage. Solar lights do not require wiring.
How much sunlight is needed?
At least 6–8 hours of direct sunlight is ideal.
Are solar lights waterproof?
Most outdoor solar lights are designed to be weather-resistant.