You’ve just installed brand-new windows in your home, and they’re gleaming in the sunlight. But wait—what’s that? A stubborn manufacturer’s sticker clings to the corner, refusing to budge. Or perhaps your kids have decorated the windows with their favourite cartoon decals, leaving behind a sticky mess. Sound familiar?
Removing stickers from house windows can be a frustrating task. The adhesives used on stickers are designed to stick tightly, and improper removal methods can leave behind scratches or dull the shine of your glass. In fact, poorly executed sticker removal can cost homeowners over $200 in repairs or replacements each year. That’s a hefty price to pay for something that could have been avoided with the right techniques.
Why Stickers Stick to Windows
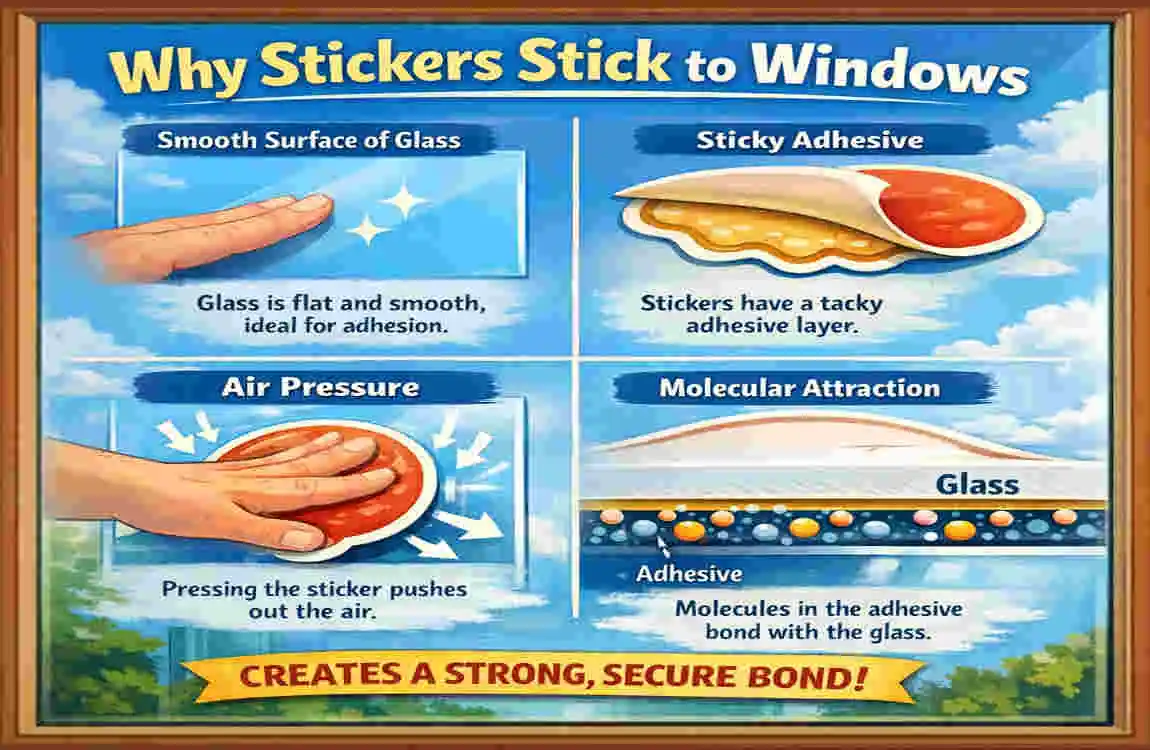
Before diving into the methods, it’s important to understand why stickers are so difficult to remove from glass surfaces. Knowing this will help you choose the best approach for your situation.
Types of Adhesives
Stickers use different types of adhesives, each with unique properties:
- Acrylic Adhesives: These are strong and long-lasting, making them particularly challenging to remove. They bond tightly to glass and resist wear over time.
- Rubber-Based Adhesives: These are easier to peel off, especially when exposed to heat or moisture.
Risks of Common Mistakes
Many people resort to using metal scrapers or harsh chemicals to remove stickers. While these methods might seem effective, they come with significant risks:
- Metal Scrapers: These can gouge or scratch the glass, leaving permanent marks.
- Harsh Chemicals: Substances such as ammonia or acetone can etch the glass surface, reducing clarity and shine.
The Science of Glass
Windows are typically made of tempered or annealed glass. Both types are prone to micro-abrasions, which can accumulate over time and dull the surface. This is why it’s crucial to use gentle, scratch-free methods for sticker removal.
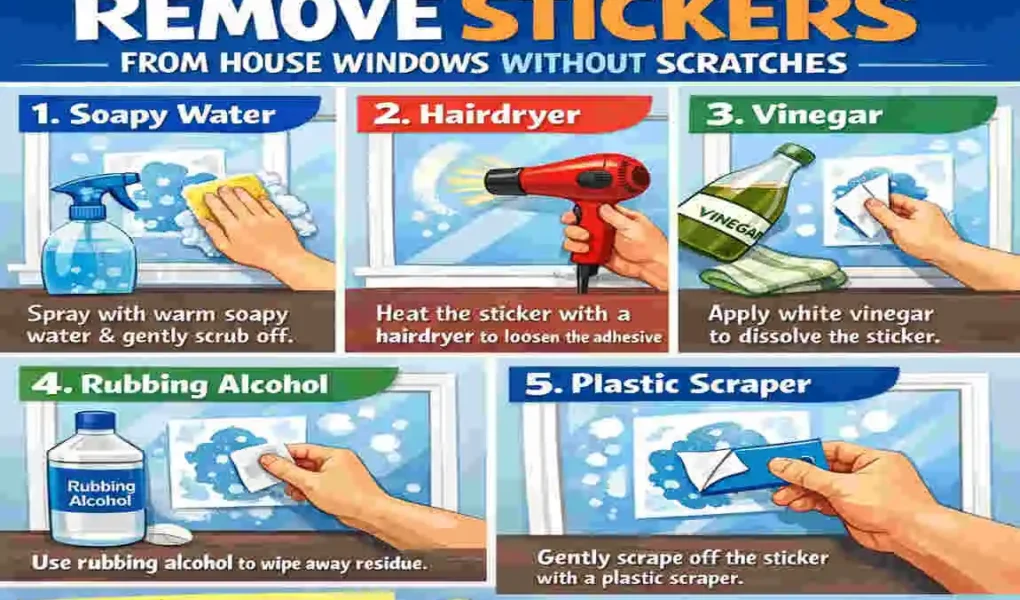
Loosen with a Hairdryer (Safest Heat Method)
- Plug in your hairdryer and set it to medium heat.
- Hold the hairdryer 4-6 inches away from the sticker and heat the area for 2-3 minutes. You’ll notice the edges of the sticker starting to lift.
- Once the adhesive softens, gently peel the sticker off using your fingernail or a plastic card.
- Wipe away any remaining residue with a damp microfiber cloth and soapy water.
Why It Works
Heat softens the adhesive, making it easier to peel off without damaging the glass. The temperature (around 140°F) is safe for glass and won’t cause thermal shock.
Pros and Cons
Aspect Details
Time 5-10 minutes
Cost Free (household item)
Risk Level Lowest—no chemicals
Pro Tip
This method works exceptionally well on frosted or tinted windows, as it doesn’t compromise the finish.
Hot Soapy Water for Gentle Peeling
- Mix a few drops of dish soap (like Dawn) with hot water in a spray bottle.
- Spray the solution generously over the sticker and let it soak for 10-15 minutes.
- Use a plastic razor or credit card at a 45° angle to gently scrape off the sticker.
- Rinse the area with clean water and dry with a microfiber cloth.
Why It Works
The surfactants in dish soap break the adhesive’s surface tension, loosening its grip on the glass.
Variations
For tougher residue, add a pinch of baking soda to the soapy water. This creates a mild abrasive that helps lift stubborn adhesives.
Rubbing Alcohol for Quick Dissolving
- Soak a cotton ball or pad in 70% isopropyl alcohol.
- Press the cotton ball onto the sticker and let it sit for 5 minutes.
- Gently lift the sticker using a plastic scraper.
- Clean the area with a glass cleaner to remove any remaining residue.
Why It Works
Rubbing alcohol dissolves the adhesive’s solvents, making it easy to remove without damaging the glass.
Comparison with Other Solvents
Solvent Effectiveness Scratch Risk
Alcohol High Low
Acetone Very High Medium
Safety Tip
Always test rubbing alcohol on a small, inconspicuous area of the glass before applying it to the sticker.
Vegetable Oil for Stubborn Residue
- Generously apply olive or coconut oil to the sticker using a cloth or sponge.
- Let the oil sit for 20 minutes to break down the adhesive.
- Wipe the area with a clean cloth and gently scrape off the sticker.
- Wash the glass with soapy water to remove any oily residue.
Why It Works
Vegetable oils emulsify the glue particles, making them easier to wipe away.
Eco-Friendly Angle
This method is biodegradable and free of harsh fumes, making it a great choice for environmentally conscious homeowners.
Vinegar for Natural Acid Dissolve
- Mix equal parts white vinegar and water in a spray bottle.
- Spray the solution onto the sticker and let it soak for 10 minutes.
- Peel off the sticker and scrub lightly with a sponge or cloth.
- Rinse the glass with clean water and dry it with a microfiber cloth.
Why It Works
The acetic acid in vinegar breaks down the adhesive bonds, making it easy to remove the sticker.
Bonus Benefit
Vinegar also disinfects the glass, leaving it sparkling clean.
Tools and Precautions
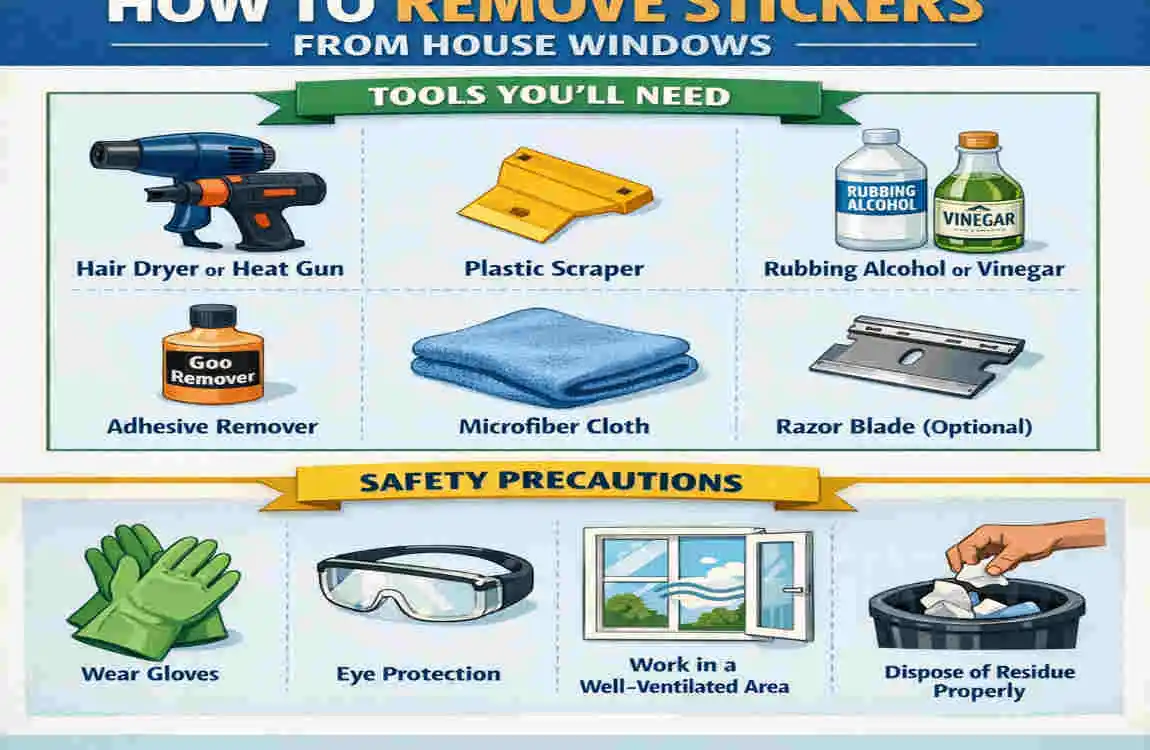
Essential Tools
- Plastic scrapers
- Microfiber cloths
- Spray bottles
- Dish soap
- Rubbing alcohol
- Vegetable oil
- White vinegar
Tools to Avoid
- Metal scrapers
- Steel wool
- Ammonia-based cleaners
Troubleshooting
- Yellow Residue: Repeat the rubbing alcohol step.
- Old Stickers: Use heat first to soften the adhesive.
FAQs: How Do You Remove Stickers from House Windows?
Q: How do you remove stickers from house windows without a razor?
A: Use a combination of heat (hairdryer) and oil for a scratch-free solution.
Q: What’s the best method for old, dried stickers?
A: Start with heat to soften the adhesive, then follow up with rubbing alcohol or vinegar.