Do you have a conservatory that feels more like a sauna in August and a walk-in freezer in January? If so, you aren’t alone. Thousands of homeowners across the country find themselves with a “dead” room—a space that looks beautiful from the outside but is practically unusable for six months of the year. The culprit is almost always the roof. Traditional glass or polycarbonate roofs are notorious for their poor insulation.
The good news is that you don’t have to knock the whole thing down and start over. By learning how to put a tiled roof on a conservatory, you can reclaim that space and turn it into a cozy, functional part of your home. Imagine a quiet home office, a warm playroom for the kids, or a dining area where you can actually eat dinner without wearing a winter coat.
Why Replace Your Conservatory Roof with Tiles
Before we get into the “how,” let’s talk about the “why.” Replacing a roof is a big job, so you want to be sure the benefits outweigh the effort and cost. Transitioning from a transparent roof to a solid, tiled one is the single most effective home improvement you can make for comfort.
The Magic of Thermal Efficiency
The biggest reason people search for how to put a tiled roof on a conservatory is temperature control. Glass and plastic are poor at retaining heat. In the winter, the warmth from your radiators escapes straight through the ceiling. In the summer, the sun beats down, creating a greenhouse effect that makes the air stifling.
Tiled roofs use high-grade insulation. When you install a tiled system, you are essentially creating a “sandwich” of materials that keeps the heat where you want it. This can make the room up to six times more energy-efficient than a standard glass roof. You’ll notice the difference on your energy bills almost immediately.
Aesthetic Appeal and Home Value
Let’s be honest: some old conservatories look like they were just “tacked on” to the back of a house. They don’t always match the architecture. A tiled roof allows you to choose shingles or slats that match your main house roof perfectly. This creates a seamless, “extension-style” look.
Real estate experts often suggest that a high-quality conservatory conversion can boost your property value by 10% to 15%. It turns a “temporary” structure into a “permanent” living space in the eyes of potential buyers.
Peace, Quiet, and Protection
Have you ever tried to have a conversation in a glass conservatory during a heavy rainstorm? It’s loud! A tiled roof acts as a massive sound dampener. It turns the “drumming” of rain into a soft, distant pitter-patter.
Additionally, a solid roof provides 100% UV protection. This means your expensive sofa, your rugs, and your framed photos won’t fade under the constant glare of the sun. It’s a win for your furniture and your ears.
Comparing Roof Types
To help you visualize the difference, let’s look at how tiles stack up against the alternatives.
Roof TypeInsulation QualityNoise ReductionEstimated Cost (per m²)Expected Lifespan
Polycarbonate Very Poor Poor (Loud) £50 – £100 10-15 Years
Glass Moderate Average £100 – £200 20-25 Years
Tiled Roof Excellent Excellent £150 – £300 50+ Years
Planning Your Tiled Conservatory Roof Project
You might be itching to grab a hammer, but wait! A project of this scale requires careful planning. If you jump in without checking the “boring” details, you could end up with a sagging structure or a legal headache.
Assessing Feasibility: Is Your Structure Strong Enough?
This is the most critical question. How to put a tiled roof on a conservatory safely depends entirely on your existing frames. A tiled roof is significantly heavier than a plastic one. You need to ensure your side window frames and the foundations can handle the extra weight.
Most modern PVCu or aluminum frames are surprisingly strong, but you should always consult a structural engineer. They will check if you need to add “reinforcement posts” inside your existing frames to support the new load. If your conservatory is very old or the frames show signs of rot or warping, you might need to replace the frames as well.
Legal Requirements and Planning Permission
In the UK, many conservatory roof replacements fall under “Permitted Development.” This means you don’t always need full planning permission. However, there are rules:
- Building Regulations: You almost certainly do need Building Regulations approval. This ensures the roof is structurally sound and meets insulation standards (known as Part L).
- Height Restrictions: The new roof shouldn’t be significantly higher than the original.
- Boundary Lines: You must ensure your project doesn’t infringe on your neighbor’s space.
Always give your local council a quick call before you start. It’s much cheaper to ask for permission now than to be told to take the roof down later!
Budgeting for Your Transformation
How much does it actually cost? While a DIY approach saves money on labor, the materials themselves are an investment. For a standard-sized conservatory (around 20m²), you should expect to spend between £5,000 and £15,000, depending on the quality of the tiles and whether you hire help.
Typical Budget Breakdown:
- Tiles and Battens: £2,000 – £5,000
- Structural Reinforcements: £1,000 – £3,000
- Insulation & Internal Plastering: £1,000 – £2,500
- Professional Labor (Optional): £2,000 – £5,000
Materials and Tools You’ll Need
To do the job right, you need the right gear. Don’t try to “make do” with basic household tools. This is a construction project, and precision is key.
Essential Materials
- Lightweight Tiles: Do not use heavy clay tiles meant for a house. Use specialized lightweight composite slats or steel-backed tiles designed for conservatories.
- Timber or Aluminum Battens: These provide the “grid” that your tiles will hook onto.
- Breathable Membrane: This is a waterproof fabric that allows moisture to escape from inside but stops rain from getting in.
- Insulation Boards: Rigid PIR boards (like Celotex or Kingspan) are the gold standard for keeping the room warm.
- Flashing: Lead or lead-substitute strips to seal the gap where the roof meets the house wall.
The Tool Kit
- Safety Gear: A sturdy ladder, a full-body harness if you’re working at height, and safety goggles.
- Cutting Tools: A circular saw for timber and a specialized tile cutter.
- Fasteners: A high-quality nail gun or a heavy-duty drill with weather-resistant screws.
- Leveling: A long spirit level to ensure your roof isn’t wonky.
Step-by-Step Guide: How to Put a Tiled Roof on a Conservatory
Now we get to the heart of the matter. This guide assumes you are using a lightweight timber or aluminum frame system. Always work with a partner; this is not a one-person job.
Preparation and Demolition
First, clear the room completely. You don’t want dust or falling debris ruining your furniture. Cover the floor with heavy-duty plastic sheeting.
Next comes the “point of no return”: removing the old roof. Start by removing the “caps” on the roof bars. Carefully slide out the glass or polycarbonate panels. Pro Tip: If you have glass panels, use suction glass lifters. They make the job much safer and prevent breakage. Once the panels are gone, unscrew the old rafters until you are left with just the “ring beam” (the top of your walls).
Reinforcing the Ring Beam
The ring beam is the “belt” that sits atop your windows. Since you are learning how to put a tiled roof on a conservatory, you must understand that this beam carries all the weight. If your kit requires it, bolt additional steel or timber plates to this beam to stiffen it up.
Installing the New Rafters and Ridge
Now, you’ll start building the skeleton. Install the ridge beam (the very top point of the roof) and then attach the rafters. These should usually be spaced at 600mm centers. Ensure everything is perfectly level. If the skeleton is crooked, the tiles will never sit right, and you’ll end up with leaks.
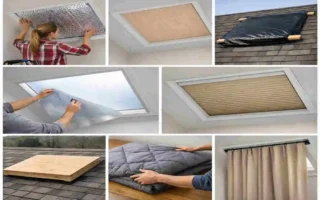
Adding the Insulation and Membrane
This is the “blanket” for your room. Place your insulation boards between the rafters. Make sure there are no gaps! Even a tiny gap can cause a “cold bridge,” leading to condensation and mold later on.
Once the insulation is in, roll out your breathable membrane across the entire roof. Start from the bottom and work your way up, overlapping each layer by at least 100mm. This ensures that any water that gets under the tiles slides down the fabric and into the gutters.
Fixing the Battens
Nail your horizontal battens over the membrane. The spacing of these battens depends on the specific tiles you bought. Check the manufacturer’s instructions! If the battens are too far apart, the tiles won’t overlap enough to stay waterproof.
Laying the Tiles
This is the most satisfying part. Start at the bottom corner (the eaves) and work your way across. Most lightweight tiles either “click” together or are nailed directly into the battens.
When you reach the top, you’ll need to install “ridge tiles” to cover the peak. Use a high-quality roof sealant and flashing where the roof meets your house wall. This is the most common place for leaks, so take your time and be generous with the waterproofing.
The Interior Finish
Inside the conservatory, you will now see the underside of your insulation. Most people choose to fix plasterboard to the rafters and then have a professional plasterer come in to create a smooth, white ceiling. You can even add “downlights” (LED spotlights) at this stage to make it feel like a real room.
Professional vs. DIY Installation: Which is Right for You?
You might be wondering if you should tackle this yourself or call in the experts. Let’s weigh the options.
The Case for DIY
The main reason to DIY is cost. You can save roughly £3,000 to £5,000 in labor fees. If you are handy with a saw and comfortable on a ladder, it is a gratifying project. However, it will likely take you two or three weekends to finish, whereas a pro team can do it in three days.
The Case for Professionals
When you hire a pro, you aren’t just paying for their time; you are paying for a warranty. Most roofing companies offer a 10-year or even 25-year guarantee. If the roof leaks in three years, they fix it for free. If your DIY roof leaks, that’s on you.
Furthermore, professionals handle the Building Regulations paperwork for you. This “Certificate of Compliance” is vital when you eventually sell your house.
Common DIY Pitfalls to Avoid:
- Poor Ventilation: If you don’t leave a small air gap between the insulation and the tiles, moisture can build up, rotting your timber frame.
- Incorrect Pitch: Tiles need a minimum “slope” (usually 15 to 17.5 degrees) to shed water. If your roof is too flat, water will “pool” and eventually seep inside.
Post-Installation Care and Maintenance
Once you’ve successfully figured out how to put a tiled roof on a conservatory, you want it to last forever. Luckily, tiled roofs require much less maintenance than glass roofs.
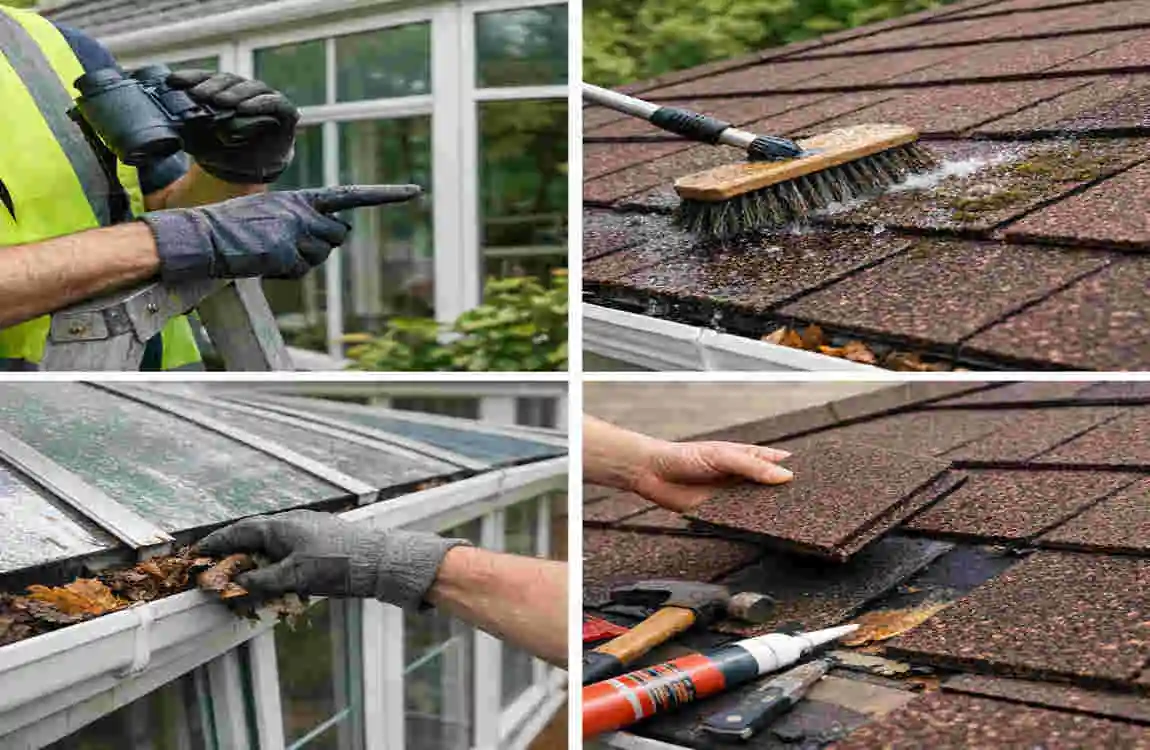
Annual Check-ups
Once a year, grab a ladder and check your gutters. Because a tiled roof sheds more granules and debris than a glass roof, your gutters might fill up faster. Clear them out to prevent water from backing up under the tiles.
Cleaning Your Tiles
Don’t use a high-pressure power washer! The intense force can strip the protective coating off composite tiles or dislodge the stone granules. Instead, use a soft-bristle brush and a garden hose to wash away bird droppings or moss.
Dealing with Condensation
If you notice “sweating” on the inside of your new ceiling, it usually means your room isn’t ventilated enough. Since the room is now airtight, moisture from cooking or drying clothes has nowhere to go. Opening a window for 10 minutes a day or installing a small trickle vent can solve this instantly.
Frequently Asked Questions
How much does it cost to put a tiled roof on a conservatory?
For a professional installation, prices typically range from £5,000 to £15,000. If you choose to go the DIY route, you can expect to spend between £3,000 and £7,000 on high-quality materials and structural reinforcements.
Can I DIY a tiled conservatory roof?
Yes, you can! However, it is considered an intermediate-to-advanced DIY project. You need to be comfortable with structural work, heights, and basic carpentry. If your conservatory has a complex shape (such as a P- or T-shape), hiring a professional is highly recommended.
How long does the installation take?
A professional team can usually complete the job in 3 to 5 days. For a DIYer working on weekends, expect the project to take 2 to 3 weeks from demolition to the final interior plastering.
Do I need planning permission for a tiled conservatory roof?
In most cases, no. It usually falls under “Permitted Development.” However, you do need to comply with Building Regulations to ensure the structure is safe and energy-efficient. Always check with your local planning office to be 100% sure.
Will a tiled roof make my conservatory too dark?
While you will lose the “top-down” light from a glass roof, you can easily solve this by installing roof lights or Velux windows into your new tiled roof. This gives you the best of both worlds: excellent insulation and plenty of natural light.