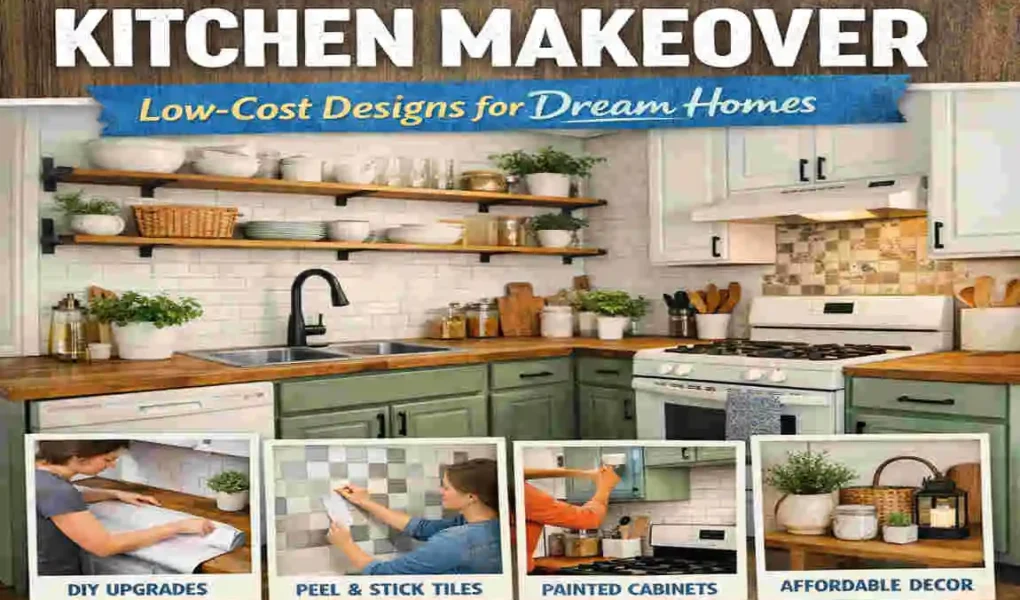
Everyone dreams of a stunning kitchen—a warm, inviting space where meals, memories, and conversations come to life. But let’s be honest: full kitchen remodels can cost a fortune. According to HomeAdvisor, the average kitchen renovation runs over $20,000. For many homeowners, that’s simply out of reach. The good news? You don’t have to empty your savings to get a modern, functional kitchen that fits your style.
This is where kitchen design low-cost ideas shine. By focusing on smart, budget-friendly upgrades, you can transform your kitchen without months of disruption or a huge bill. Imagine refreshing your cabinets, upgrading counters, or installing new lighting—all for under $1,000. That’s not just a dream; it’s totally achievable with the right approach.
Why Go for Low-Cost Kitchen Design?
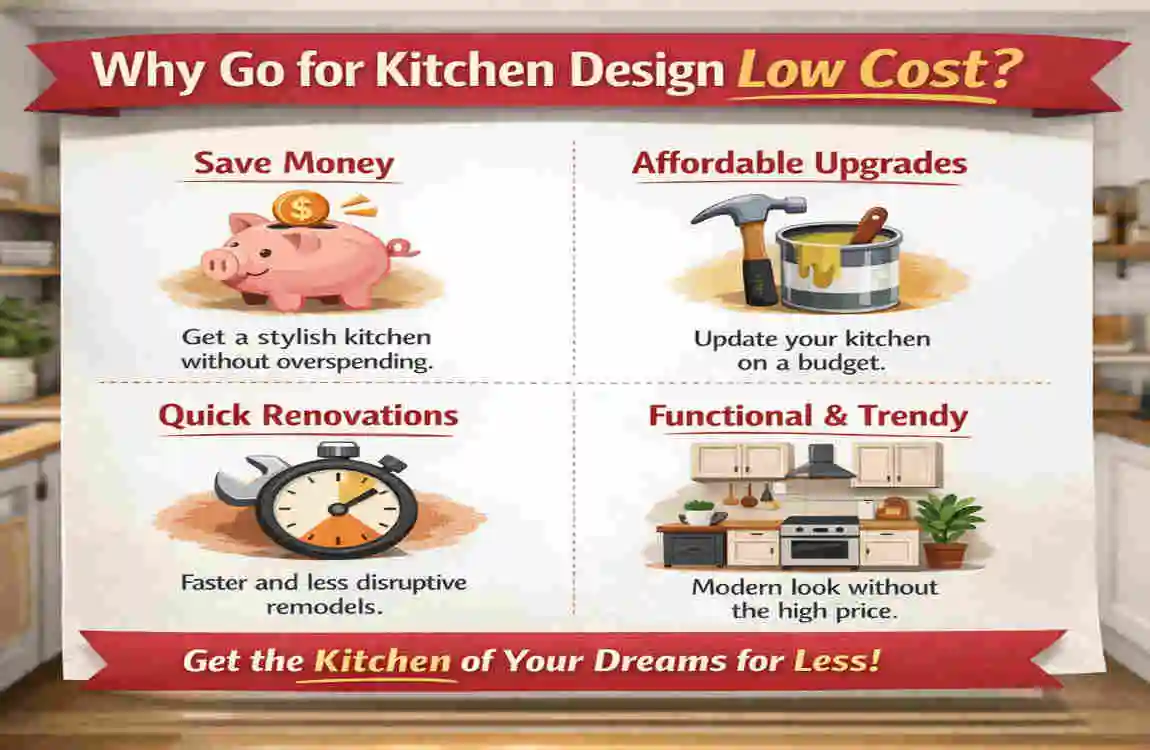
Choosing a low-cost kitchen design isn’t just about saving money—it’s about smart investment, practicality, and style that fits your lifestyle.
Benefits of a Low-Cost Kitchen Makeover
- Big savings: A low-cost kitchen makeover can save you up to 70% compared to a full renovation.
- Boost home value: Even minor upgrades can increase your home’s value by 60-80%, a solid return on investment.
- Less disruption: Instead of weeks of noise and mess, you can complete projects in a weekend or two.
- Trendy and functional: Minimalist and multifunctional designs are all the rage in 2026, perfect for budget-conscious homeowners who want style and practicality.
Pros and Cons Comparison
Aspect Full Remodel Low-Cost Design
Cost $15K – $50K $500 – $5K
Time 4 – 8 weeks 1 – 2 weekends
Disruption High Minimal
The kitchen design low-cost approach lets you enjoy fresh, modern spaces without the stress of full-scale renovations.
Assess Your Kitchen: Planning a Budget Makeover
Before diving into projects, take a moment to plan. A little prep saves big headaches and money later.
Budget Breakdown
Decide how much you’re willing to spend, then allocate funds wisely. For example:
- Cabinets: 40% of your budget (paint, hardware)
- Countertops: 30% (overlays, peel-and-stick)
- Lighting and accessories: 20%
- Miscellaneous (backsplash, flooring): 10%
Measure and Sketch Your Space
Grab a tape measure or use free apps like Room Sketcher to create a precise layout. This helps visualize changes and prevents costly mistakes.
Prioritize High-Impact Zones
Focus on areas that will immediately change the look and feel—counters, lighting, and storage. These have the biggest visual impact and improve functionality.
Low-Cost Kitchen Design Ideas by Zone
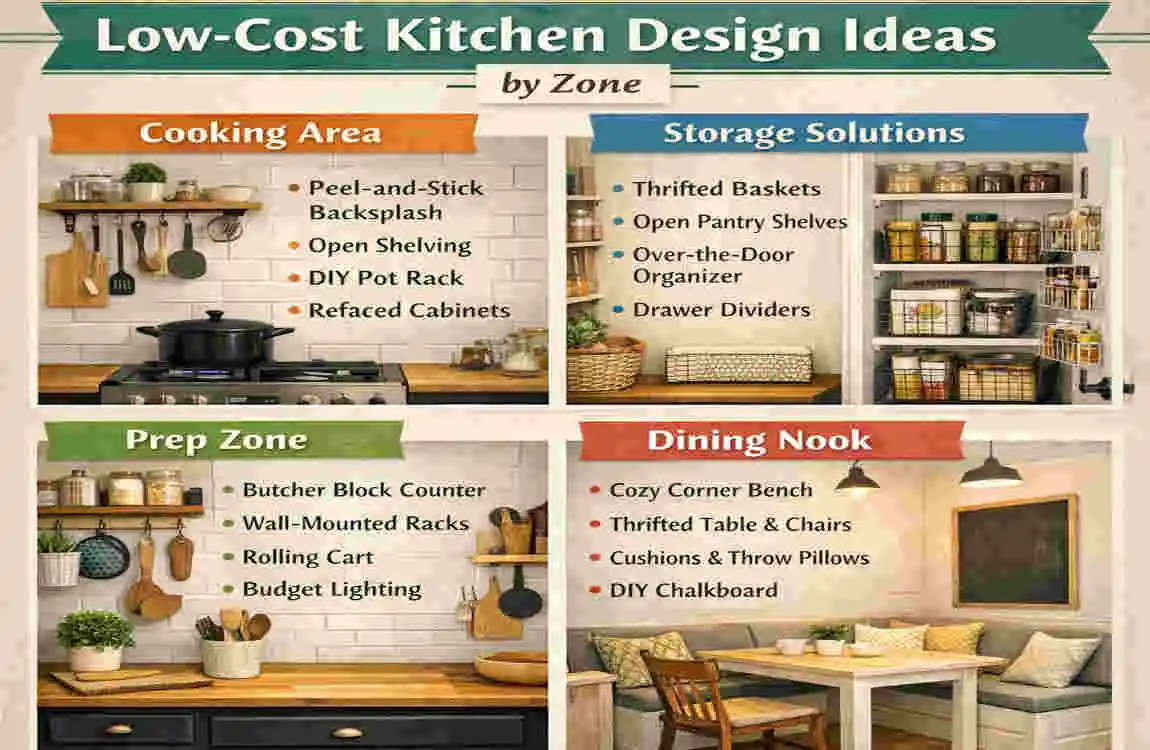
Let’s get into the heart of the makeover: practical, affordable upgrades broken down by kitchen zones.
Cabinet Refresh: DIY Hacks Under $500
Cabinets take up the most visual space in your kitchen, so refreshing them offers a big style boost.
- Paint Existing Cabinets: Use chalk paint for easy coverage without priming. Supplies cost about $50, and you can do it over a weekend. Choose trendy matte finishes, such as soft gray or black, for a modern look.
- Swap Hardware: New knobs and pulls can instantly elevate your cabinets. Look for vintage knobs at thrift stores or online marketplaces to add character.
- Open Shelving Swap: Remove a few upper cabinet doors and replace them with floating shelves. This opens space and displays colorful dishes or cookbooks—materials around $100.
Countertop Upgrades Without Demo
Replacing countertops is costly, but these alternatives keep costs low and install simple.
- Peel-and-Stick Tiles or Vinyl Overlays: These cover old countertops with stylish patterns and cost about $200 per room.
- Butcher Block Remnants: Lumber yards often sell offcuts at discounted prices. Sand and seal them for warm, natural counters.
- Faux Marble Contact Paper: Perfect for renters, this peel-and-stick option mimics marble without damage or cost.
Material Cost Estimate Durability Installation Time
Peel-and-Stick Tiles $150 – $250 Moderate 2-3 hours
Butcher Block Wood $100 – $300 High 4-6 hours
Faux Marble Paper $50 – $100 Low 1-2 hours
Backsplash on a Dime
Add flair behind your stove or sink with budget-friendly backsplashes.
- Use self-adhesive tiles or paint with a stencil for patterns. Both options are under $100.
- Subway tile peelies mimic real tile at a fraction of the cost.
- Bonus: Search for DIY backsplash videos for visual guides.
Lighting and Fixtures for Wow Factor
Good lighting transforms a kitchen, making it feel bigger and more inviting.
- LED Under-Cabinet Strips: Affordable kits cost about $30 and highlight counters.
- Thrifted Pendants: Find old fixtures and spray-paint them gold or matte black for a fresh look.
- Smart Bulbs: For under $20 each, you can change colors or brightness with your phone.
Flooring Fixes That Last
New flooring can be pricey, but these fixes last and look great:
- Vinyl Plank Peel-and-Stick: Waterproof, easy to clean, and about $1 per sq. ft.
- Area Rugs: Use washable rugs to define zones and add color without replacing floors.
Furniture and Layout: Smart Space-Saving Tweaks
Maximize your kitchen’s layout and add furniture that works double duty.
- Island Alternatives: Rolling carts or bar-height tables serve as mobile prep stations for as low as $150.
- Multifunctional Islands: IKEA hacks turn simple furniture into storage-rich islands.
- Layout Shifts: An L-shaped setup improves flow in small kitchens, making space feel open and functional.
Color Schemes and Styling for Dream Vibes
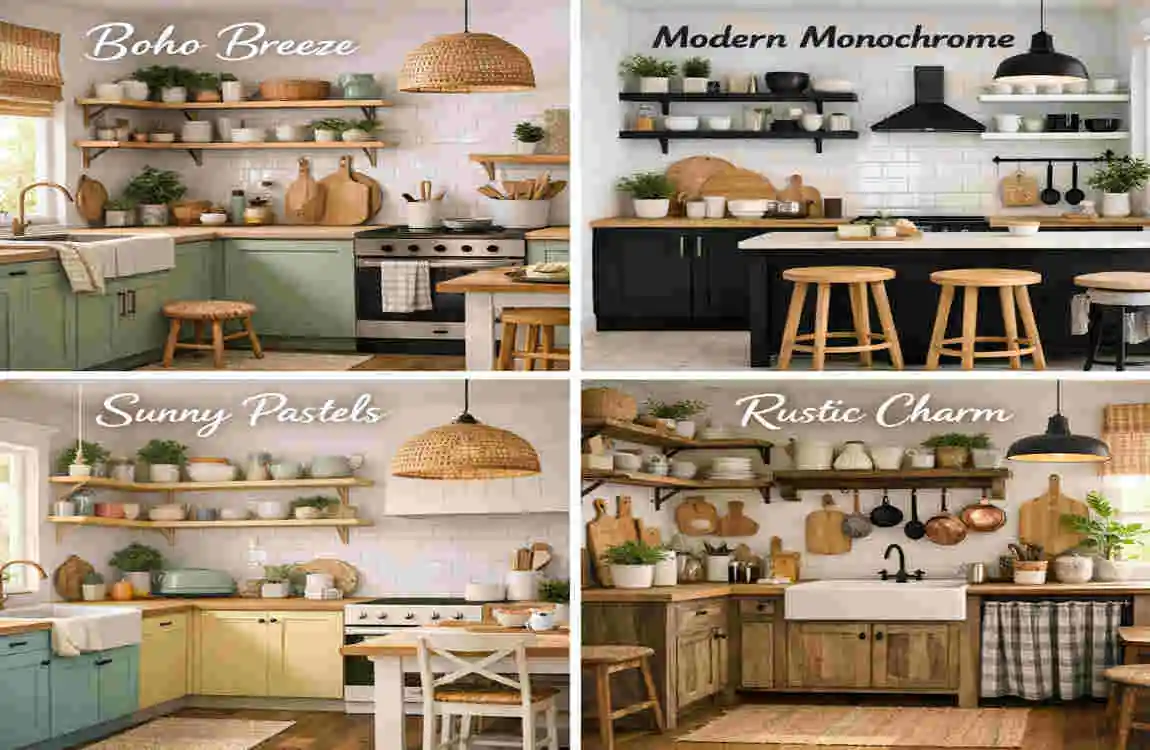
The right colors and styling set the mood for your kitchen and tie your makeover together.
- Neutral Palettes with Bold Accents: Think soft whites and grays combined with pops of sage green or navy.
- Trending 2026 Styles: Japandi (Japanese + Scandinavian) and earthy tones are popular for calm, natural vibes.
- Accessories: Display thrifted pottery or vintage glassware on open shelves to personalize your space ($50 total).
Step-by-Step Weekend Makeover Timeline
Want to transform your kitchen fast? Here’s a simple 3-day plan for a 10×10 kitchen makeover:
- Day 1: Declutter, clean thoroughly, and prep cabinets for painting.
- Day 2: Paint cabinets or install peel-and-stick counters and lighting.
- Day 3: Add hardware, style shelves, and place accessories.
Total cost example: Approximately $800
Budget Breakdown and Shopping List
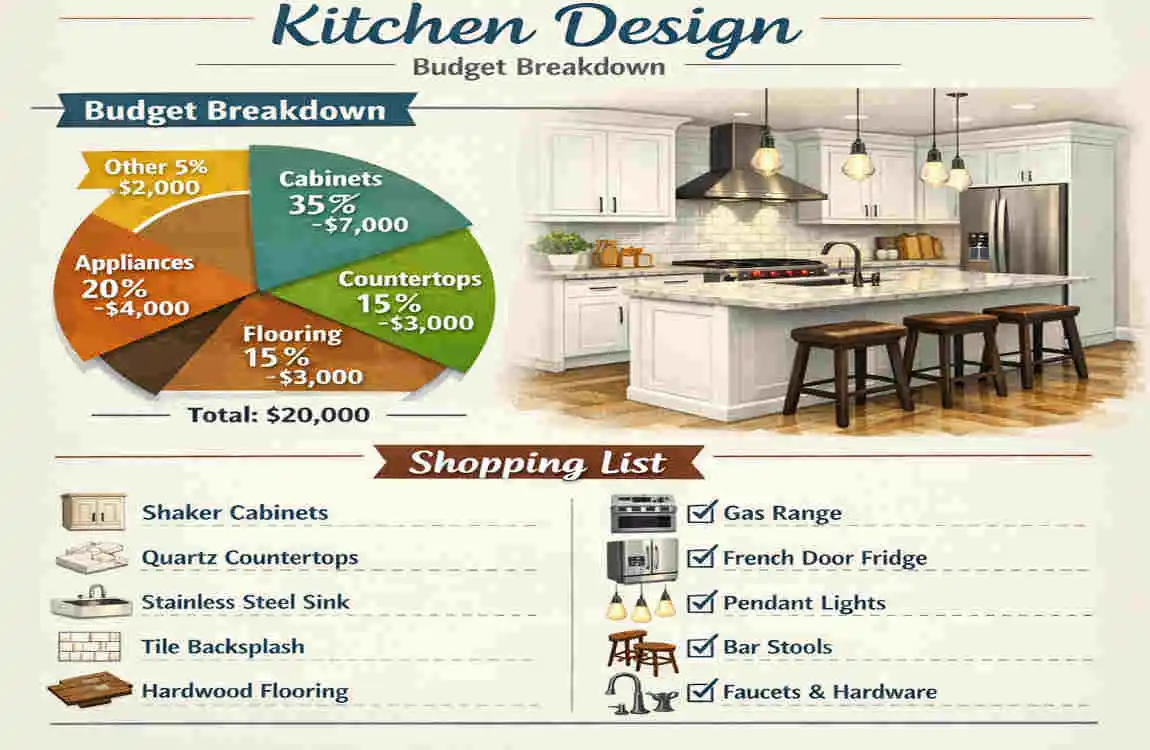
Here’s a sample shopping list to keep your spending on track:
Item Cost Source
Cabinet Paint $40 Local hardware
Peel-and-Stick Counter $150 Amazon
LED Lighting Kit $60 Walmart
Total $800
Affiliate links for tools and supplies can help you find the best deals.
Common Mistakes to Avoid in Low-Cost Designs
Avoid these pitfalls to ensure your makeover is a success:
- Skipping Measurements: Always measure twice before buying materials.
- Cheap Materials That Peel: Invest in quality peel-and-stick options to avoid frustration.
- Ignoring Lighting: Dark kitchens feel cramped—good lighting is essential.
FAQs
Q: What is the cheapest kitchen design low-cost option?
A1: Painting cabinets and swapping hardware are often the most affordable and effective upgrades.
Q: How much does a full budget kitchen makeover cost?
A2: A basic low-cost makeover can be done for under $1,000, depending on materials and labor.
Q: What are the best paints for cabinets?
A3: Chalk paint or semi-gloss latex paints work well, offering durability and easy cleanup.
Q: Can peel-and-stick tiles be used on countertops?
A4: Yes, peel-and-stick tiles can cover countertops, but check manufacturer guidelines for durability.
Q: How long does a low-cost kitchen makeover take?
A5: Many projects can be completed over a weekend or two, minimizing disruption.