The best paint types for bathroom ceilings are moisture-resistant, mold-proof paints with finishes that can withstand high humidity and frequent condensation. Specifically, semi-gloss or satin acrylic latex paints with mold-resistant additives are ideal because they offer durability, easy cleaning, and effective moisture protection. Popular choices include Zinsser Perma-White, Sherwin-Williams Duration Home, and Benjamin Moore Aura Bath & Spa, all formulated to resist mold and mildew growth while maintaining a long-lasting finish. These paints do not generally require a separate primer and provide a clean, bright, and hygienic surface suited to bathroom environments.
Why Bathroom Ceilings Need Special Paint

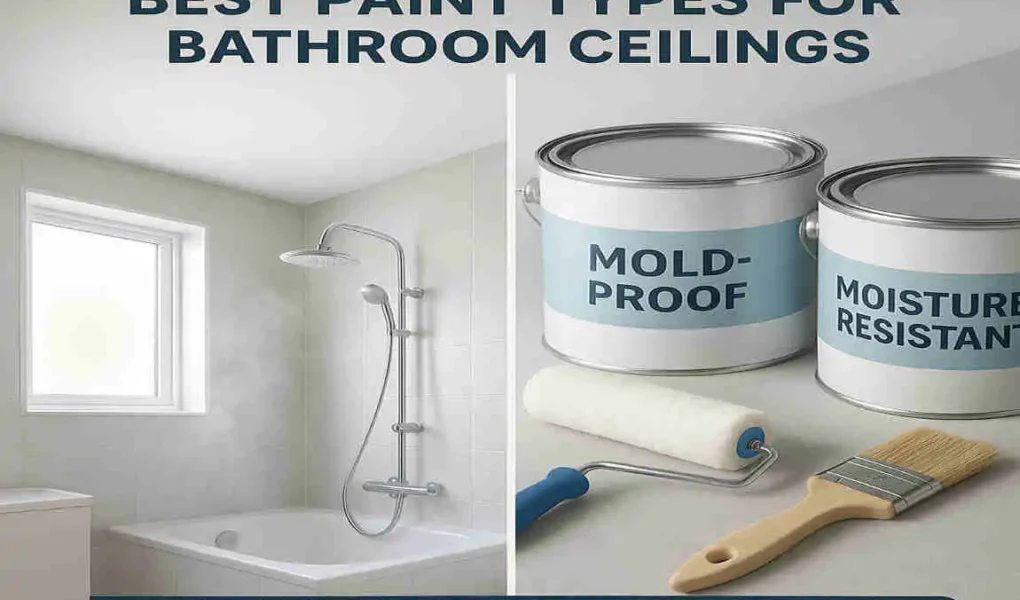
Before we delve into the specifics of paint types, let’s take a moment to understand why bathroom ceilings require special consideration. Bathrooms are unique environments with high humidity, steam, and condensation. These factors can cause regular ceiling paint to peel, bubble, and become a breeding ground for mold and mildew.
The Effects of Moisture on Typical Ceiling Paint
When exposed to moisture, typical ceiling paint can quickly deteriorate. The paint may start to peel away from the surface, creating unsightly patches and compromising the overall appearance of your bathroom. In severe cases, the paint can bubble up, creating a lumpy texture that’s difficult to fix.
But that’s not all. Moisture can also lead to the growth of mold and mildew on your ceiling. These unsightly and potentially harmful substances can spread quickly, posing health risks to you and your family. That’s why it’s crucial to use moisture-resistant and mold-proof paint on your bathroom ceiling.
The Importance of Moisture-Resistant and Mold-Proof Paint
By choosing the right paint for your bathroom ceiling, you can enjoy several benefits. Moisture-resistant paint is designed to withstand the high humidity levels in bathrooms, preventing peeling and bubbling. Mold-proof paint, on the other hand, contains special additives that inhibit the growth of mold and mildew, keeping your ceiling looking fresh and clean.
But the benefits don’t stop there. Using the right paint can also improve the overall durability of your bathroom ceiling, reducing the need for frequent repainting. Plus, by preventing mold growth, you can create a healthier living environment for you and your loved ones.
Key Factors to Consider When Choosing Paint for Bathroom Ceilings
Now that you understand the importance of using special paint for your bathroom ceiling, let’s explore the key factors to consider when making your selection.
Moisture Resistance
As we mentioned earlier, moisture resistance is crucial when it comes to bathroom ceiling paint. Look for paints that are specifically designed to withstand high humidity levels and resist peeling and bubbling.
Mildew and Mold Resistance
Mold and mildew can quickly take over your bathroom ceiling if you’re not careful. That’s why it’s essential to choose a paint that contains mold-resistant additives. These special ingredients help prevent the growth of mold and mildew, keeping your ceiling looking clean and fresh.
Paint Finish and Durability
The finish of your paint can also play a role in its durability and ease of cleaning. Semi-gloss and satin finishes are often recommended for bathroom ceilings because they are more resistant to moisture and easier to wipe clean than matte finishes.
Ease of Cleaning
Speaking of cleaning, it’s important to choose a paint that’s easy to maintain. Look for paints that can be easily wiped down with a damp cloth or mild cleaning solution. This will make it easier to keep your bathroom ceiling looking its best between repaints.
Breathability and Waterproofing
Breathability is another important factor to consider when choosing paint for your bathroom ceiling. A breathable paint allows moisture to escape, reducing the risk of peeling and bubbling. However, you’ll also want to ensure that the paint provides adequate waterproofing to protect against water damage.
Environmental and Health Safety (Low VOC)
Finally, consider the environmental and health impact of the paint you choose. Look for low-VOC (volatile organic compound) paints, which emit fewer harmful chemicals into the air. This is especially important in bathrooms, where the steam can exacerbate the effects of VOCs.
What Type of Paint for Bathroom Ceiling: Types Explained
Now that we’ve covered the key factors to consider, let’s explore the various types of paint available for bathroom ceilings.
Mold-Resistant Paints
Mold-resistant paints are specifically designed to prevent the growth of mold and mildew on your bathroom ceiling. These paints contain special additives that create an inhospitable environment for mold, making it difficult for it to take hold.
How Mold-Resistant Paints Work
Mold-resistant paints work by creating a surface that’s difficult for mold spores to adhere to. The special additives in the paint create a protective barrier that prevents mold from penetrating the surface and growing.
Moisture-Resistant Paints
Moisture-resistant paints are designed to withstand the high humidity levels in bathrooms. These paints are formulated to resist peeling and bubbling, even when exposed to steam and condensation.
Characteristics of Moisture-Resistant Paints
Moisture-resistant paints typically have a higher level of binder, which helps the paint adhere to the surface even when exposed to moisture. They may also contain special additives that allow the paint to resist water damage.
Semi-Gloss and Satin Finishes
Semi-gloss and satin finishes are often recommended for bathroom ceilings because of their durability and ease of cleaning. These finishes have a slight sheen that makes them more resistant to moisture and easier to wipe down than matte finishes.
Why Semi-Gloss and Satin Finishes Work Better
The slight sheen of semi-gloss and satin finishes helps them resist moisture better than matte finishes. This makes them less likely to peel or bubble when exposed to steam and condensation. Plus, the sheen makes it easier to wipe away dirt and grime, keeping your bathroom ceiling looking its best.
Specialty Bathroom or Kitchen Paints
Specialty bathroom or kitchen paints are designed specifically for use in high-humidity environments. These paints often contain a combination of mold-resistant and moisture-resistant additives, making them an excellent choice for bathroom ceilings.
Features of Specialty Bathroom Paints
Specialty bathroom paints may contain additional features, such as stain resistance or odor-eliminating properties. These features can help keep your bathroom ceiling looking and smelling fresh, even in the face of high humidity and moisture.
Waterproof vs. Water-Resistant Paint
When it comes to bathroom ceilings, you may come across both waterproof and water-resistant paints. But what’s the difference, and which one is right for you?
Differences Between Waterproof and Water-Resistant Paint
Waterproof paint is designed to completely prevent water from penetrating the surface, making it ideal for areas that are frequently exposed to water, such as showers or bathtubs. Water-resistant paint, on the other hand, is designed to resist water damage but may not be completely waterproof.
Why Water-Resistant Paint is Usually Preferable for Ceilings
For most bathroom ceilings, water-resistant paint is usually sufficient. These paints are designed to withstand the high humidity levels in bathrooms and resist peeling and bubbling. Plus, they are often more breathable than waterproof paints, allowing moisture to escape and reducing the risk of mold growth.
Common Paint Bases: Latex vs. Oil-Based Paints
When choosing paint for your bathroom ceiling, you’ll also need to decide between latex and oil-based paints. Let’s take a look at the pros and cons of each.
Latex Paints
Latex paints are water-based and easy to clean up with soap and water. They are also low in VOCs, making them a more environmentally friendly choice. However, latex paints may not be as durable as oil-based paints and may require more frequent repainting.
Oil-Based Paints
Oil-based paints are known for their durability and resistance to moisture. They are often recommended for high-traffic areas or rooms with high humidity, such as bathrooms. However, oil-based paints can be more difficult to clean up and may emit higher levels of VOCs.
The Best Paint Brands and Products for Bathroom Ceilings (2025 Update)
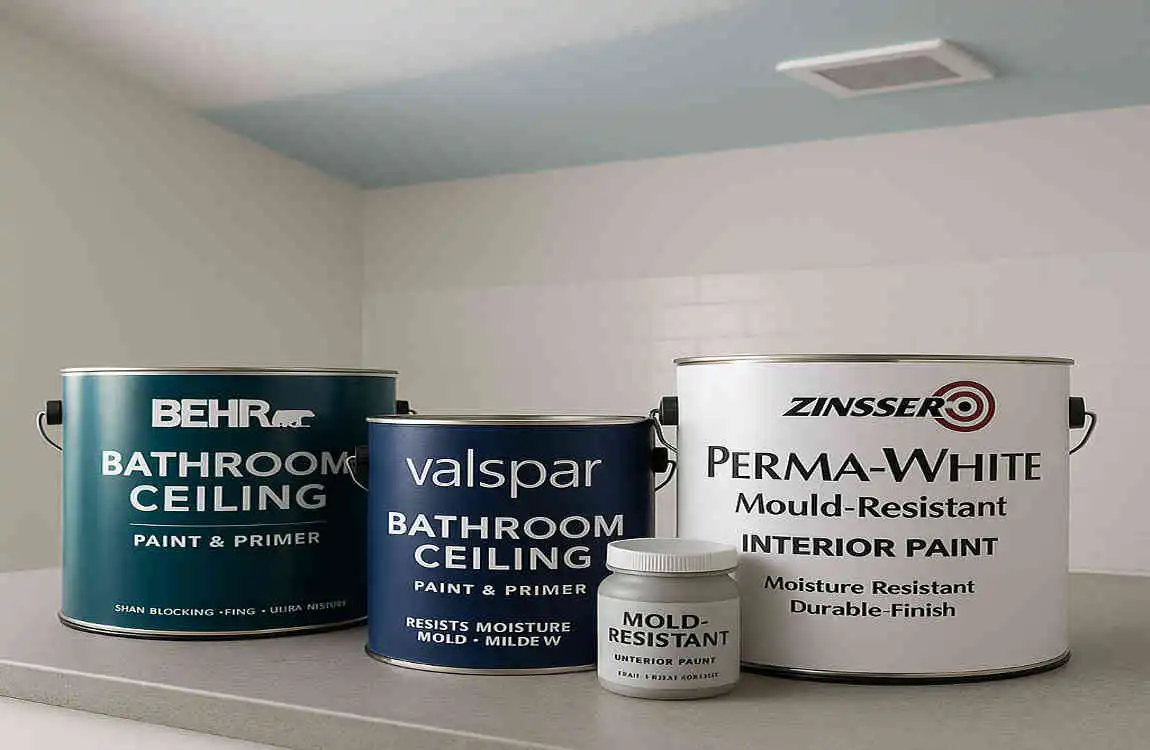
Now that you know what to look for in a bathroom ceiling paint, let’s take a look at some of the best brands and products on the market in 2025.
Brand Product Key Features Price Range Availability
Benjamin Moore Aura Bath & Spa Mold and mildew resistant, low VOC, easy to clean $50-$70 per gallon Widely available
Sherwin-Williams ProMar 200 Moisture-resistant, durable, low odor $40-$60 per gallon Widely available
Behr Kitchen, Bath & Trim Stain resistant, scrubbable, low VOC $30-$50 per gallon Widely available
Zinsser Perma-White Mold and mildew resistant, waterproof, low VOC $40-$60 per gallon Widely available
Kilz Bathroom & Kitchen Moisture-resistant, mildew-resistant, low odor $30-$50 per gallon Widely available
When choosing a paint, be sure to read the product reviews and look for any warranties or guarantees related to mold resistance. This can give you peace of mind and help you make an informed decision.
How to Prepare and Paint Bathroom Ceilings for Best Results
Now that you’ve chosen the perfect paint for your bathroom ceiling, it’s time to begin the application process. Follow these steps for the best results.
Surface Preparation
Before you start painting, it’s essential to properly prepare the surface. This includes cleaning the ceiling to remove dirt, grime, and mold, as well as repairing any cracks or holes that may be present.
Cleaning the Ceiling
Start by wiping down the ceiling with a damp cloth or sponge to remove any surface dirt or grime. If you notice any mold or mildew, use a solution of water and bleach to kill the spores and prevent further growth.
Repairing Cracks and Holes
Once the ceiling is clean, inspect it for any cracks or holes. Use a putty knife and spackle to fill in these imperfections, then sand the surface smooth once the spackle has dried.
Priming the Ceiling
After the surface is prepared, it’s time to apply a primer. Primers help the paint adhere better to the surface and can provide additional protection against moisture and mold.
Recommended Primers for Mold and Moisture Protection
Look for primers that are specifically designed for use in high-humidity environments. These primers often contain mold-resistant additives and can help prevent peeling and bubbling.
Step-by-Step Application Tips
Now that the surface is prepped and primed, it’s time to start painting. Follow these steps for smooth, long-lasting coverage.
- Stir the paint: Before you start painting, ensure the paint is thoroughly stirred to achieve even color and consistency.
- Cut in the edges: Use a small brush to paint along the edges of the ceiling, where it meets the walls. This will help you achieve a clean, professional-looking finish.
- Roll on the paint: Use a roller to apply the paint to the rest of the ceiling. Work in small sections, and ensure a wet edge to prevent lap marks.
- Apply multiple coats: Depending on the color and type of paint you’re using, you may need to apply multiple coats to achieve full coverage. Be sure to allow each coat to dry completely before applying the next.
- Clean up: Once you’ve finished painting, be sure to clean up any spills or drips immediately. Use soap and water for latex paints, or mineral spirits for oil-based paints.
Number of Coats and Drying Time
The number of coats you’ll need to apply will depend on the color and type of paint you’re using. In general, you can expect to need at least two coats for full coverage. Be sure to allow each coat to dry completely before applying the next, which can take anywhere from 2 to 4 hours, depending on the paint and the humidity levels in your bathroom.
Safety and Ventilation Considerations
When painting your bathroom ceiling, it’s essential to consider safety and ventilation. Be sure to wear protective gear, such as gloves and a mask, to prevent exposure to paint fumes. You should also open windows and use fans to improve ventilation and reduce the risk of inhaling harmful chemicals.
Maintenance Tips to Keep Bathroom Ceilings Mold-Free and Fresh
Once you’ve painted your bathroom ceiling, it’s important to take steps to maintain it and keep it looking its best. Here are some tips to help you keep your bathroom ceiling mold-free and fresh.
Regular Cleaning
Regular cleaning is essential for maintaining the appearance of your bathroom ceiling. Use a damp cloth or sponge to wipe down the ceiling regularly, and be sure to use a mild cleaning solution that’s safe for your paint.
Proper Bathroom Ventilation
Proper ventilation is key to reducing moisture buildup in your bathroom. Be sure to use your exhaust fan or open windows during and after showers to help remove excess moisture from the air.
Spotting Early Signs of Paint Failure or Mold
Keep an eye out for early signs of paint failure or mold growth on your bathroom ceiling. If you notice any peeling, bubbling, or discoloration, it’s important to address the issue promptly to prevent further damage.
When to Repaint and Factors That Influence Repainting Frequency
Over time, you may need to repaint your bathroom ceiling to maintain its appearance. The frequency of repainting will depend on several factors, including the type of paint you used, the humidity levels in your bathroom, and the amount of wear and tear the ceiling experiences.
Generally, you can expect to need to repaint your bathroom ceiling every 5 to 10 years. However, if you notice any signs of paint failure or mold growth, you may need to repaint sooner.
Common Mistakes to Avoid When Painting Bathroom Ceilings
When painting your bathroom ceiling, it’s important to avoid these common mistakes to ensure the best possible results.
- Using regular interior paint: Regular interior paint is not designed to withstand the high humidity levels in bathrooms. Be sure to choose a paint that’s specifically designed for use in high-moisture environments.
- Skipping primer or improper surface preparation: Failing to apply primer or improperly preparing the surface can lead to peeling and bubbling. Be sure to clean and prime the ceiling thoroughly before painting for optimal results.
- Applying paint in a poorly ventilated bathroom: Poor ventilation can lead to the buildup of harmful paint fumes. Be sure to open windows and use fans to improve ventilation while painting.
- Choosing the wrong paint finish: Matte finishes are more prone to moisture damage than semi-gloss or satin finishes. Be sure to select a finish that’s appropriate for your bathroom environment.
- Neglecting bathroom humidity control: High humidity levels can lead to mold growth and paint failure. Be sure to use your exhaust fan or open windows to control humidity levels in your bathroom.
Extra Tips: Eco-Friendly and Non-Toxic Paint Options for Bathrooms
If you’re concerned about the environmental and health impact of your paint, several eco-friendly and non-toxic options are available for bathroom ceilings.
Low-VOC and Zero-VOC Paint Choices
Low-VOC and zero-VOC paints emit fewer harmful chemicals into the air, making them a more environmentally friendly choice. These paints are available from many major brands and can provide the same level of performance as traditional paints.
Balancing Eco-Friendliness with Functionality
When selecting an eco-friendly paint for your bathroom ceiling, it’s essential to strike a balance between eco-friendliness and functionality. Look for paints that are specifically designed for use in high-humidity environments and contain mold-resistant and moisture-resistant additives.