If you are planning a shed, learning how to build a pitched roof for a shed can help you make it stronger, safer, and longer lasting. A pitched roof is a smart choice because it lets rainwater run off easily. That means less chance of leaks, less water damage, and less trouble over time.
It also gives your shed a little more space inside. If you want to store tools, boxes, or garden items, that extra height can be very useful. The good news is that this is a manageable DIY project if you plan well, measure carefully, and use the right materials.
What Is a Pitched Roof?
A pitched roof is a roof with a slope. Unlike a flat roof, it is angled so water, snow, and debris can move off the surface more easily.
The most common shed roof types are:
- Gable roof: Two sloping sides that meet in the middle
- Lean-to roof: One sloping side that leans in one direction
For most sheds, the gable roof is the most popular choice because it looks neat, drains well, and gives better interior space.
Tools and Materials You Will Need
Before you begin, gather your tools and materials. This makes the job smoother and faster.
Tools:
- Measuring tape
- Circular saw
- Hammer or nail gun
- Drill
- Level
- Ladder
Materials:
- Timber for rafters and ridge board
- Plywood sheets
- Roofing felt or membrane
- Shingles or metal sheets
- Screws, nails, and brackets
Planning Your Shed Roof
Good planning makes the build much easier. Start by measuring your shed carefully. Then choose the roof pitch. A common pitch for a shed is between 20° and 40°.
A steeper roof works better in heavy rain or snow. A lower pitch may suit mild weather and a simpler build. You should also check that your shed walls can support the roof weight.
Here is a quick guide:
Roof PitchBest ForMain Benefit
15°–20° Mild weather Simple build
20°–30° Most sheds Good drainage
30°–45° Rain or snow areas Strong runoff and more space
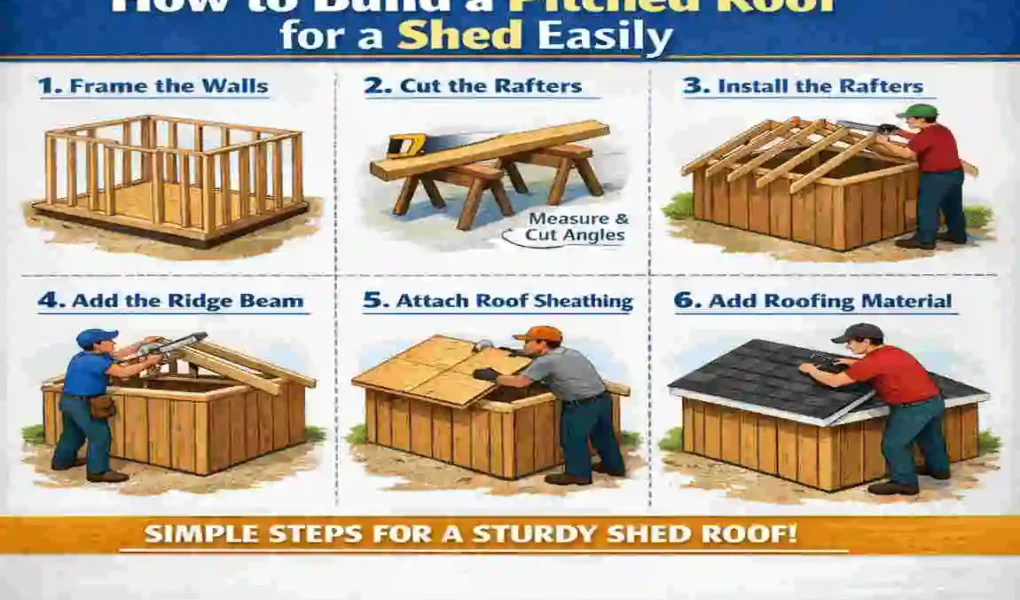
Step-by-Step Guide: How to Build a Pitched Roof for a Shed
Build the Roof Frame
Start by securing the wall plates to the shed walls. These create the base for the roof structure. Mark the rafter positions evenly so the roof stays balanced.
Take your time here. If the frame is not straight, the rest of the roof will be harder to fit properly.
Cut and install the Rafters
Measure each rafter carefully before cutting. The angle must match your roof design. Once cut, place the rafters into position and attach them firmly.
Rafters carry most of the roof load, so they need to be strong and well fixed. Use brackets or nails to keep them stable.
Install the Ridge Board
The ridge board sits at the top center of the roof. It connects the rafters and helps hold the roof shape.
Make sure it is level and secure. A straight ridge board provides the roof with greater strength and a cleaner finish.
Add Roof Sheathing
Next, cover the roof frame with plywood sheets. This layer gives the roof a solid base for the waterproof covering.
Leave a tiny gap between sheets so the wood can expand slightly with weather changes. This small step helps prevent cracking or lifting later.
Add the Waterproof Layer
Now add roofing felt or another waterproof membrane. This layer protects the shed from moisture and helps prevent leaks.
Overlap each layer properly so water cannot slip through the joints. This is one of the most important parts of the whole job.
Install the Roofing Material
After the felt is in place, add your final roofing material. You can use asphalt shingles or metal sheets.
Start from the bottom and work upward. This helps each layer overlap correctly, which keeps the roof watertight. Fix everything tightly so wind cannot lift the edges.
Finish the Edges
Once the roof covering is complete, trim any rough edges and seal any gaps as needed. You can also add gutters to improve water control around the shed.
A neat finish not only looks better but also helps the roof last longer.
Common Mistakes to Avoid
Even a simple shed roof can go wrong if you rush. Here are a few mistakes to avoid:
- Wrong measurements: This can throw off the whole roof shape
- Weak framing: A poor frame may sag or shift over time
- Bad waterproofing: This often leads to leaks
- Low-quality timber: Cheap wood may warp or crack
- No ventilation: Trapped moisture can damage the roof structure
Cost Breakdown
The cost of a pitched shed roof depends on the shed’s size and the materials you choose. If you already own basic tools, your cost will be lower.
In general:
- Timber takes up a large part of the budget
- Roofing felt and sheets add to the total
- Tools may increase the cost if you need to buy them
A DIY roof is usually much cheaper than hiring a professional. To save money, compare materials, buy only what you need, and avoid wasting timber.
Maintenance Tips
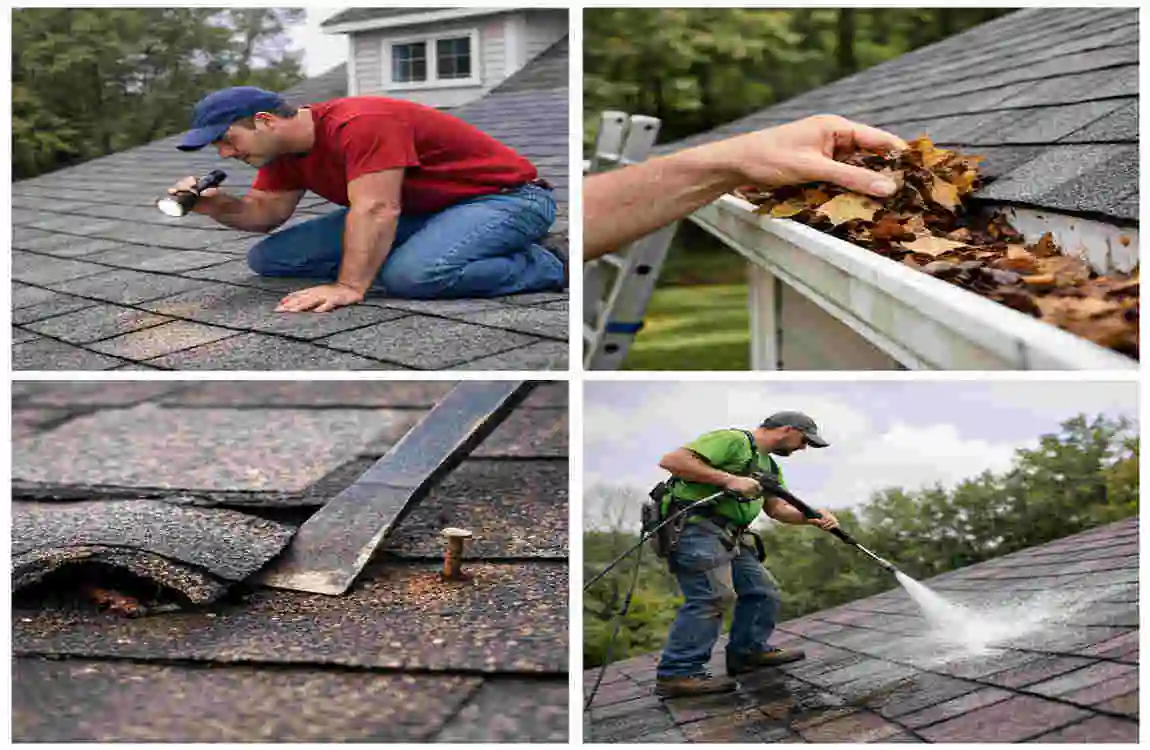
A pitched roof is easy to care for if you check it now and then.
- Look for loose shingles or sheets
- Clear leaves and dirt from the roof
- Check for leaks after heavy rain
- Replace damaged parts quickly
- Inspect the roof at least once in each season
Regular care helps your shed roof stay strong for many years.
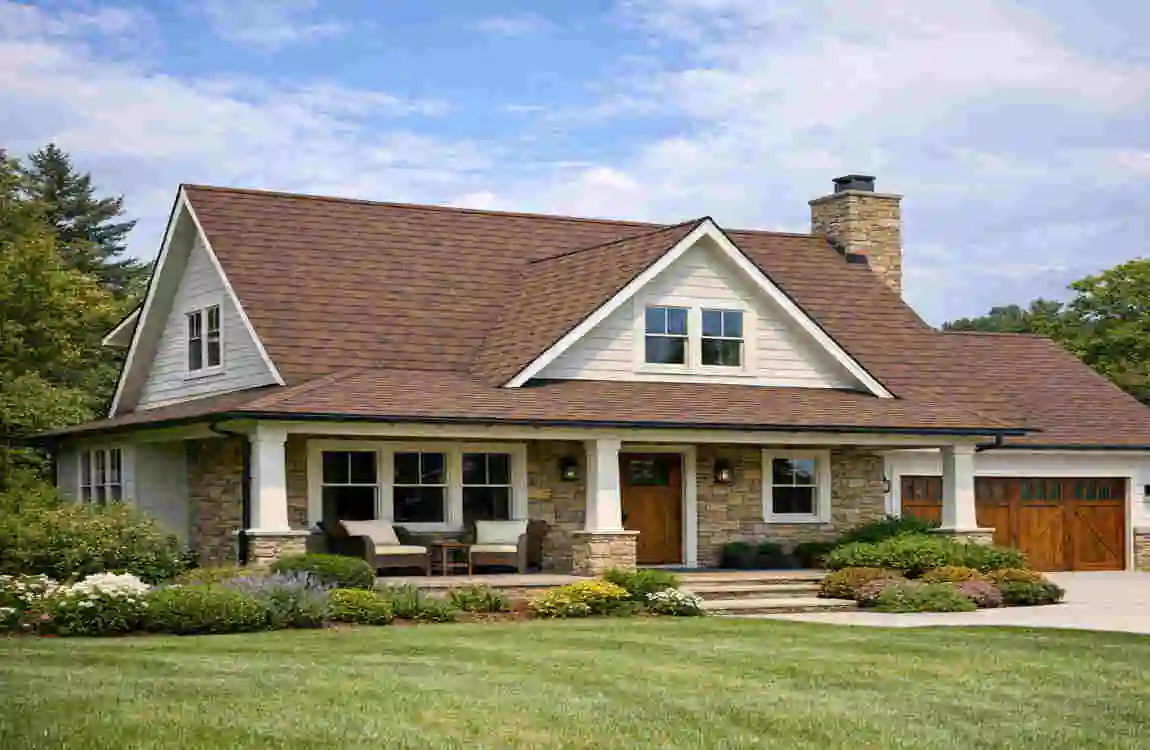
Benefits of a Pitched Shed Roof
A pitched roof gives you several clear benefits:
- Better water drainage
- Longer roof life
- Extra storage space
- Better appearance
- Less chance of water damage
If you want a shed that lasts and looks good, a pitched roof is a very practical choice.
FAQ
What angle is best for a shed-pitched roof?
A good range is 20° to 40°, depending on weather and design.
Is a pitched roof better than a flat roof?
Yes. It drains water better and usually lasts longer.
Can I build it myself?
Yes, if you have basic tools and follow the steps carefully.
What is the cheapest roofing option?
Metal roofing sheets are often the most budget-friendly choice.
How long does it take to build?
For most small sheds, it can take 1 to 3 days.
| Action | Key Tips | |
|---|---|---|
| Choose roof style | Pick a gable (apex) roof: two sloping sides meeting at a central peak | |
| Decide on pitch | Minimum 15° pitch to let water run off easily | |
| Select roofing material | Common options: roofing felt, shingles, corrugated metal, rubber roofing | |
| Cut rafters | Measure rafter length based on pitch; cut ends at matching angles; add a birdsmouth notch for wall fit | |
| Build trusses | Trace rafter peak triangle on plywood, cut, glue, and secure at rafter joints | |
| Assemble roof frame | Attach end rafters first, use string to guide placement, then fix remaining rafters | |
| Add sheathing & facia | Attach plywood sheathing for support; add facia boards on edges for a finished look | |
| Install roofing material | Fasten your chosen material (felt, shingles, metal, etc.) to the sheathing |