Adding LED strip lights to your cabinets can dramatically enhance their look and functionality. The lights’ warm glow beautifies the space and makes it easier to find items in dimly lit areas. Maintaining these lights is simple, ensuring they remain an asset for years. And if you’re feeling creative, consider using LED strips in other areas of your home for added flair. Imagine reaching into your cabinet and spotting that elusive spice jar or tool without fumbling in the shadows. With their low-profile design and energy efficiency, LED strip lights offer both practicality and style. If you want to create ambience or improve functionality, installing these lights inside your cabinets is a game-changer.
Tools and Materials Needed for the Installation

To successfully install LED strip lights inside your cabinets, gathering the right tools and materials is essential. Start with a measuring tape to ensure accurate lengths for your strips. You’ll need a pair of scissors or a sharp blade to cut the LED strips to size. A ruler can help you make precise measurements, ensuring everything fits neatly in place. Mounting clips or double-sided tape are used to secure the strips along surfaces. An electrical connector may be useful if you extend your lighting setup beyond one strip. For safety and ease during installation, have wire strippers and heat shrink tubing ready if you plan on connecting multiple strands.
Preparing the Cabinet for Installation
Before installing your LED strip lights, it’s essential to prepare your cabinet properly. Clear out all items from inside the cabinet. This gives you ample space to work and ensures that no belongings get damaged during the process. Next, inspect the interior surfaces for any dust or grease buildup. A clean surface ensures that adhesive strips hold firmly in place. Use a damp cloth to wipe everything down. Take some time to visualize how they will illuminate shelves and contents within the cabinet. You might even use a measuring tape to mark locations where each strip will go.
Choosing the Right Type of LED Strip Lights

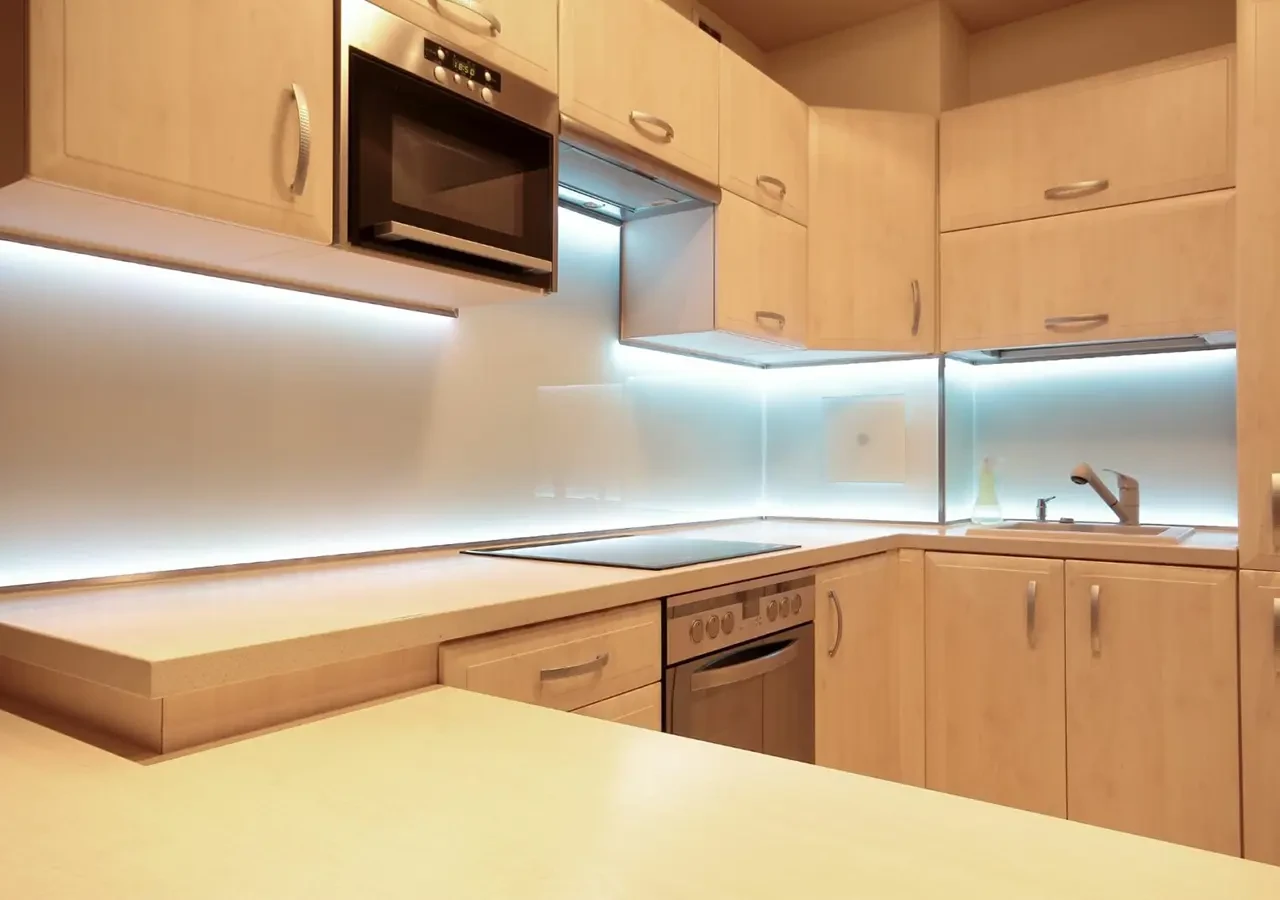
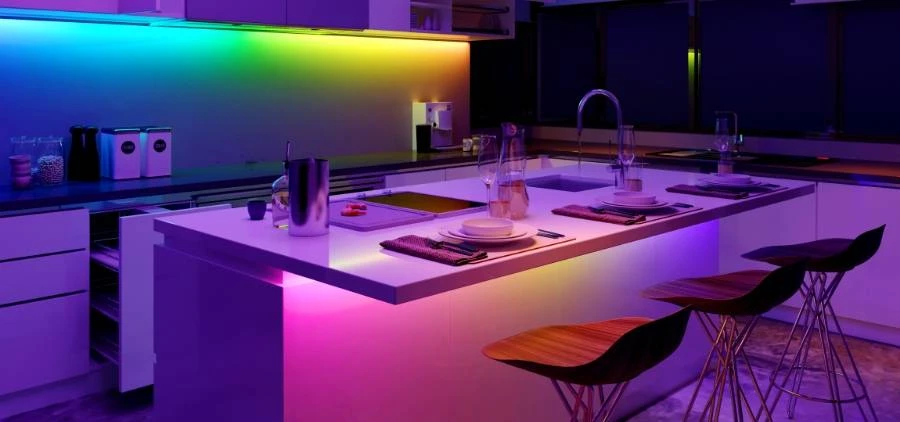
Measure your cabinet space accurately to ensure a proper fit. Some strips can bend around corners, making them ideal for intricate installations. Colour options are also important. Warm white light creates a cosy atmosphere, while cool white is better suited for workspaces. Many strips offer RGB features, allowing you to change colours based on mood or occasion. Check for adhesive backing or mounting clips in your chosen strip lights. A strong adhesion ensures they stay put over time without peeling away from surfaces.
Step-by-Step Guide to Installing LED Strip Lights
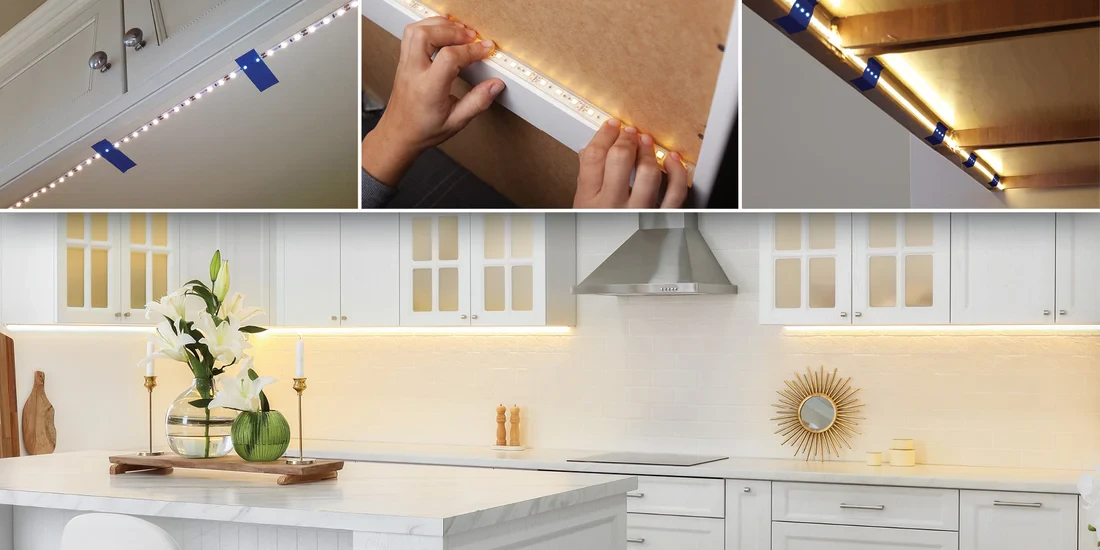
- Start by measuring the length of your cabinet’s interior. This will help you determine how much LED strip light you’ll need. Cut the strip to size if necessary, following the designated cut lines.
- Next, clean the surface where you’ll apply the lights. Use rubbing alcohol for a strong bond and ensure it’s free from dust or grease.
- Peel off the adhesive backing on your LED strip and carefully press it onto the prepared surface. Make sure to follow any curves or edges smoothly without creating gaps.
- Connect any wire leads according to manufacturer instructions before plugging them into your power supply. If you’re using connectors, ensure they are secure and properly aligned.
- Switch on the lights to check they illuminate evenly across all areas inside your cabinets. Adjust as needed for optimal brightness and coverage.
Tips for Achieving a Professional-Looking Finish
Precision is key to achieving a professional-looking finish with your LED strip lights. Start by measuring the length of the area where you plan to install them. This will ensure that you cut the strips accurately. Use quality adhesive backing on your LED strips for secure placement. Before sticking, clean the surface thoroughly to remove any dust or grease. Using corner connectors when turning in tight spaces helps maintain a seamless look without unsightly gaps. Space out multiple strips evenly for an even glow and avoid overcrowding them in one spot. Hide excess wiring neatly behind shelves or cabinets.
Maintenance and Safety Tips for LED Strip Lights
Regular maintenance is crucial to keep your LED strip lights shining bright. Dust and grime can accumulate over time, dulling their glow. Use a soft cloth or microfiber towel to gently wipe down the strips. Ensure that the power source is safe and reliable. Inspect wires for frays and loose connections. Avoid placing any heavy items on top of the strips to prevent damage. Check connections or replace a faulty section if you notice any flickering or dimming. Always adhere to manufacturer guidelines regarding voltage limits and installation practices for safety. Avoid overloading circuits by keeping an eye on wattage ratings.
Alternative Uses for LED Strip Lights in Home Decor
LED strip lights are incredibly versatile and can transform various spaces in your home. One popular use is to highlight artwork or photographs. Placing strips above or below frames creates a stunning visual effect, drawing attention without overwhelming the piece. Adding them under floating shelves for an ethereal glow. This enhances your decor and provides functional lighting for showcasing books or decorative items. LED strips can outline decks or patios for outdoor spaces, creating inviting atmospheres for evening gatherings. They are waterproof options available that withstand weather changes. Place them behind bedroom headboards to create soft ambient light, perfect for winding down at night. They can illuminate staircases; this improves safety while adding style to your home’s interior design. The possibilities truly seem endless when integrating LED strip lights into your living space.


