
You have just stepped into your bathroom after a long, exhausting day, looking forward to a relaxing, steamy shower. The hot water is running, the room fills with comforting steam, but as you lean back and look up, your sense of relaxation instantly vanishes. Staring back at you are cracked, peeling, and moldy ceiling tiles. Or you may see water-damaged drywall that looks like it is ready to cave in.
Suddenly, your tranquil sanctuary feels more like a neglected locker room. It is definitely time for a refresh, but the thought of a full-blown bathroom remodel sounds exhausting and incredibly expensive. Fortunately, you do not need to tear down the entire room to bring life back to your space. You can tackle just the ceiling. But this immediately brings up the core question: how long to retile a bathroom ceiling?
If you are planning to take this on yourself, you can expect the project to take anywhere from 1 to 3 days for a standard DIY endeavor. If you decide to hire professional contractors, the timeline is often much faster, usually wrapping up in a single day.
Retiling a bathroom ceiling is a highly focused, impactful DIY project that practically any motivated homeowner can complete. Why choose to retile instead of simply painting over the problem or installing new drywall? The answer comes down to durability and moisture defense. Bathrooms are incredibly humid environments. Paint will eventually peel again, and standard drywall acts like a sponge for condensation. Tile, when installed correctly, provides an impenetrable, waterproof barrier that protects your home’s structural integrity.
Beyond the practical benefits of moisture control, taking on a retile bathroom ceiling DIY project offers massive aesthetic upgrades and significant cost savings. By rolling up your sleeves, you can expect to spend anywhere from $250 to $2000, which is a fraction of what a professional might charge for labor and materials. Plus, a freshly tiled, modern bathroom ceiling noticeably increases your home’s overall market value.
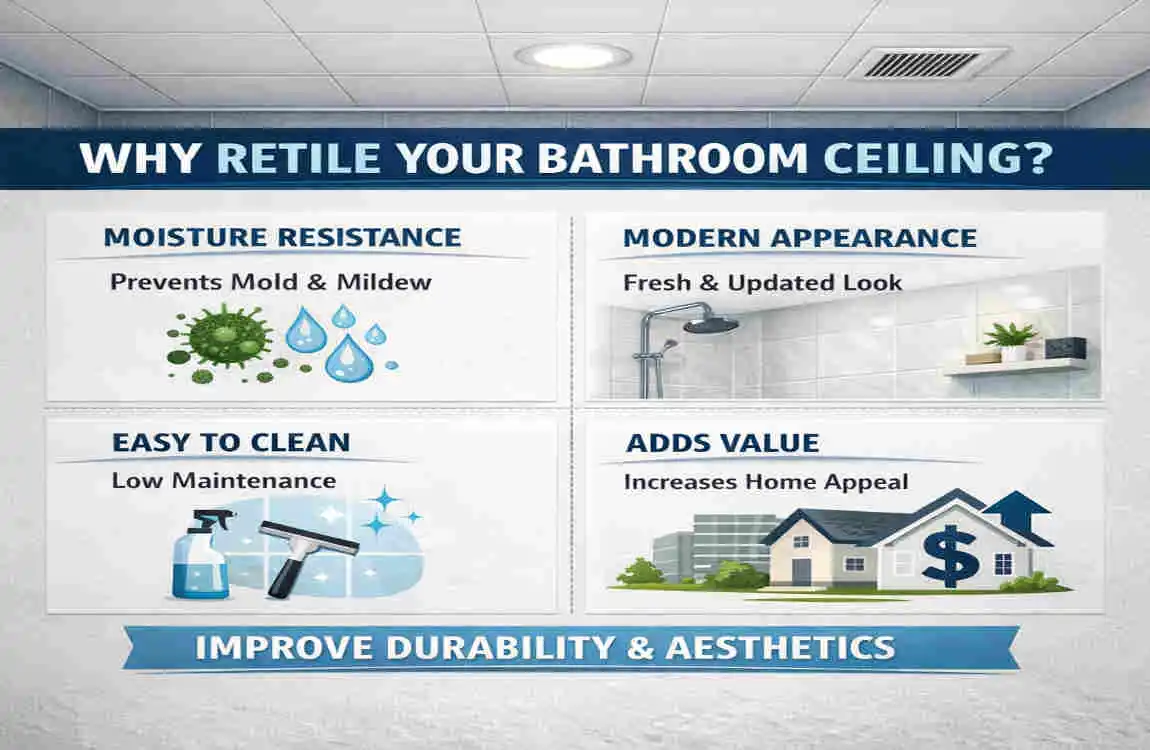
Why Retile Your Bathroom Ceiling?
Before we dive deeply into how long it takes to retile a bathroom ceiling, it is important to understand why this project is worth your time and energy in the first place. Bathrooms are unique spaces in a home because they are subjected to daily, extreme fluctuations in temperature and humidity.
Every time you take a hot shower, steam naturally rises to the highest point in the room: your ceiling. Over time, this intense humidity buildup wreaks havoc on traditional building materials. If you currently have an older tiled ceiling, this constant moisture can lead to severe grout failure. The porous grout absorbs the water, begins to crumble, and eventually causes the tiles to detach and fall—a major safety hazard.
Signs It Is Time for a Replacement
You do not need to be a professional contractor to spot the warning signs of a failing ceiling. Here is what you should look out for:
- Visible Mold and Mildew: If you see dark, fuzzy spots spreading across your ceiling, this means moisture has penetrated the surface. Mold is not just unsightly; it is a health risk.
- Cracks and Sagging: Hairline cracks in the grout or tiles that appear to be bowing downward indicate structural failure or water pooling above the ceiling line.
- Discoloration and Yellowing: Water stains are a clear indicator that your current ceiling barrier is no longer doing its job.
The Ultimate Benefits of Retiling
Choosing to retile rather than patch up old drywall comes with tremendous benefits. First and foremost is improved waterproofing. Modern tiles and epoxy grouts create a sealed envelope that moisture cannot penetrate.
Secondly, updating your ceiling offers a massive visual upgrade. Swapping out dated, grimy 4×4 square tiles for sleek, modern styles like glass mosaics or classic subway tiles can make your ceiling look higher, and your bathroom feel significantly larger.
When to Consider Alternatives
Of course, retiling is a labor-intensive project. If your existing tiles are structurally sound, not loose, and only suffering from some surface-level dirt, you should reconsider. Sometimes, a deep chemical clean and a fresh application of high-quality grout sealant are all you need to restore the ceiling’s original glory. But if the damage is structural, it is time to grab your tools.
Factors Affecting Timeline: How Long to Retile a Bathroom Ceiling?
When trying to determine exactly how long to retile a bathroom ceiling, there is no single, universal answer. Every bathroom is uniquely shaped, and every homeowner has a different level of DIY experience.
Your bathroom ceiling tile time will heavily depend on several critical variables. To help you visualize what to expect, we have broken down the main factors into an easy-to-read table.
Factor DIY Time Impact Pro Time Impact Important Notes & Considerations
Ceiling Size (sq ft) 5×5 ft: 1 day; 10×10 ft: 2-3 days, 0.5-2 days. Small bathrooms and powder rooms are significantly quicker to complete.
Tile Type & Material : Ceramic: Standard time; Glass/Mosaic: +1 day—minimal impact. Heavier, larger tiles require more supportive prep and stronger thinset.
Experience Level Beginner: Double the standard time N/A Experienced pros can finish both walls and ceilings in just 2-3 days total.
Existing Damage Minor prep: +0.5 day; Major demo: +1-2 days +0.5 day. Repairing water-logged joists or replacing drywall adds crucial drying time.
Drying/Grout Cure 24-48 hrs mandatory waiting period. Same as DIY Thinset needs roughly 24 hrs; Grout needs up to 72 hrs to fully cure.
Analyzing the Timeline Variables
Let’s take a closer look at these factors. The size of your bathroom is the most obvious element. A compact half-bath ceiling can easily be prepped and tiled in a single weekend afternoon. However, a sprawling main bathroom with complex light fixtures and ventilation fans will require intricate tile cutting, which naturally slows down the process.
The type of tile you select also dictates your speed. Standard ceramic tiles are relatively light, easy to cut, and adhere well. Conversely, heavy natural stone or slippery glass mosaics require specialized cutting tools and extra-sticky modified thinset to prevent them from sliding off the ceiling while drying.
Climate and humidity also play a surprising role in your project timeline. For instance, if you are working in a highly humid climate—such as the monsoon season in Lahore, Pakistan, or the muggy summers in Florida—drying times for your thinset and grout will be extended. In these specific environments, using fast-setting anti-mold sealants and keeping the room heavily ventilated is mandatory to keep your timeline on track.
Realistic Timelines: Step-by-Step Breakdown

To truly optimize your bathroom ceiling tile timeline, you need to break the project down into manageable, bite-sized phases. When people ask, “How long to retile a bathroom ceiling?”, they often forget that gluing the tile to the ceiling is just one small part of the job.
Here is a highly detailed, realistic step-by-step breakdown of the entire process, optimized to help you plan your weekend effectively.
The Preparation Phase (1-2 days)
Do not rush this phase. The longevity of your ceiling depends entirely on the quality of your preparation.
- Protect Your Surfaces: Start by removing everything you can from the bathroom. Cover your bathtub, vanity, and floors with heavy-duty drop cloths, thick plastic sheeting, or even flattened cardboard. Falling tiles and dropped mortar can easily chip your porcelain tub or scratch your floor.
- Remove the Old Tiles: Put on your safety goggles and a dust mask. Use a utility knife to score the old grout lines, which helps break the bond. Then, take a hammer and a masonry chisel to pry off the old tiles carefully. For a standard 50-square-foot ceiling, this messy demolition can take anywhere from 4 to 8 hours.
- Repair the Substrate: Once the ceiling is bare, assess the damage. You cannot tile over rotting drywall. You will need to install a waterproof backer board or cement board to provide a rigid, moisture-resistant foundation for your new ceiling. Cutting and screwing this heavy board into your ceiling joists will likely take up the remainder of your first day.
The Installation Phase (4-8 hours)
This is where the magic happens, and where your physical endurance will be tested. Working overhead is taxing on the shoulders and neck, so take frequent, short breaks.
- Apply the Thinset: You need to use a high-quality, modified thinset mortar designed for large-format or overhead tiles. Using the flat side of your trowel, apply a thin “skim coat” directly onto the ceiling substrate. Then, apply more thinset and use a 1/4″ notch trowel to comb ridges into the mortar.
- Layout and Cutting: Never start tiling without a plan. Find the exact center of your ceiling and plan your layout outward so you do not end up with tiny, awkward slivers of tile at the edges. Dry-fit your tiles and make any necessary cuts around your showerhead, light fixtures, or exhaust fans using a wet saw.
- Tile Overhead: Press the tiles firmly into the notched thinset, wiggling them slightly to collapse the ridges and ensure full coverage. Work in small, manageable sections (about 2×2 feet at a time) so the thinset does not dry out before you can apply the tile. If you are using heavier tiles, you may need to construct simple wooden T-braces to support them while the mortar grabs hold.
The Finishing Phase (1 day + cure time)
You are almost at the finish line, but patience is required here.
- Grout Application: After waiting a full 24 hours for the thinset to cure, it is time to grout. Using a rubber grout float, press the unsanded or epoxy grout firmly into the joints between the tiles. Work at a 45-degree angle to avoid pulling the grout back out of the lines. This application process takes roughly 2 to 4 hours.
- Wipe Down: Let the grout set for about 15-30 minutes until a hazy film forms on the tiles, then gently wipe the surface clean with a damp sponge.
- Seal the Edges: Finally, apply a bead of 100% silicone caulk around the perimeter where the ceiling meets the walls. Silicone is flexible and will handle the natural expansion and contraction of your home better than hard grout.
- Total Time Investment: While the active physical labor might only take 1 to 2 days for a small ceiling, the mandatory curing times mean the entire room will be out of commission for roughly 3 days.
Pro vs. DIY Timelines
If you read the above steps and felt exhausted just thinking about it, hiring a professional might be the right call. Professional contractors work with speed and precision honed over years. A pro can typically demo, prep, and tile a ceiling in a single, 8-hour day (returning briefly the next day to grout). A DIYer will realistically need 2 to 5 days due to the learning curve, trips to the hardware store for forgotten items, and the sheer physical fatigue of overhead work.
Cost Breakdown: Cost to Retile Bathroom Ceiling
Understanding the cost to retile the bathroom ceiling is just as important as knowing the timeline. The two are closely linked; choosing cheaper, easier-to-install materials can actually speed up your timeline, while intricate, expensive designs will slow you down.
On average, a completely DIY ceiling tile will cost between $250 and $2000. The massive variance depends entirely on the luxury level of the tile you select and the amount of structural repair needed underneath.
Here is a detailed breakdown comparing DIY costs with professional add-ons, tying the expenses back to your project timeline.
Project Item Average DIY Cost (PKR / USD equivalent)Professional Add-On Cost Timeline Tie-In
Tiles (Ceramic, 50 sq ft) 5,000 – 15,000 PKR ($20 – $60 total). Usually included in standard quotes. Cheaper, standard tiles equal much faster, easier cuts.
Thinset & Grout 2,000 PKR ($8). Labor is roughly $12.50 per sq ft. Buying pre-mixed formulas in bulk saves preparation time.
Tools (Trowel, Wet Saw) 3,000 PKR ($12 for basics) N/A (Pros bring their own) Renting a high-quality wet saw saves hours of frustrating manual cutting.
Cement Backer Board 4,000 PKR ($16) Included in prep labor. Mandatory for a safe timeline; do not skip the prep day!
Total for a Small Bath 15,000 – 30,000 PKR ($60 – $120) $2,000 average total DIY effectively halves the cost, but doubles the time.
Maximizing Your Budget
If you are operating on a tight budget, there are plenty of ways to keep costs down without sacrificing quality.
- Shop Local and Smart: Regional material costs vary wildly. For our readers in Pakistan, for example, sourcing materials from bustling local hubs like Lahore’s Anarkali market can result in costs that are 10% to 20% lower than those of big-box luxury retailers.
- Reuse Existing Fixtures: You can save significant time and money by carefully removing and reusing your current showerhead trim, ventilation covers, and ceiling light trims rather than buying brand new ones. This also cuts down on your demolition time, as you will be motivated to be more careful.
- Rent Don’t Buy: If you do not plan on tiling again anytime soon, do not buy a $300 electric wet saw. Rent one from your local hardware store for $30 a day. It will speed up your cuts immensely and keep your budget intact.
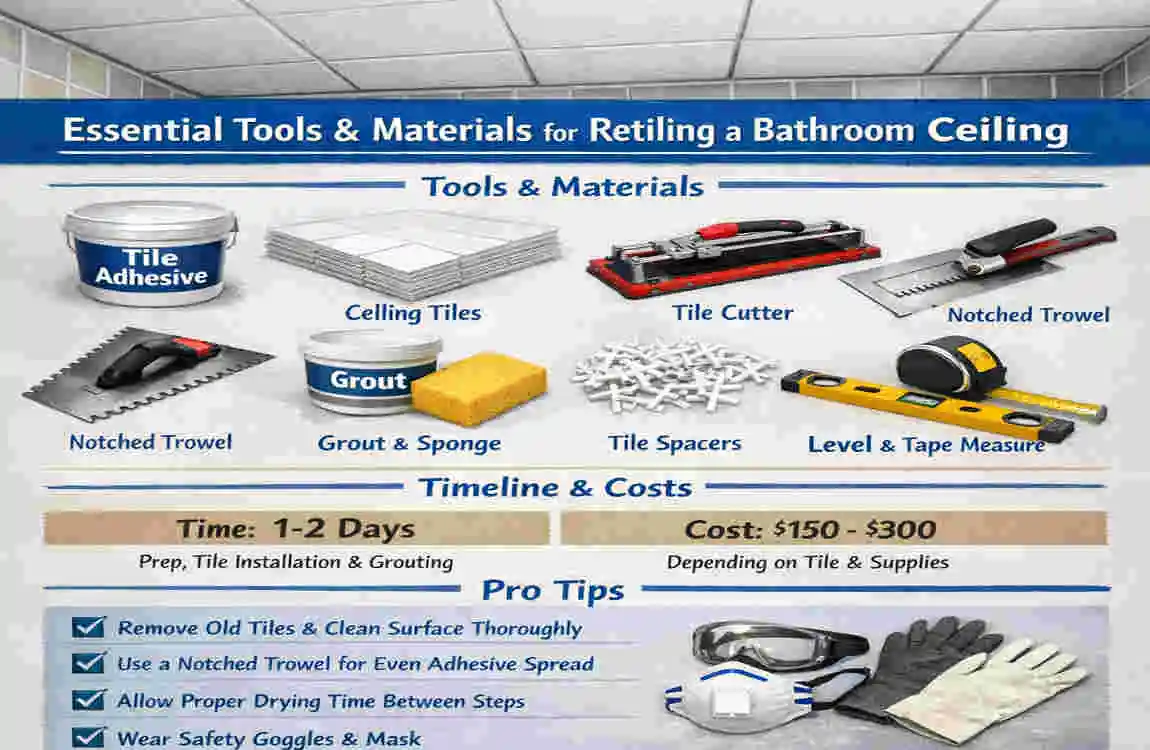
Essential Tools and Materials
A craftsman is only as good as their tools, and this is especially true when fighting gravity to install heavy tiles overhead. Having everything prepared before you mix your first batch of mortar will keep your bathroom ceiling tile timeline perfectly on track.
Here is a comprehensive checklist of exactly what you need to succeed.
The Hardware and Tools:
- 1/4″ Square Notch Trowel: The specific size of these notches ensures the perfect amount of thinset is applied to grab the tile without oozing out of the sides.
- Electric Wet Saw or Manual Tile Cutter: A wet saw is highly recommended for clean, fast cuts around circular light fixtures.
- Rubber Grout Float: For pressing grout smoothly into joints without scratching the face of your new tiles.
- Laser Level or Chalk Line: Essential for ensuring your tile rows remain perfectly straight across the ceiling.
- Safety Gear: Do not skip this! You need wrap-around safety goggles (thinset falling in your eye is a nightmare), a particulate dust mask for demolition, and heavy-duty latex gloves.
The Building Materials:
- Polymer-Modified Thinset Mortar: This is non-negotiable. Standard mortar will not hold tiles overhead. Modified thinset contains special polymers that act like superglue, offering superior sag resistance.
- Unsanded Grout or Epoxy Grout: Unsanded grout is ideal for tight grout lines (under 1/8 inch), while epoxy grout offers unparalleled water and stain resistance.
- 100% Silicone Sealant: For flexible, waterproof caulking along the room’s perimeter.
- Waterproofing Membrane: Products like Kerdi-band or liquid waterproofing membranes are highly recommended to paint over your backer board before tiling.
Gathering these supplies in one fell swoop from your local hardware center ensures you won’t be making frantic, time-wasting driving trips while your mortar is rapidly drying in its bucket!
DIY Bathroom Ceiling Tiling Tips for Ultimate Success
So, you have your materials, you have cleared your weekend, and you know exactly how long it takes to retile a bathroom ceiling. How do you make sure the project looks good and stays safely attached to the roof?
Tiling a ceiling requires a different set of skills than tiling a floor. Follow these actionable, numbered DIY bathroom ceiling tiling tips to beat the average timelines and achieve a professional-grade finish.
Prime Your Environment for Speed
Time is your biggest enemy when working with fast-drying cement products. Pre-mix your thinset to a consistency that resembles thick peanut butter—if it is too watery, it will drip; if it is too dry, it won’t stick. Work exclusively in small, 2×2-foot sections. By the time you finish one section, you can comfortably move your ladder and start the next without the ceiling mortar skinning over and losing its stickiness.
Avoid the Dreaded “Sag.”
Gravity is constantly trying to pull your hard work down. To combat this, always use a Premium “medium-bed” or “non-sag” mortar. When applying the tiles, do not just push them straight up. Push them into the mortar and give them a slight, twisting wiggle. This collapses the trowel ridges, creating a suction cup effect that locks the tile to the ceiling. Furthermore, always start your layout from the center of the room and work your way outward to the walls.
Master Moisture Control
If you live in a notoriously humid environment, moisture mastery is your top priority. In places with heavy humidity, like Lahore, standard drywall will not survive behind tile. You must use cement backer board and highly consider applying a waterproofing membrane tape (like Kerdi-band) over all your seams before tiling. Additionally, set up box fans and keep windows open; extreme humidity demands extra ventilation for your thinset to cure properly.
Sidestep Common Pitfalls
The most common mistake amateur tilers make is rushing the grout phase. It is incredibly tempting to start grouting just a few hours after laying the tile, especially if you are tired and want the job to be over. Do not do this. You must wait a full 24 hours. Grouting too early traps moisture behind the tiles, preventing the thinset from ever fully curing, which guarantees your tiles will fall down months later. Another pitfall is uneven cuts. Always live by the carpenter’s rule: measure twice, cut once.
Utilize Smart Time-Savers
Want to shave hours off your timeline? Enlist a helper. Having a second person standing on the ground to measure, make cuts on the wet saw, and hand you the prepared tiles while you remain on the ladder is the ultimate time-saver. Additionally, if you have a simple ceiling layout, you can pre-cut all your edge pieces before you even mix your first batch of mortar.
Put Safety Above Everything
Overhead work is inherently dangerous. Your ladder must be on stable, completely flat ground—never prop it up on loose drop cloths. Always wear your safety goggles. Thinset mortar is highly alkaline and can cause severe chemical burns if a dollop falls into your eye while you are looking up. Keep a bucket of clean water and a sponge nearby to immediately wipe off any mortar that gets on your skin.
Frequently Asked Questions (FAQ)
Tackling a ceiling can feel intimidating, and it is natural to have some lingering concerns. Here are some of the most common questions homeowners ask when researching how long to retile a bathroom ceiling.
How long to retile a bathroom ceiling DIY? For an average-sized bathroom, a dedicated DIY homeowner should plan for a timeline of 1 to 3 days. This includes a Friday night demolition, a full Saturday of tiling, and a Sunday reserved strictly for grouting and sealing.
Is tiling a ceiling much harder than tiling walls? Yes, it is noticeably more difficult. Working overhead introduces the constant battle against gravity and is physically demanding on your arms, neck, and shoulders. You can expect overhead work to add roughly 50% more time to your project compared to tiling a standard vertical wall.
Can I save time by tiling over the old ceiling tiles? While it is technically possible in very rare scenarios, it is highly discouraged. Layering tiles adds immense, dangerous weight to your ceiling joists. Furthermore, you are relying on the adhesion of the old tiles to hold up the new tiles. Always take the extra day to demolish down to the studs or backer board for the best, safest adhesion.
What is the estimated cost in Pakistan for this project? If you are sourcing materials locally in markets like Anarkali, you can expect to spend anywhere between 15,000 and 50,000 PKR for an average-sized bathroom, depending largely on whether you choose standard ceramic or high-end imported tiles.
Do I need to hire professionals for the electrical work? If your ceiling tile involves moving, replacing, or installing new recessed lighting fixtures or heavy exhaust vents, yes, absolutely. Combining water, steam, and unpermitted electrical work is incredibly dangerous. Have a licensed electrician handle the wiring before you put up your backer board.