Whitewashing pine wood can transform your space, adding a fresh and airy feel while preserving the grain’s natural beauty. By understanding the process, preparing properly, and selecting the right technique, you can achieve stunning results that will enhance any project. With attention to detail during application and maintenance, your whitewashed surfaces will continue to shine for years. Whether you’re updating furniture or giving new life to walls, embracing this classic finish opens up a world of possibilities in decor style.
Understanding Whitewashing and its Benefits
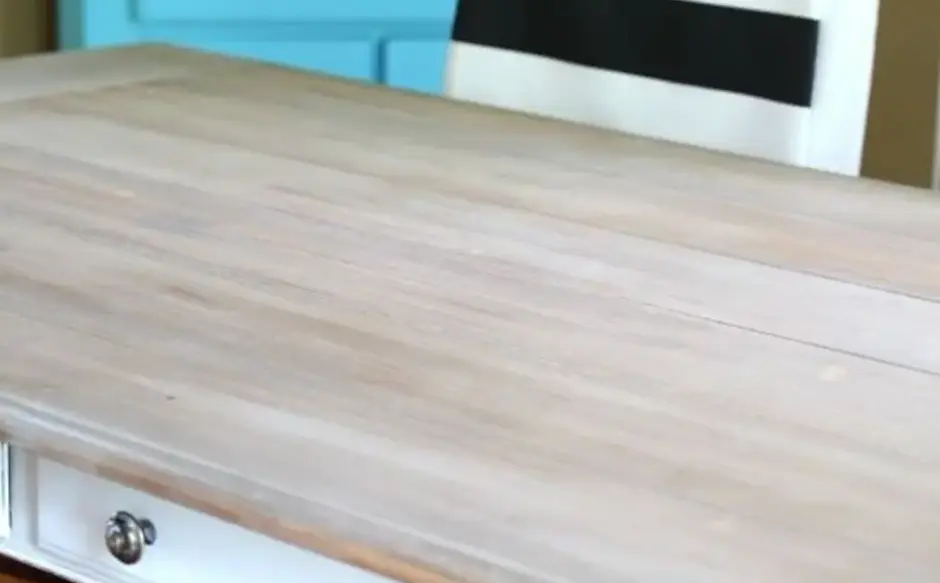
Whitewashing is a classic technique that adds a soft, muted finish to wood surfaces. It involves diluting paint or using a special whitewash mixture to create an airy appearance while still showcasing the natural grains of the wood. One of its primary benefits is versatility. Whitewashed pine can fit seamlessly into various design styles, from shabby chic to modern minimalism. The lightened tones brighten spaces and make them feel more open.
Whitewashing protects the wood underneath. The thin layer provides some resistance against moisture and wear, which means your furniture not only looks great but lasts longer. An advantage is how easy it is to customize. You can adjust the shade by varying the mix, allowing you to find the right look for your home without sacrificing character or charm.
Preparing the Pine Wood for Whitewashing
Before you start whitewashing, it’s crucial to prepare your pine wood properly. Begin by cleaning the surface thoroughly. Dust and dirt can hinder adhesion and ruin the final look. Next, inspect for imperfections like knots or rough spots. Sand these areas gently to create a smoother surface. Use medium-grit sandpaper followed by fine-grit for that perfect finish.
If your wood has been previously stained or sealed, strip those layers away with a chemical remover or sanding. This step ensures that the whitewash adheres well. Once satisfied with the smoothness, wipe down the wood again to remove dust particles left from sanding. A clean canvas will let your whitewash shine through beautifully!
Choosing the Right Whitewash Technique

Selecting the right technique is crucial when whitewashing pine wood. Two popular methods stand out: traditional and modern. The traditional method uses a simple mix of water and paint or chalk-based products. This approach lets the natural grain shine through while offering a soft look. It’s perfect for those who want an authentic, rustic feel.
Modern techniques often involve premixed whitewash or specialized stains containing pigments designed for better adhesion. These options provide more color control and durability, making them ideal for high-traffic areas or outdoor projects.
Step-by-Step Guide to Whitewashing Pine Wood
Start by gathering all necessary materials. You’ll need whitewash, a brush or rag, sandpaper, and water to dilute the wash. Begin with surface preparation. Sand the pine wood thoroughly to remove any rough patches or old finishes. This ensures better adhesion for your whitewash.
Mix your whitewash solution. Combine equal parts of paint and water in a container for an ideal consistency that spreads easily without overpowering the natural grain. Apply the mixture using a brush or cloth in long strokes along the grain. This technique helps maintain texture while ensuring even coverage.
Let it dry completely before assessing if another coat is needed. If so, repeat the application process until you achieve your desired look. Once satisfied with the finish, allow everything to cure fully before placing items on top or exposing them to moisture.
Tips and Tricks for a Beautiful Finish
To achieve a stunning whitewashed finish:
- Start with high-quality materials.
- Invest in good paint or stain for better coverage and durability.
- Mix your whitewash thoroughly to avoid uneven color.
A consistent blend ensures a uniform look on the wood surface.
When applying, use a natural bristle brush. This type of brush helps create texture and allows for smoother application over knots and grain patterns. Work in small sections to maintain control. Focusing on one area at a time makes it easier to manage drying time and prevent streaks or patches. Experiment with layering techniques. Adding multiple thin coats can enhance depth while allowing the wood grain to show beautifully.
Maintaining and Touching Up Your Whitewashed Pine Wood
Maintaining whitewashed pine wood is straightforward. Regular dusting with a soft, dry cloth will keep surfaces looking fresh. Avoid harsh chemicals; gentle soap and water are usually enough for cleaning.
Touching up the finish can rejuvenate the look if you notice wear or fading. Mix equal parts of white paint and water to create a new batch of whitewash that matches your existing finish. Apply it lightly with a brush or rag, working in small sections. This method ensures even coverage without overwhelming the natural grain underneath.
Consider adding a protective coat of clear sealant after touch-ups for areas exposed to heavy use. It enhances durability and maintains that lovely whitewashed appearance over time.