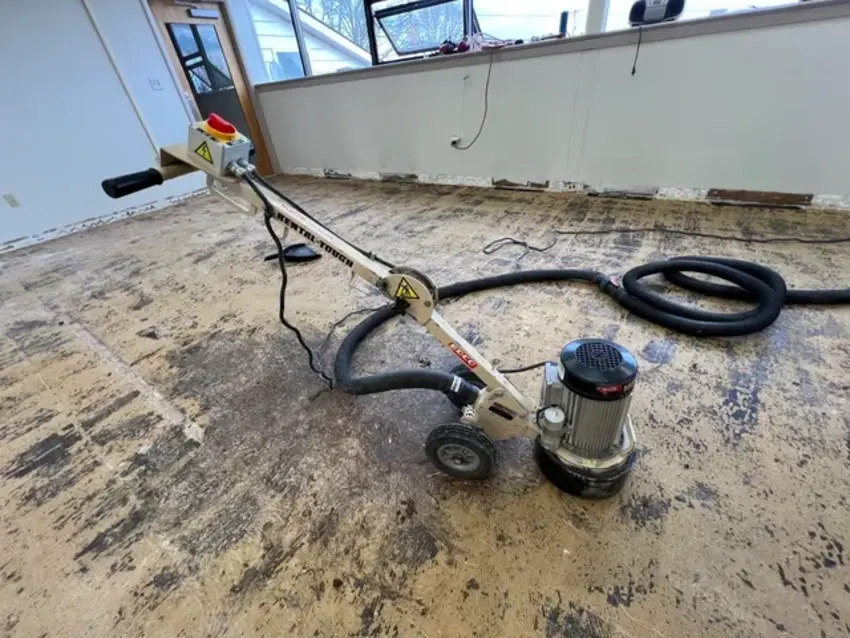
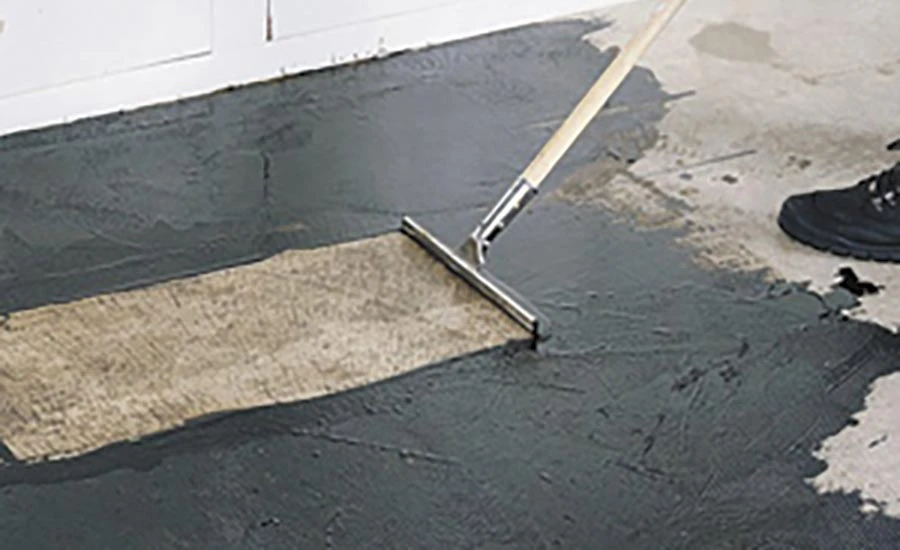
Taking the time to properly remove flooring adhesive from your subfloor is essential for several reasons. A clean surface ensures that any new flooring you install will adhere correctly and last longer. This prevents future issues like bubbling, peeling, or uneven surfaces.
A smooth subfloor enhances safety. Uneven or sticky spots can lead to tripping hazards or discomfort underfoot. Addressing adhesive residue now saves you from headaches regarding repairs or replacements.
By following the right steps and using appropriate tools, you achieve a pristine base for your next project and enhance the overall integrity of your home’s flooring system. Always prioritize thorough preparation; an investment in durability and appearance pays off significantly later.
Understanding flooring adhesive and its purpose

It is crucial to use flooring adhesive when installing different types of flooring. It helps bond materials like vinyl, tile, and carpet to the subfloor, ensuring they remain securely in place over time. Different adhesives serve different purposes. For instance, some are designed for moisture resistance, while others provide flexibility or extra strength. This variety allows homeowners to choose the right product based on their needs and environmental conditions.
When is it necessary to remove flooring adhesive from the subfloor?
Removing flooring adhesive from a subfloor is only sometimes necessary, but certain situations call for it. If you’re planning to install new flooring, ensuring the surface is clean and free of old adhesives is critical. Residual glue can interfere with proper adhesion and lead to issues down the line.
Moisture problems also warrant removal. The adhesive that has absorbed moisture can compromise the integrity of your new flooring materials. It’s wise to address any water damage before laying down fresh surfaces.
If you notice unevenness or bumps in your subfloor, those could be remnants of old adhesive causing an unstable foundation for your new floors. A smooth surface prevents future complications like creaking or warping.
Tools and materials needed for removing flooring adhesive

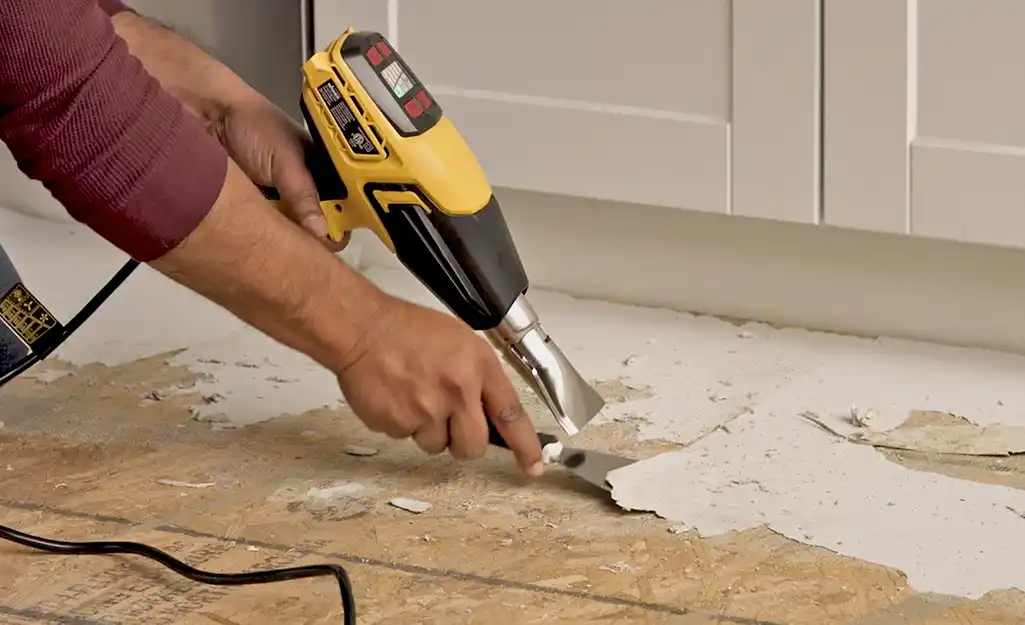
To tackle flooring adhesive removal effectively, gather a few essential tools. A floor scraper is vital for peeling up stubborn remnants. Choose one with a sharp blade to make the job easier. A heat gun can be incredibly helpful, too. It softens the adhesive, allowing you to scrape it away more effortlessly. Just be cautious not to overheat your subfloor.
Use a putty knife or chisel for precision scraping for smaller areas or detailed work. An oscillating tool can also speed up the process in tight spots. Have some cleaning agents ready. Adhesive remover solutions or vinegar and water mixtures can help dissolve residue effectively as you clean up after scraping away larger pieces.
How do you remove flooring adhesive from the subfloor?
Start by preparing your workspace. Ensure the area is well-ventilated and clear of any obstacles. Wear protective gear, including gloves and goggles. Next, use a utility knife to score around the edges of the adhesive. This will help loosen its grip on the subfloor. Take care not to damage the surface beneath.
Using a putty knife or scraper, gently pry up sections of the adhesive. Work in small patches for better control and effectiveness. If you encounter resistance, apply more pressure gradually. For stubborn spots, try applying heat with a hairdryer or heat gun. This softens the adhesive, making it easier to remove. Clean up any residue using an appropriate solvent paired with rags or paper towels until you achieve a smooth surface that is ready for new flooring installation.
Tips and precautions for a successful removal process
Preparation is key when tackling flooring adhesive removal. Start by ensuring your workspace is well-ventilated. Good air circulation helps dissipate any fumes from the solvents you may use.
Wear appropriate protective gear. Safety goggles and gloves can shield against potential irritants or sharp tools during the process. Test a small area first to gauge how easily the adhesive comes off. This step saves time and helps you choose the right method for larger sections.
Keep your tools organized and within reach to avoid wasting time searching mid-project. A clean workstation promotes efficiency. Stay patient throughout the removal process; rushing can lead to mistakes or damage to your subfloor. If you’re using chemicals, follow all instructions carefully for safety and effectiveness.
Alternative methods for removing stubborn flooring adhesive
Alternative methods can save the day for those especially tough adhesive residues. One option is using heat. A heat gun or hair dryer can soften the adhesive, making it easier to scrape off with a putty knife. Another approach involves solvents like acetone or mineral spirits. Apply these carefully on a cloth and dab them onto the stubborn areas. Allow time for absorption before scraping gently. For eco-friendly enthusiasts, vinegar mixed with water may work wonders, too. This natural solution often loosens adhesives without harsh chemicals.


