
You can either install your window stool permanently or remove it. To make your stool removable, use industrial-grade double-sided tape.
Understanding the Purpose of Window Stools
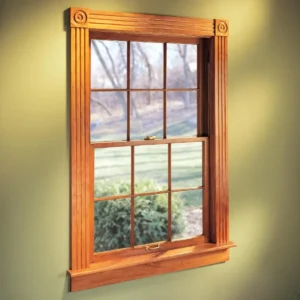
Window stools, also known as window sills, are horizontal ledges at the bottom of windows. They serve both functional and aesthetic purposes in a room. Functionally, window stools help create a transition between the window frame and the wall, providing a cohesive look to the overall design. Additionally, they act as a base for interior trim work, such as casing and aprons.
Tools and Materials Needed
Having the right tools and materials is crucial for a successful installation when putting a stool on your window. Here’s what you’ll need:
For tools, grab a measuring tape, pencil, miter saw, or hand saw, wood glue or construction adhesive, finishing nails or screws with a drill, sandpaper for smoothing edges, and a level to ensure everything is straight.
As for materials, choose a high-quality piece of lumber for the stool that matches your window trim. Opt for durable wood like oak or pine that can withstand daily use and exposure to sunlight.
Remember to measure twice before cutting the stool to ensure a precise fit. When determining the size of the stool, take into account the width of your window frame.
Having all these tools and materials ready will make installing your window stool a breeze!
Step-by-Step Guide to Installing a Window Stool
So, you’ve decided to spruce up your windows by adding a stool. Follow this step-by-step guide to get started.
First, gather all the necessary tools and materials—measuring tape, saw, wood glue, nails, sandpaper, and, of course, the wood for your stool.
Next, measure and cut the stool to fit perfectly under your window sill. Take accurate measurements, and don’t rush this step—precision is key!
Once your cut piece is ready, apply some wood glue along its edges before carefully positioning it under the window opening.
Secure the stool in place using nails or screws. Ensure it’s level and flush with the window sill for a professional finish.
After installation, give your new window stool a good sanding to smooth any rough edges or imperfections.

Tips for Measuring and Cutting the Stool
Accurate measurements are crucial for a seamless fit when installing a window stool. Start by measuring the window opening width where the stool will sit. Use a tape measure and double-check your measurements to avoid errors.
Next, determine how deep you want your stool to be. Standard stools are typically 2-3 inches deep, but this can vary based on personal preference and design aesthetic. Mark these measurements on your material before cutting.
Carefully cut along the marked lines using a saw suitable for the type of material you’re working with. Take your time to ensure smooth and precise cuts that match your measurements accurately.
Common Mistakes to Avoid
Many DIYers make common mistakes when installing a window stool. One of the most frequent errors is not properly measuring the space where the stool will go. This can lead to an ill-fitting stool that needs to be more professional.
Not taking into account the aesthetic appeal of your window stool is also a pitfall to steer clear of. Ensure that your chosen material and design complement the overall look of your window and room decor.
Rushing through the installation process can lead to sloppy artistry. Take time, follow each step carefully, and double-check your measurements before cutting or attaching the stool.