Water damage can be distressing for homeowners, especially when it affects beautiful wood floors. Addressing the problem quickly and effectively is crucial to minimizing long-term effects. You can restore their original beauty by understanding the nature of water damage, assessing its extent, and following the proper steps, like removing standing water, drying out your space, and refinishing your floors. Implementing preventive measures will help safeguard your flooring against future incidents. Timely action is key in preventing further deterioration. You can enjoy your wood floors for many years with vigilance and care.
Understanding Water Damage on Wood Floors

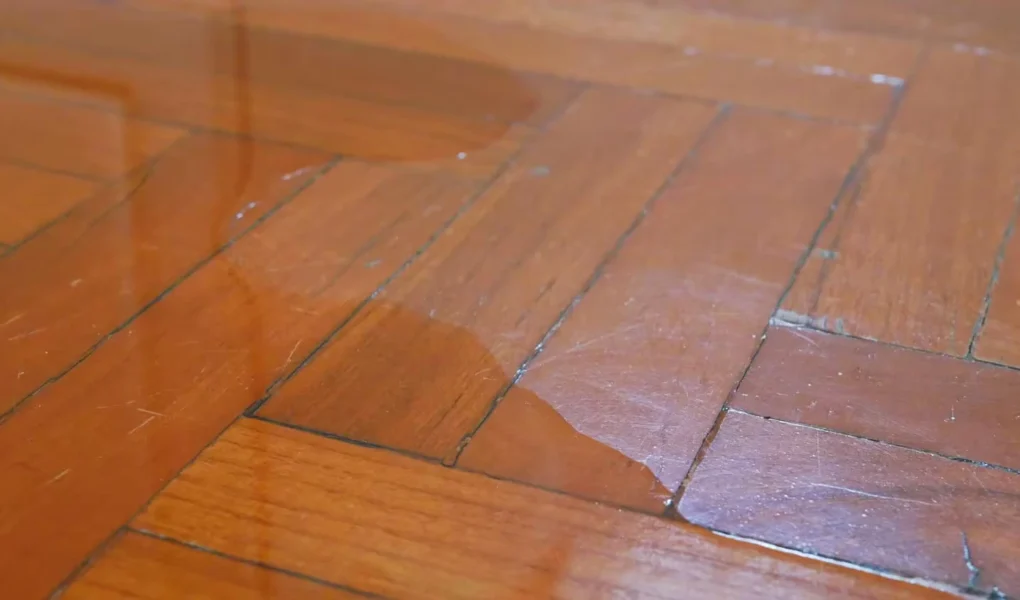
Water damage on wood floors is often more than just a cosmetic issue. It can lead to structural problems that affect your entire home. When water seeps into the wood, it disrupts its natural fibers and causes swelling. This expansion may appear as buckling or cupping along the edges of the boards. Over time, if left untreated, mold can also develop beneath the surface—creating health risks for you and your family. Different types of water exposure yield varying levels of damage. Clean water from a spill is easier to address than contaminated or floodwater, which poses additional challenges due to potential bacteria and toxins.
Assessing the Extent of the Damage
Once you’ve identified water damage on your wood floor, the next step is assessing its severity. Start by visually inspecting the surface for any discoloration or warping. Check for soft spots by gently pressing down on different floor areas. If a section feels spongy, moisture has likely penetrated deeper into the wood. Examine baseboards and surrounding walls for signs of dampness or mold. This can indicate whether the problem extends beyond just your floors. A moisture meter can provide accurate readings to help determine if further intervention is needed. Be thorough; understanding how extensive the damage is will guide you in choosing appropriate repair methods and materials moving forward.
Removing the Standing Water
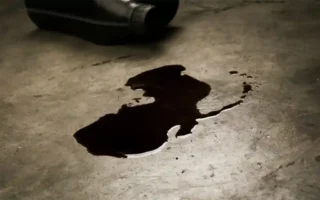
Removing standing water is crucial when dealing with wood floor damage. Start by assessing the area to identify how much water has accumulated. Use a wet/dry vacuum for efficient removal. This tool can quickly suck up excess moisture, making your job easier and more effective. If you don’t have a vacuum, towels and mops can do the trick, too, but be prepared for some hard work. Keep changing towels or wringing out your mop as they become saturated. After clearing visible water, check hidden spots like under furniture or appliances. Water can linger there and cause further issues if not addressed promptly. Once the surface seems dry, use fans to promote airflow. This step helps prevent mold growth while preparing for the following drying methods.
Drying and Dehumidifying the Affected Area
Once the standing water is removed, it’s time to tackle drying and dehumidifying. This step is crucial for preventing further damage to your wood floor. Start by improving air circulation in the affected area. Ventilation can be achieved by opening windows or doors, or by using fans. A well-ventilated space helps moisture evaporate faster.
Next, consider using a dehumidifier. These machines draw out excess humidity from the air, significantly speeding up the drying process. Set it up in the room and monitor its progress regularly. Keep an eye on your wood flooring during this time. Look for any signs of warping or buckling, as they can indicate lingering moisture issues. The goal is to achieve a completely dry environment before moving on with repairs or refinishing tasks.
Sanding and Refinishing the Wood Floor
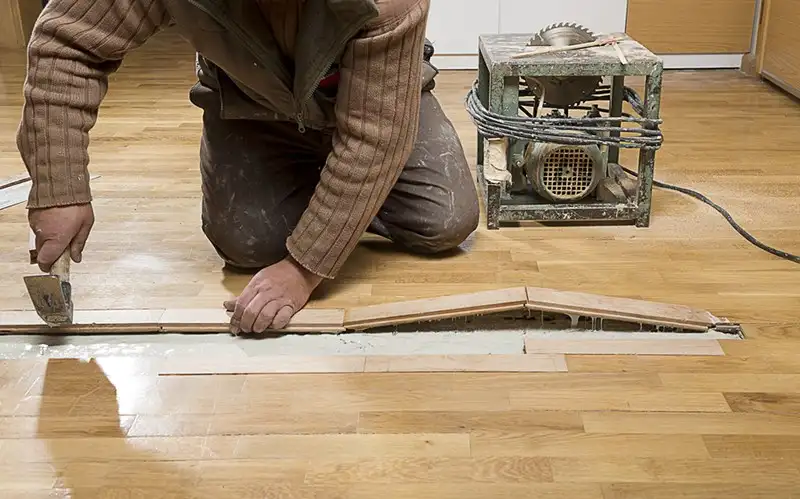
Sanding and refinishing can breathe new life into a water-damaged wood floor. Start by assessing the surface; if it’s warped or buckled, you may need to replace some boards first. Use a drum sander for large areas, ensuring even pressure as you move across the floor. This process strips away the damaged top layer and prepares the wood for finishing. Pay attention to corners and edges with an orbital sander.
Once sanding is complete, vacuum thoroughly to remove dust particles. Then, apply a high-quality stain if desired, allowing it to penetrate before removing excess. Seal your hardwood with polyurethane for lasting protection. Depending on your area’s humidity levels, multiple coats may be necessary.
Preventing Future Water Damage
To keep your wood floors safe from water damage, start by identifying potential sources of moisture. Check plumbing fixtures and appliances for leaks on a regular basis. It only takes a small drip over time to cause significant problems. Ensure proper drainage around your home’s foundation. Clean gutters and downspouts regularly so they direct water away from your property. This simple step can prevent excess moisture accumulation.
You are using area rugs in high-risk zones like kitchens or entryways. They add a layer of protection against spills while enhancing the room’s decor. Invest in dehumidifiers if you live in particularly humid climates. Keeping indoor humidity levels between 30% and 50% is ideal for preserving your hardwood floors. Seal your wood floors periodically with a quality finish to create a barrier against moisture intrusion. These proactive measures will significantly reduce the risk of future water-related issues.