A functioning heating element is crucial for any oven when it comes to cooking. It’s the heart of your appliance, responsible for generating the heat needed to bake, roast, and broil your favorite dishes. If your oven isn’t heating properly, it can lead to undercooked meals and frustration in the kitchen.
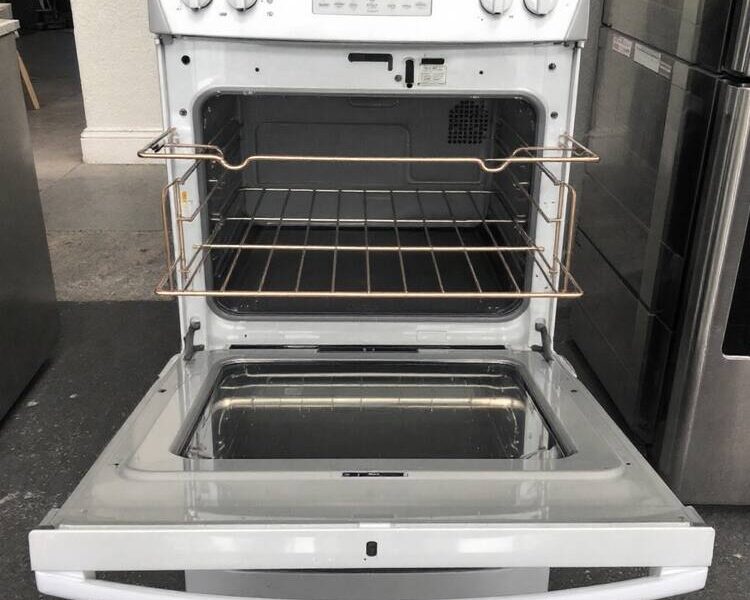
The GE Oven Model JBP64WOK1WW is a popular choice among home cooks, but like any appliance, it can encounter issues over time. One of the most common problems is a failing heating element. Recognizing the signs early can save you time and money, allowing you to tackle the issue before it escalates.
DIY repairs can be a rewarding experience. They cannot only save you the cost of a service call but also empower you to take control of your home maintenance. In this guide, we’ll walk you through everything you need to know about replacing the heating element in your GE oven, ensuring you can confidently get back to cooking.
| Feature | Details |
|---|---|
| Model Number | JBP64WOK1WW |
| Type | Oven Bake Element |
| Part Number | WB44T10010 |
| Compatibility | GE Electric Ovens |
| Dimensions | Approximately 19.5″ x 15″ |
| Wattage | 2400 Watts |
| Material | Metal with a ceramic coating |
| Price Range | $20 – $61 (varies by retailer) |
| Installation Difficulty | Moderate (requires basic tools) |
| Common Issues | Cracking, arcing, uneven heating |
Understanding the Heating Element
What is a Heating Element?
A heating element is a component in your oven that converts electrical energy into heat. It plays a vital role in cooking by providing the necessary temperature for baking and broiling. When you set your oven to a specific temperature, the heating element activates to reach and maintain that heat level.
Types of Heating Elements
There are primarily two types of heating elements in ovens:
- Bake Elements: Located at the bottom of the oven, these elements provide heat during baking. They ensure even cooking by distributing heat throughout the oven cavity.
- Broil Elements: Found at the top of the oven, broil elements generate intense heat from above, perfect for browning and crisping the tops of dishes.
Differences Between Upper and Lower Elements
The upper and lower heating elements serve different purposes. The lower element is typically used for baking, while the upper element is used for broiling. Understanding these differences can help you troubleshoot cooking issues more effectively.
Signs of a Failing Heating Element
Recognizing the signs of a failing heating element can save you from further complications. Here are some common indicators:
- Visual Signs: Look for cracks or discoloration on the heating element. These can be clear indicators that it’s time for a replacement.
- Performance Issues: If you notice uneven cooking or longer preheat times, your heating element may not function correctly.
Tools and Materials Needed
Before you start the replacement process, gather the necessary tools and materials to ensure a smooth repair.
Essential Tools
- Screwdrivers: Both Phillips and flathead screwdrivers will be needed to access the heating element.
- Pliers: Useful for disconnecting wires safely.
- Multimeter: This tool is essential for testing the heating element to confirm it’s faulty.
Replacement Parts
When it comes to replacing the heating element, you’ll need the correct part. The recommended heating element part number for the GE Oven Model JBP64WOK1WW is WB44T10010. You can purchase this part from various retailers, including:
- GE Appliances
- Amazon
- AppliancePartsPros
Step-by-Step Guide to Replacing the Heating Element

Replacing the heating element in your GE oven can seem daunting, but with the proper guidance, it’s manageable. Follow these steps to ensure a successful replacement.
Preparation
Before you begin, it’s crucial to take safety precautions:
- Unplug the Oven: Always disconnect the power supply to avoid electrical shock.
- Wear Gloves: Protect your hands from sharp edges and hot components.
Removing the Old Heating Element
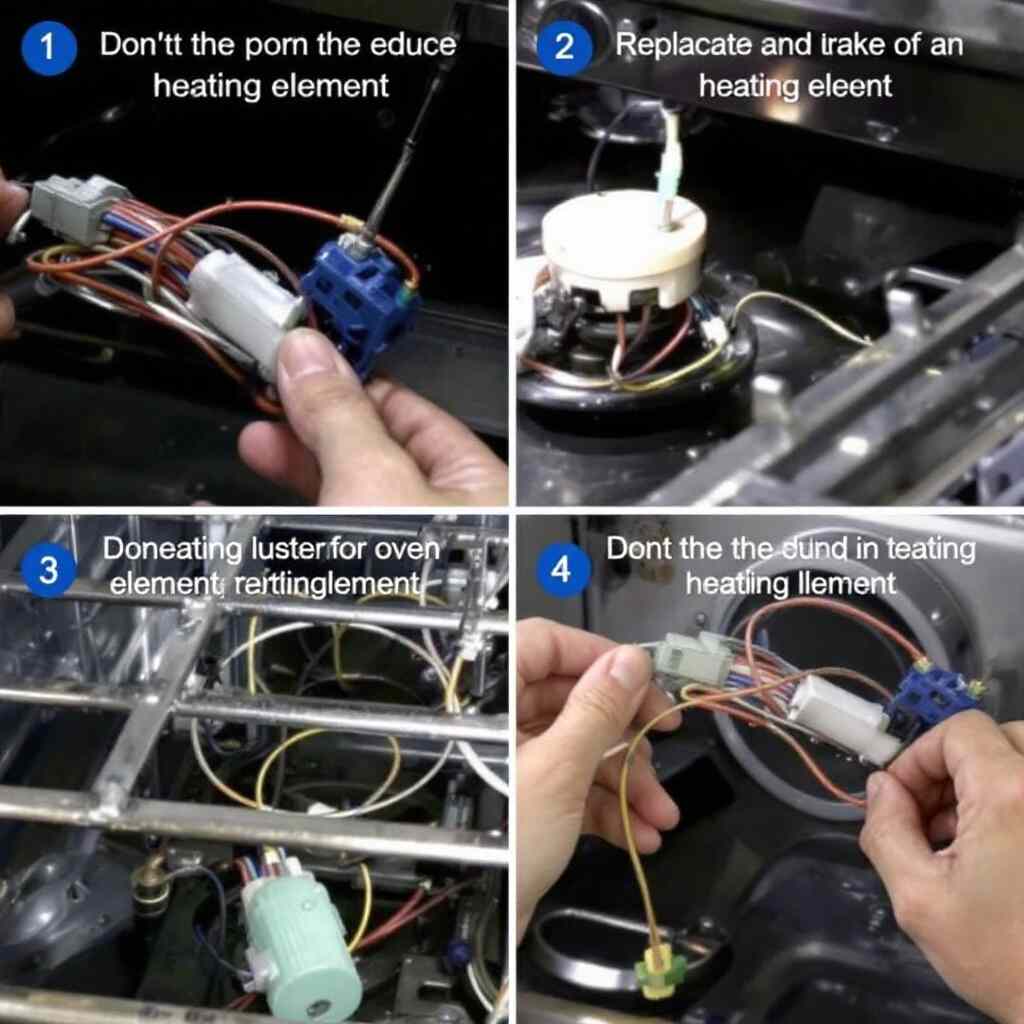
Step 1: Accessing the Element
Start by removing any oven racks to give yourself space to work. Depending on your model, you may need to remove the back panel to access the heating element.
Step 2: Disconnecting Wires Carefully
Once you have access, carefully disconnect the wires attached to the heating element. Note how they are connected; you’ll need to replicate this when installing the new element.
Step 3: Unscrewing the Old Element
Using your screwdriver, unscrew the old heating element from its mounting. Set it aside for disposal.
Installing the New Heating Element
Step 4: Positioning the New Element Correctly
Place your new heating element in the exact location as the old one. Ensure it fits snugly into place.
Step 5: Reconnecting Wires Securely
Reconnect the wires to the new heating element, ensuring they are attached in the same manner as before. This step is crucial for the component to function correctly.
Step 6: Securing the New Element with Screws
Once the wires are connected, secure the new heating element with screws. Make sure everything is tight and secure.
Final Checks
Before closing up your oven, double-check all connections. Ensure that everything is tight and safe to prevent any electrical issues.
Testing the New Heating Element
After replacing the heating element, it’s time to test your work.
Initial Power-On Check
Plug the oven back in and turn it on. Listen for any unusual sounds or smells that could indicate a problem.
Heat Test
Set the oven to a specific temperature and monitor its performance. Check if it reaches the desired temperature within a reasonable time frame.
Troubleshooting Common Issues
If your oven doesn’t heat appropriately after replacement, consider the following troubleshooting tips:
- Check Connections: Ensure all wires are securely connected.
- Test the Element: Use a multimeter for continuity when testing the new heating element.
Maintenance Tips for Your GE Oven
Consider these maintenance tips to prolong the life of your oven and its heating elements.
Regular Cleaning Practices
Keeping your oven clean is essential for its longevity. Regularly wipe down the heating elements and the oven interior to prevent buildup that can affect performance.
Routine Checks for Wear and Tear
Inspect your heating elements and other components every few months. Look for signs of wear, such as cracks or discoloration, and address any issues promptly.
Frequently Asked Questions (FAQ)
What are common queries about replacing heating elements in GE ovens?
- How do I know if my heating element is faulty?
- Look for visual signs like cracks or discoloration, and monitor for performance issues like uneven cooking.
- Will replacing the heating element void my warranty?
- Generally, DIY repairs may void the warranty, so it’s best to check your warranty terms before proceeding.
Conclusion
Maintaining your oven’s heating element is crucial for optimal cooking performance. By understanding how to replace it, you can save money and gain valuable skills in home repair. Don’t hesitate to take on this DIY project; it’s a cost-effective solution to enhance your cooking experience.
If you have any experiences or questions about replacing the heating element for your GE oven model JBP64WOK1WW, please share them in the comments below! Your insights could help others in the community.


