Removing tile cement can be daunting, but it becomes manageable with the right tools and techniques. Effective removal ensures a smooth surface for your new tiles or renovations. Different tools offer varying benefits and drawbacks, making it essential to choose one that aligns with your specific needs. For those looking for efficiency and ease, investing in high-quality equipment pays off in the long run. Knowing how to use these tools correctly enhances safety and improves results. Incorporating helpful tips can boost productivity during this often challenging process. With a careful selection of methods and proper preparation, you’ll be well-equipped to tackle any tile cement removal project effectively. Mastering this skill will only enhance your renovation capabilities if you’re a DIY enthusiast or a professional contractor.
The Importance of Removing Tile Cement

Removing tile cement is crucial for any renovation project. Leftover adhesive can create uneven surfaces, making it difficult to install new flooring. These imperfections may lead to a less polished final look if not addressed. Beyond aesthetics, tile cement residue can hinder the proper adhesion of new materials. This could result in tiles lifting or cracking over time, causing costly repairs down the line. Removing old cement helps identify potential structural issues beneath the surface. You might discover water damage or mold that requires attention before installing. Tackling this task ensures a clean slate for your home improvement endeavors. It allows you to start fresh and guarantees that your efforts won’t be undermined by hidden complications lurking underneath layers of old adhesive.
Common Tools Used for Removing Tile Cement
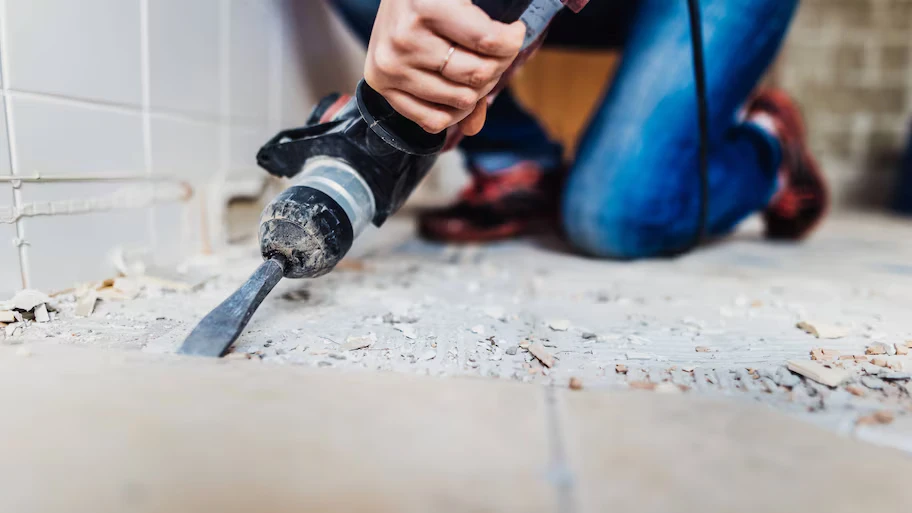
Removing tile cement requires the right tools to ensure efficiency and effectiveness. Various options are available, each designed for specific tasks. A chisel is a classic tool often used for this purpose. It allows you to chip away at hardened cement manually. While effective, it can be labor-intensive and time-consuming.
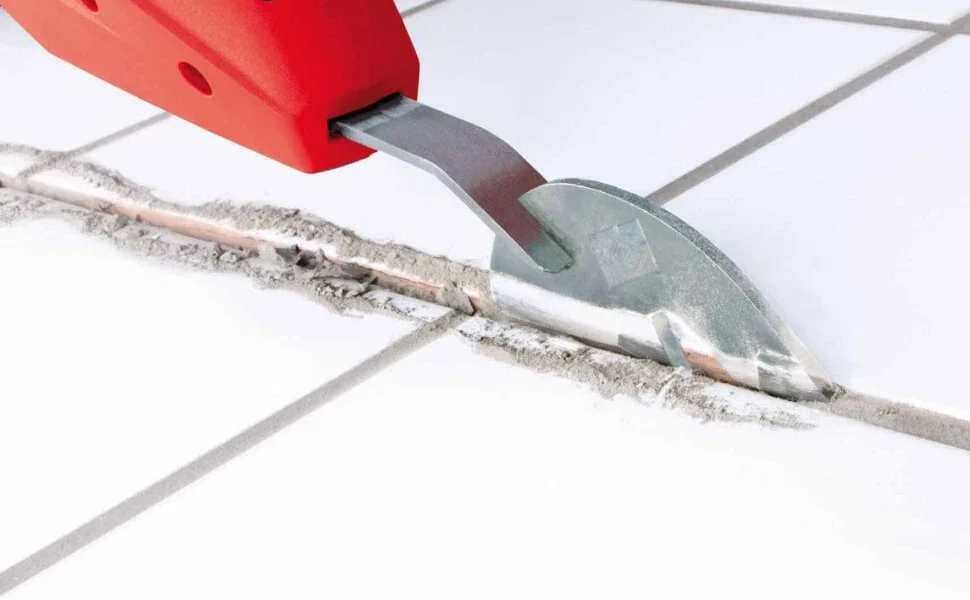
A common choice is a putty knife. This tool works well for scraping off thin layers of adhesive left behind after removing tiles. It’s lightweight and easy to handle but may need more materials. For those seeking power, an oscillating multi-tool or rotary hammer can quickly work on stubborn cement remnants. These electric gadgets save time but come with a learning curve.
Pros and Cons of Different Tools

When it comes to removing tile cement, various tools each have their strengths and weaknesses. A chisel and hammer are straightforward options. They offer precision but can be labor-intensive, requiring patience.
An angle grinder is powerful, cutting through cement swiftly. Its dust production can be overwhelming without proper ventilation or protective gear. For those seeking convenience, electric scrapers make the job easier. They reduce physical strain but may not perform well on tougher adhesives. Then, there’s the heat gun method. This tool softens cement for easier removal but requires careful handling to avoid damage to surrounding tiles or surfaces.
Introducing the Best Tool for Removing Tile Cement
When removing tile cement, the right tool can make all the difference. Enter the oscillating multi-tool, a game changer in DIY projects. This versatile device boasts a range of attachments specifically designed for tackling tough adhesive substances.
The secret lies in its oscillating motion, which allows precision and control. You won’t have to worry about damaging surrounding surfaces while efficiently chipping away stubborn tile cement. With various blades available, you can choose one that suits your needs: an isosorbide grit blade or a specialized scraping attachment.
Using an oscillating multi-tool speeds up the process and minimizes physical strain on your body compared to more traditional methods like chiseling by hand. Its lightweight design makes it easy to maneuver into tight spots where other tools might fail.
How to Use the Tool
To begin using the tool, ensure you wear safety gear. Protective eyewear and gloves are essential to safeguard against flying debris. Position the tool at a slight angle against the tile cement. Start with a gentle push to create an initial groove. This will help anchor your movements as you apply more pressure.
Move along the seams of the tiles in small sections. Adjust your angle or try a different section for better leverage if it gets stuck. After breaking up larger pieces, switch to a chisel attachment if needed for finer details. This can help in those tricky areas where cement is particularly stubborn.
Other Tips for Efficient Removal of Tile Cement
When tackling tile cement removal, preparation is key. Start by ensuring the area is well-ventilated. Dust and debris can accumulate quickly, so wearing a mask and goggles will protect you from inhaling harmful particles. Use a chisel or scraper alongside your main tool for hard-to-reach spots. This combination allows for greater precision in removing stubborn areas without damaging the surrounding surface.
Heating the tile cement with a heat gun before removal. Softening it makes scraping easier and less labor-intensive. Keep your workspace organized to avoid interruptions. Having all tools within reach minimizes downtime and keeps you focused on the task. Take breaks as needed to maintain stamina and effectiveness throughout the process. A fresh perspective often leads to better results when returning to challenging spots.


