Drilling a hole in a wall may seem like a simple task, but doing it correctly is crucial for various home improvement projects. Whether you’re hanging a picture frame, installing shelves, or mounting a TV, knowing how to drill a hole in a wall properly can make all the difference. A well-drilled hole not only ensures that your items are securely hung but also contributes to a clean and professional appearance. Moreover, it helps you avoid potential damage to your walls, which can be costly to repair.
In this guide, we will walk you through the entire process of drilling a hole in a wall, from gathering the necessary tools to cleaning up afterward. By the end of this article, you’ll have the confidence to tackle your wall-drilling projects safely and effectively.
Necessary Tools and Materials

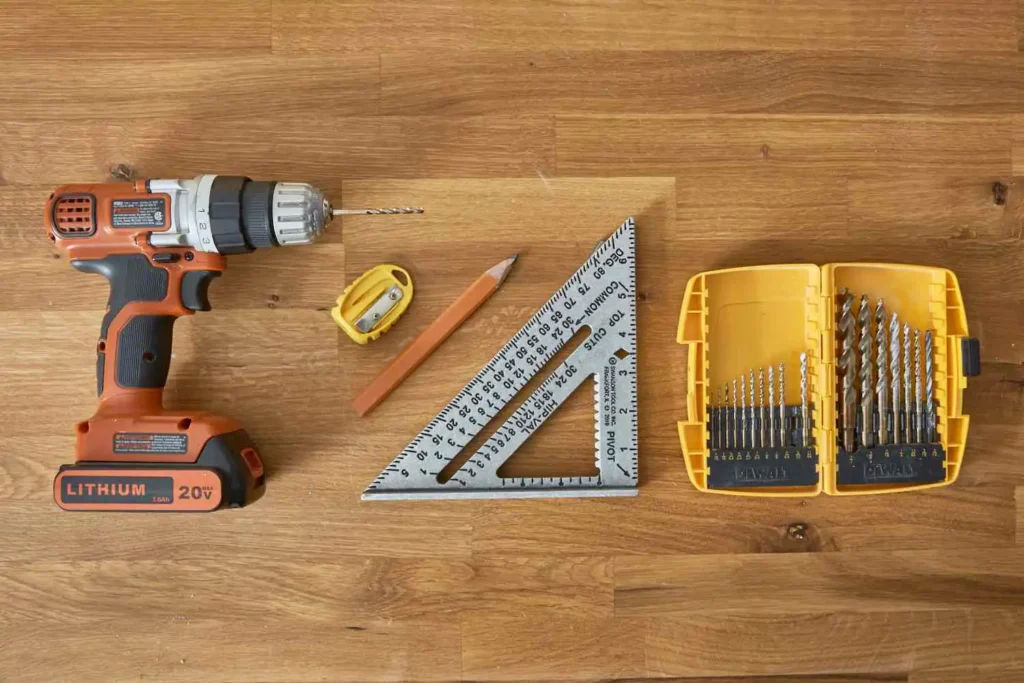
Before you start drilling, it’s essential to gather all the necessary tools and materials. Here’s a list of what you’ll need:
- Drill (corded or cordless)
- Drill bits (various sizes)
- Level
- Stud finder
- Pencil
- Tape measure
- Safety glasses
- Dust mask
Importance of Using the Right Drill Bit Size
Using the correct drill bit size is vital for the success of your project. A drill bit that is too small may not create a hole large enough for your screw or anchor, while one that is too large can lead to instability. Always match the drill bit size to the screw or anchor you plan to use to ensure a secure fit.
Preparing the Wall
Locating Studs
One of the first steps in preparing to drill is locating the studs in your wall. A stud finder is an invaluable tool for this task. It helps you identify the wooden beams behind the drywall, which provide the best support for hanging heavy items.
Marking the Drill Spot
Once you’ve located the studs, use a pencil to mark the spot where you plan to drill. This mark will serve as your guide, ensuring that you drill in the right place.
Ensuring a Straight Hole
To ensure that your hole is straight, use a level. Place the level against the wall and adjust your mark as needed. A straight hole not only looks better but also helps in securing your items properly.
Drilling the Hole

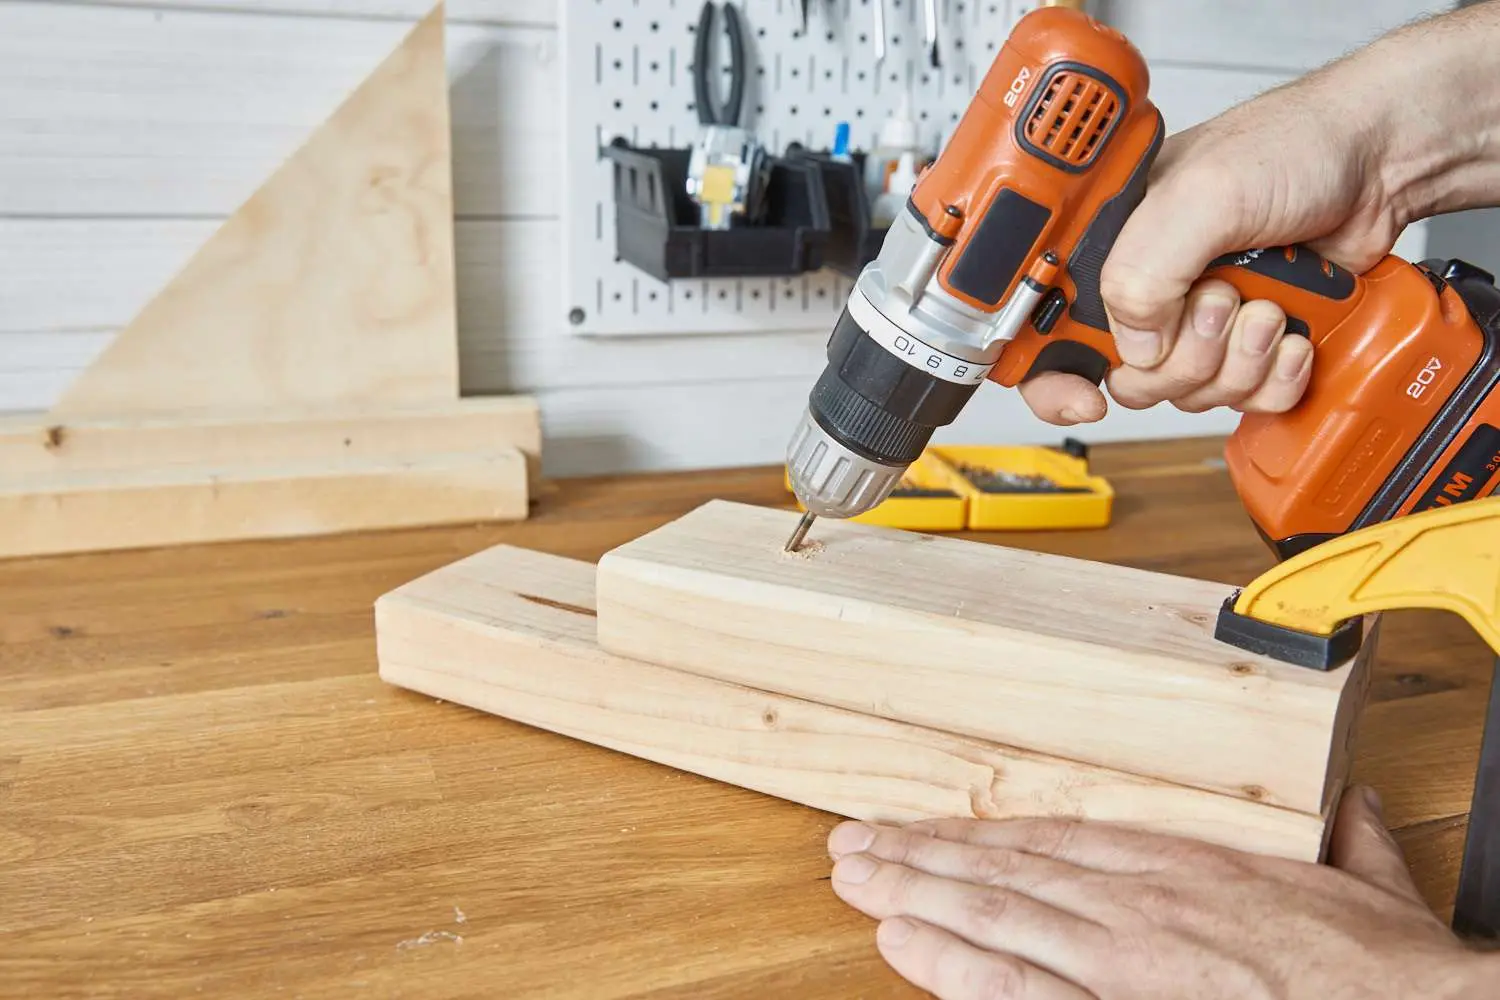
Now that you’ve prepared the wall, it’s time to drill the hole. Follow these step-by-step instructions:
- Set the drill to the appropriate speed and torque settings: Different materials require different settings. For example, drilling into wood may require a higher speed than drilling into concrete.
- Position the drill bit at the marked spot on the wall: Align the drill bit with your pencil mark.
- Apply firm pressure and start drilling slowly: Begin at a low speed to create a small indentation, which helps prevent the bit from wandering.
- Gradually increase speed as the bit penetrates the wall: Once the bit is securely in place, you can increase the speed for efficiency.
- Drill through the wall in a straight line: Maintain a steady hand and keep the drill perpendicular to the wall.
- Stop drilling when the bit breaks through the other side: This indicates that you’ve created a hole of the desired depth.
Importance of Maintaining a Straight Drilling Angle
Maintaining a straight drilling angle is crucial for both aesthetics and functionality. A crooked hole can lead to misaligned fixtures and may compromise the stability of what you’re hanging. Always take your time to ensure that your drill is straight throughout the process.
Dealing with Different Wall Materials
Different wall materials require different approaches when drilling. Here’s how to handle the most common types:
Drywall
- Use a sharp drill bit: A sharp bit will make the process smoother and reduce the risk of damaging the drywall.
- Avoid drilling too deep: This can prevent unnecessary damage to the wall and any hidden utilities behind it.
Concrete
- Use a masonry drill bit: These bits are specifically designed for hard materials like concrete.
- Drill at a slower speed: Slower speeds help prevent the bit from overheating, which can lead to breakage.
Cleaning Up and Finishing Touches

After drilling, it’s essential to clean up the area to ensure a professional-looking finish.
Removing Dust and Debris
Use a vacuum to remove any loose debris from the drilled hole. This step is crucial for ensuring that any anchors or screws you insert will hold securely.
Ensuring a Clean Finish
To achieve a polished look, follow these tips:
- Vacuum up any loose debris: This helps keep your workspace tidy.
- Wipe down the wall with a damp cloth: This removes any dust that may have settled on the surface.
- Consider using a wall anchor or screw for a secure hold: This is especially important for heavier items.
Conclusion
In summary, drilling a hole in a wall is a straightforward task when you follow the right steps. From gathering the necessary tools to cleaning up afterward, each step plays a vital role in ensuring a successful outcome. Remember to prioritize safety by wearing protective gear and using the right tools for the job.
Now that you have this comprehensive guide, we encourage you to practice your skills.
FAQs
- What if I can’t find a stud in the wall?
- If you can’t locate a stud, consider using wall anchors or molly bolts to securely hang items in drywall.
- How do I know which drill bit size to use?
- Always match the drill bit size to the screw or anchor you’ll be using for the best results.
- Can I drill through electrical wires or pipes in the wall?
- No, always use a stud finder to avoid drilling into hidden utilities.
- How do I prevent the drill bit from wandering on the wall surface?
- Use a center punch or nail to create a small indentation before drilling, which helps guide the bit.
- What if the hole is too large for my needs?
- You can use wall putty or spackle to fill the hole, let it dry, and sand it smooth before repainting.
By following this guide, you’ll be well-equipped to handle various wall-drilling projects with confidence and skill. Happy drilling!


