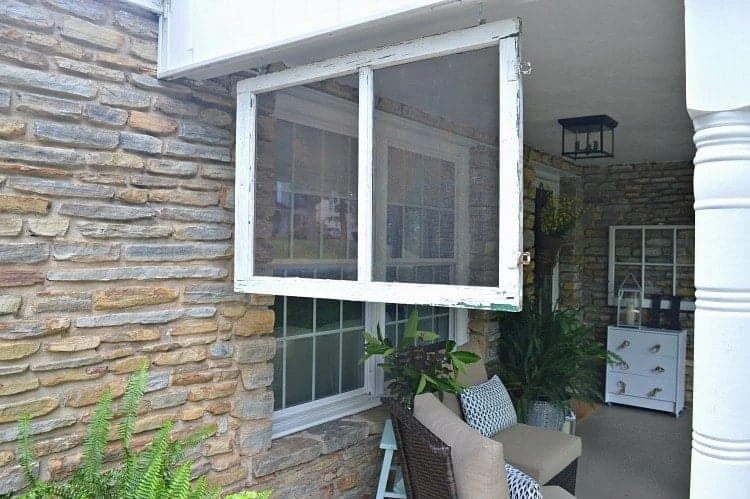
Hanging wooden window screens can be a rewarding DIY project. They add an aesthetic appeal to your home and enhance ventilation while keeping bugs at bay. Following the steps outlined, you’ll have beautiful and functional screens that fit perfectly in your windows. Take accurate measurements and choose quality materials for durability. Preparing the frame properly is crucial for a seamless finish, and attaching the screen material requires attention to detail. Regular maintenance ensures your screens last longer and stay looking fresh. With a little effort, you can enjoy the benefits of wooden window screens for years. If you tackle this project alone or with family, it will elevate your living space beautifully.
Step 1: Measure Your Window

Before you start hanging your wooden window screens, getting accurate measurements is crucial. Begin by gathering a reliable measuring tape and a notepad. The width of the opening between the two sides of the window should be measured. You should do this at three different points: the top, the middle, and the bottom. This ensures that you account for any irregularities in the window frame. Next, measure the height from the sill’s top to just below where you’d like your screen to sit. Again, check this in multiple spots left, center, and right to find an average height. Write down all these figures clearly. Precision is critical here; even minor discrepancies can lead to improper fitting later.
Step 2: Choose the Right Materials
Choosing suitable materials is crucial for your wooden window screens. The quality of these materials impacts both durability and aesthetics. Start with selecting the frame material. Cedar or pine are popular due to their resistance to warping and decay. Opt for untreated wood if you prefer a natural look that blends with your home’s style. Fiberglass mesh is lightweight and resistant to rust, making it an excellent choice for longevity. Aluminum frames offer strength but can also be heavier than other types. Screws, hinges, and mounting brackets should match the finish of your frame for a cohesive appearance. Stainless steel provides corrosion resistance in outdoor settings.
Step 3: Preparing the Window Screen Frame

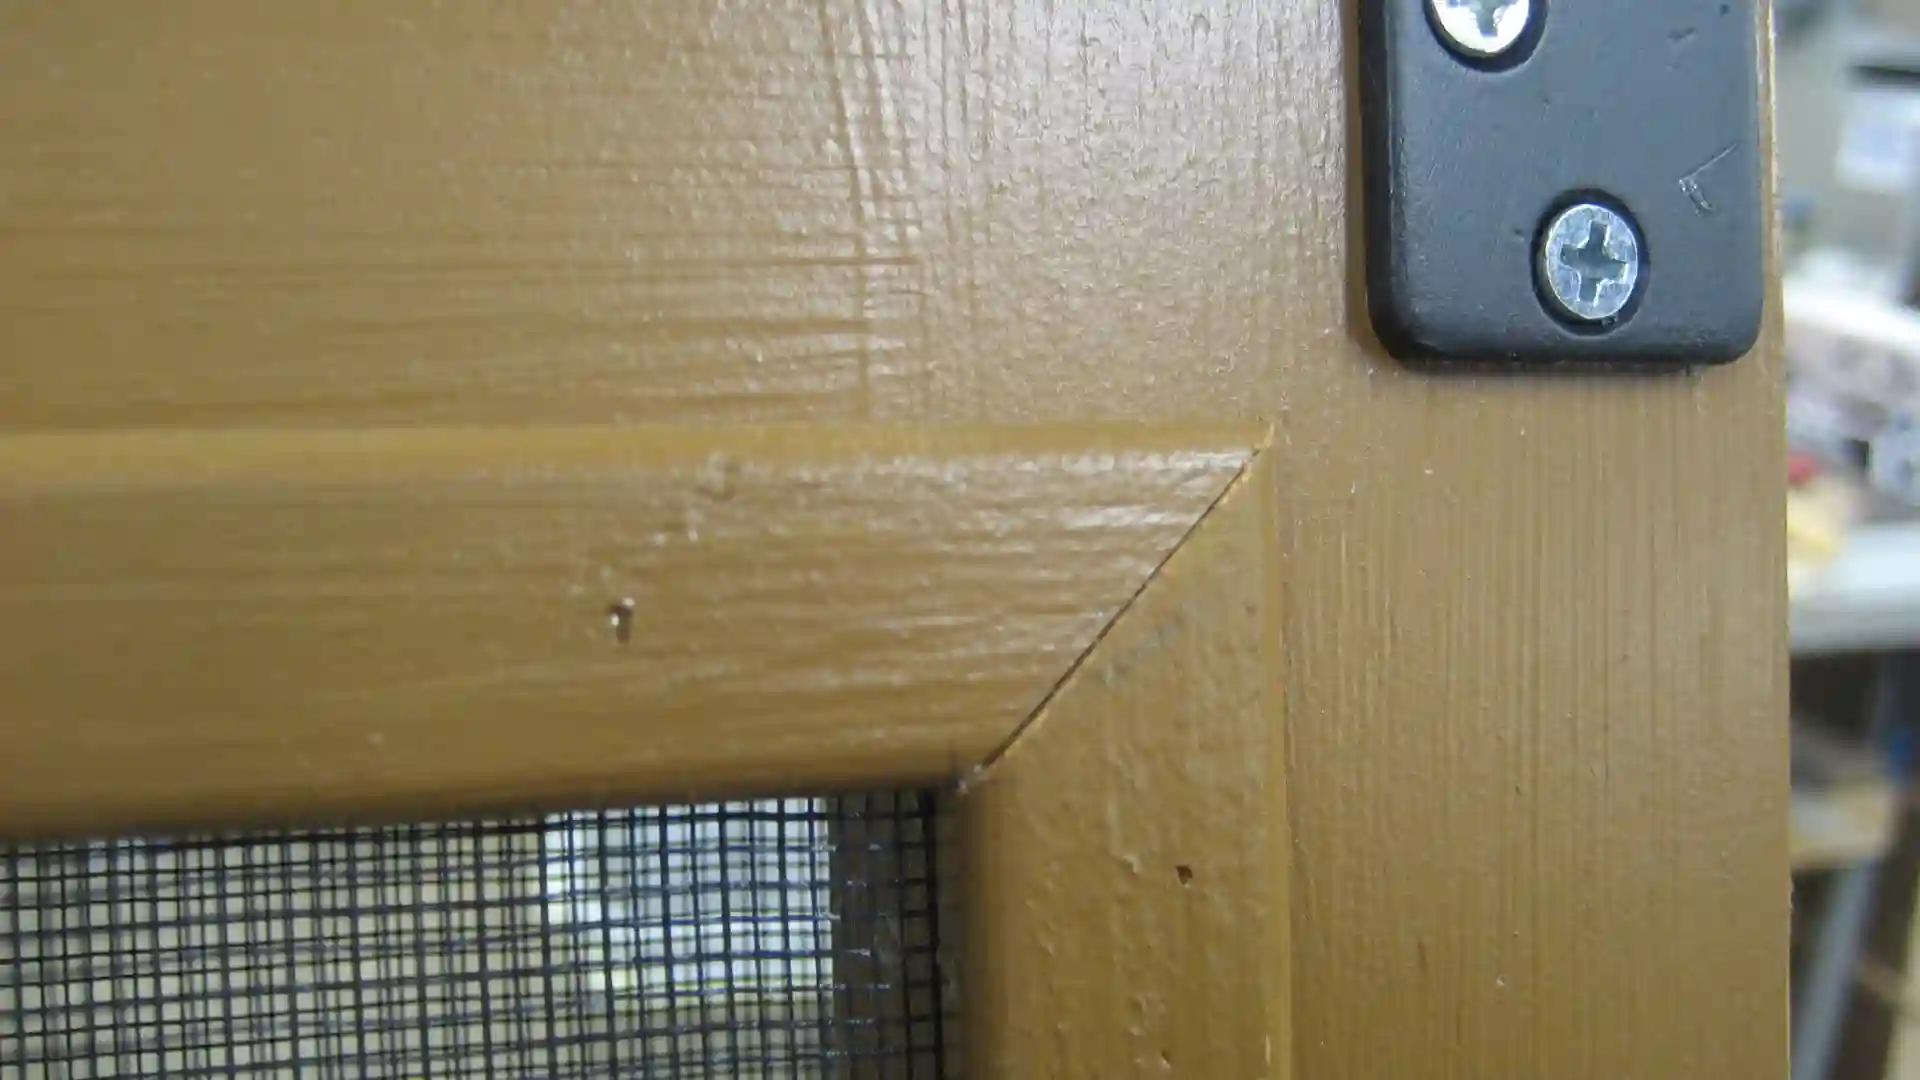
Preparing the window screen frame is crucial in ensuring your wooden window screens fit perfectly. Start by carefully inspecting the frame for any damage or wear. Sand down rough edges and splinters to create a smooth surface, which will look good and help attach the screen later. It’s time to cut your wooden pieces to size if needed. Precision is critical here; use a miter saw for clean cuts at 45-degree angles. This ensures that corners meet neatly, providing both strength and aesthetic appeal. After cutting, assemble the pieces using wood glue or screws for added stability. If you’re feeling adventurous, consider adding decorative corner brackets for an extra touch of style while reinforcing those joints.
Step 4: Attaching the Screen Material
Attaching the screen material requires precision and care. Start by laying your frame flat on a clean surface. This ensures you have enough room to work without any distractions. Next, roll out your chosen screen material over the frame. Ensure it overlaps each edge by at least an inch for secure fastening later. Using a staple gun, attach the screen starting from the center of one side and move outward towards corners. This helps maintain tension across the fabric, preventing sagging. Once connected on one side, pull tautly to avoid wrinkles before securing the opposite edge in place. Repeat this process until all sides are finished. You want flexibility for airflow but also durability against strong winds or rain. Trim excess material carefully with scissors once everything is secured neatly in place.
Step 5: Adding Finishing Touches

Once your wooden window screens are securely in place, it’s time to add the finishing touches to elevate their appearance. Apply a coat of paint or stain that complements your home’s exterior. The combination of aesthetics and weather protection enhances the aesthetics of the roof. Inspect all edges and corners for any rough spots. Sanding these areas smoothly will ensure there are no splinters or jagged surfaces. A smooth finish is both safe and visually appealing. You might want to install decorative hardware like hinges or handles. These small details can make a big difference in style and functionality. Choose materials that blend well with your screens for a cohesive look.
Tips for Maintenance and Repair

Regular maintenance is essential to keep your wooden window screens looking great. Start by inspecting the frames and screen material for any signs of wear or damage. Small tears can often be easily repaired with a patch. Cleaning is vital, too. Use a soft cloth dipped in mild soap and water to wipe down the surfaces. It is advisable to avoid harsh chemicals that may damage the wood finish. If you notice any loose joints or screws, tighten them promptly to prevent further issues. A small amount of wood glue can help secure splintered corners. Apply a fresh paint or sealant every few years to protect against moisture and UV rays. This simple step extends the life of your screens significantly. Store them properly during off-seasons to avoid unnecessary exposure to harsh weather conditions, which could lead to deterioration over time.


