When it comes to installing shower tiles, the choice of subfloor is crucial. Plywood can be an option, but it’s important to understand its limitations. It may seem like a quick solution, plywood alone might not provide the stability and moisture resistance needed for a wet environment. If you decide to use plywood, proper preparation is key. Reinforcing the surface with cement backer board or adding a waterproof membrane will enhance durability. Always ensure that your installation adheres to local building codes and best practices. There are alternatives worth considering as well. Cement boards or specialized tile underlayment systems offer superior support and moisture protection compared to standard plywood. You can put shower tile on plywood with careful planning and execution, exploring more robust options may save you time and headaches down the line. Your bathroom deserves long-lasting beauty. Make sure your foundation supports that vision effectively!
Understanding the Basics of Tile Installation

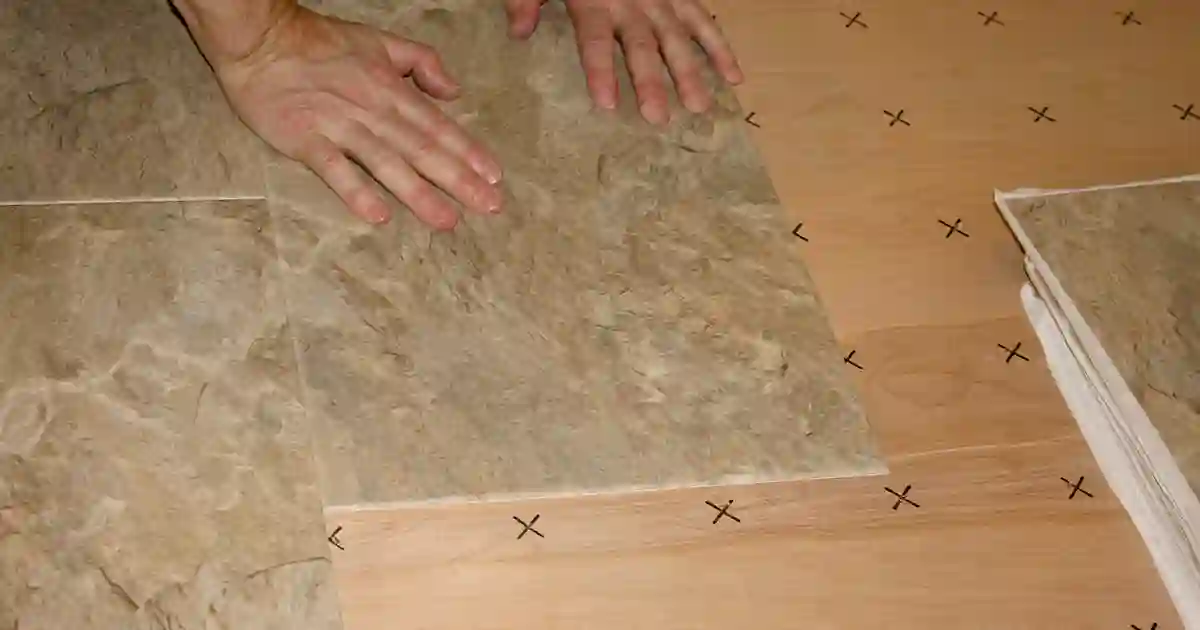
Tile installation might seem straightforward, but it’s a precise craft that requires attention to detail. Understanding the materials involved is crucial. There are various types of tiles, from ceramic and porcelain to glass and natural stone, each with unique properties. Preparation is key before you even think about laying down your tiles. A clean surface free of debris ensures better adhesion. Additionally, checking for moisture levels in the area can prevent future issues. Proper layout planning cannot be overlooked either. Taking time to measure and mark guidelines helps achieve an aesthetically pleasing result while ensuring alignment during installation. Selecting the right adhesive plays a significant role in durability. Different tiles may require specific adhesives for optimal performance, making this choice essential for successful tiling projects.
The Importance of a Sturdy Subfloor
A sturdy subfloor is the foundation of any tile installation. It supports not only the tiles but also the weight of people and furniture. If it’s weak or unstable, you can expect problems. Tiles are rigid materials that don’t flex easily. When installed over a wobbly subfloor, they may crack or break over time. This leads to costly repairs and frustration. Moisture is another concern. A solid subfloor prevents water from seeping through and causing damage below. Plywood may seem like an easy option, but it often lacks the durability needed for wet environments. Choosing the right material ensures longevity and performance. Your shower deserves a strong base that can handle daily use without compromising aesthetics or safety. Investing in a proper subfloor pays off by creating a reliable surface for your beautiful tiles.
Pros and Cons of Plywood as a Subfloor for Shower Tiles

Plywood can be a tempting option for shower tile installations. It’s lightweight and relatively easy to work with, making it appealing for DIY enthusiasts. Plywood is not always the best choice. It’s susceptible to moisture damage if not properly sealed. Water can warp or weaken the material over time, leading to possible structural issues. On the upside, plywood is generally more affordable than other subfloor options like cement board. This budget-friendly factor makes it attractive for those looking to save money on their home improvement projects. Plywood may flex underweight or stress from heavy tiles, which could result in cracking or uneven surfaces down the line.
Preparation: How to Ensure a Successful Tile Installation on Plywood
Proper preparation is key to a successful tile installation on plywood. Start by ensuring your plywood is clean and dry. Remove any dust, debris, or old adhesives that might interfere with the bonding process. Next, check for any imperfections in the surface. Sand down rough spots and fill in gaps with a suitable filler product. This ensures an even base for your tiles. It’s also crucial to secure the plywood firmly to the subfloor beneath it. Use screws rather than nails; this prevents movement over time which could lead to cracks in your tiles. Applying a waterproof membrane over the plywood before tiling. This extra layer acts as a barrier against moisture, protecting both the substrate and your investment.
Guide to Installing Shower Tiles on Plywood

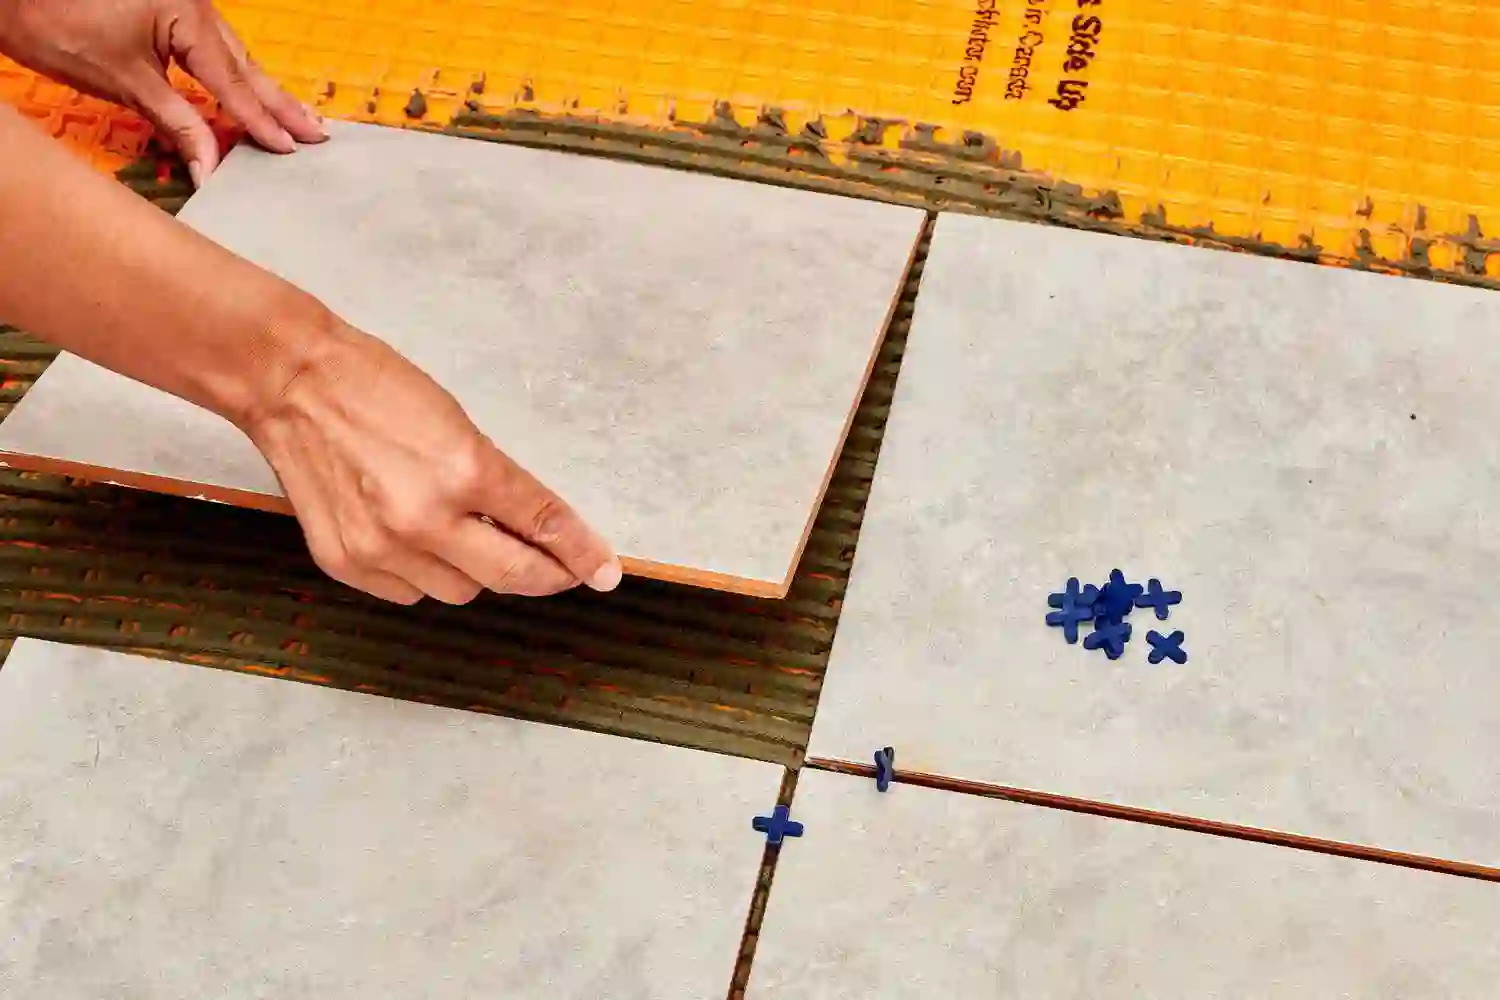
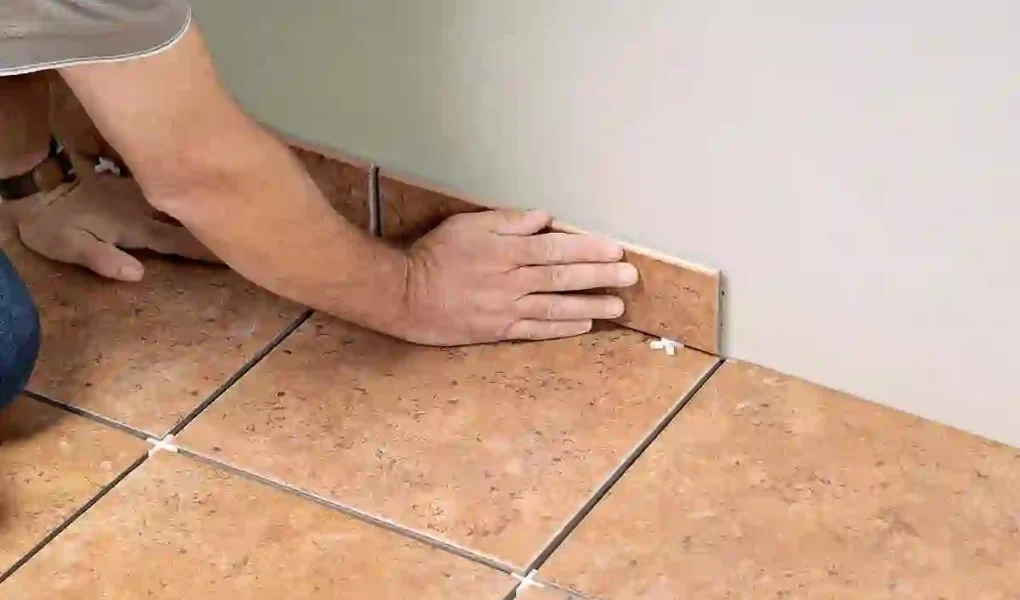
All the materials and tools you will need must be gathered before you begin. You’ll need tiles, thin-set mortar, a trowel, tile spacers, and grout. A level is essential to ensure an even surface. Begin by cutting the plywood to fit your shower area precisely. Make sure it’s clean and dry before moving on. Apply a layer of cement backer board over the plywood for added stability. Spread thin-set mortar evenly across a small section of the backer board using your trowel. Press each tile into place firmly but gently to avoid cracking them. Use tile spacers between each piece so that you achieve consistent gaps for grouting later. Once all tiles are in position, allow everything to cure according to the manufacturer’s instructions.
Alternative Options for Shower Tile Installation
When considering shower tile installation, several alternatives can provide durability and style without the challenges of using plywood. Cement backer board is a popular choice. It offers excellent moisture resistance and creates a solid foundation for tiles. This material doesn’t warp or deteriorate like wood. Another option is a shower pan made from fiberglass or acrylic. These pre-formed bases are easy to install and often come with built-in slopes for proper drainage. For those looking at more modern solutions, consider membrane systems. They create waterproof barriers under the tiles, ensuring that any potential leaks do not reach the subfloor. Large-format tiles can cut down on grout lines, making installation easier while enhancing water resistance due to fewer seams.


