Selecting the appropriate grout for your shower floor is a vital decision that impacts aesthetics and durability. A well-chosen grout can enhance the beauty of your tiles, providing a cohesive look while ensuring they stay securely in place. It also plays an essential role in preventing moisture infiltration, which can lead to mold and mildew growth.
Factors include water resistance, color matching with tiles, and ease of application. Each type of grout has advantages and disadvantages; understanding these will help you make an informed decision tailored to your needs.
Investing time in choosing the right grout will pay off in maintaining beautiful shower floors that stand the test of time. Whether you opt for traditional cement-based grouts or advanced epoxy options, prioritizing quality will ensure long-lasting results that keep your space looking fresh for years to come.
Types of grout commonly used for shower floors

The type of grout you choose can make a significant difference in the appearance of your shower floors. The most common types are sanded and unsanded grout.
Sanded grout contains fine sand particles, making it ideal for larger joints—typically over 1/8 inch wide. This added texture helps prevent cracking and shrinkage, providing durability in wet areas.
On the other hand, unsanded grout is smoother and often used for smaller joints under 1/8 inch. It’s easier to apply in tight spaces but may only hold up well against moisture if used properly.
Epoxy grout is another option that has gained popularity due to its excellent resistance to water and stains. It’s more challenging to work with but offers long-lasting benefits.
Special formulations like acrylic or urethane grouts are designed specifically for showers, promising flexibility and mold resistance.
The benefits and drawbacks of each type of grout
Cement-based grout is a popular choice due to its strength and versatility. There are several colors available and it is easy to use. If improperly sealed, it can be porous and lead to stains or mold.
Epoxy grout, on the other hand, offers exceptional durability and resistance to water. It’s ideal for high-moisture areas like shower floors. The downside? Its application can be tricky, requiring more skill and experience.
Urethane grout provides flexibility and adheres well without staining easily. This makes it a great option for moving tiles, but it may have a different lifespan than epoxy.
Premixed grouts save time during installation but often lack the robustness of traditional methods. They also lead to issues with color consistency over larger areas.
Factors to consider when choosing the best grout for your shower floor
When selecting grout for your shower floor, consider the moisture levels. Bathrooms are prone to high humidity, so choosing a water-resistant option is crucial.
Next, think about color and style. Your grout should complement your tiles while enhancing the space’s overall aesthetic. Light colors can brighten up small areas but may require more maintenance.
Durability is another key factor. High-traffic areas benefit from stronger grouts that withstand wear over time without cracking or chipping.
Also, pay attention to ease of cleaning. Some grouts resist stains and mold better than others, saving you time on upkeep in the long run.
Installation requirements. Some types of grout demand specific techniques or conditions during application. Understanding these needs will help ensure a successful project from start to finish.
Step-by-step guide on how to apply grout on shower floors
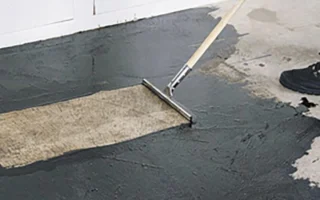
Start by preparing your workspace. Make sure the shower floor is clean and dry. If necessary, remove any old grout for a smooth application.
Mix the grout according to the package instructions. Aim for a peanut butter-like consistency that’s easy to spread but not runny.
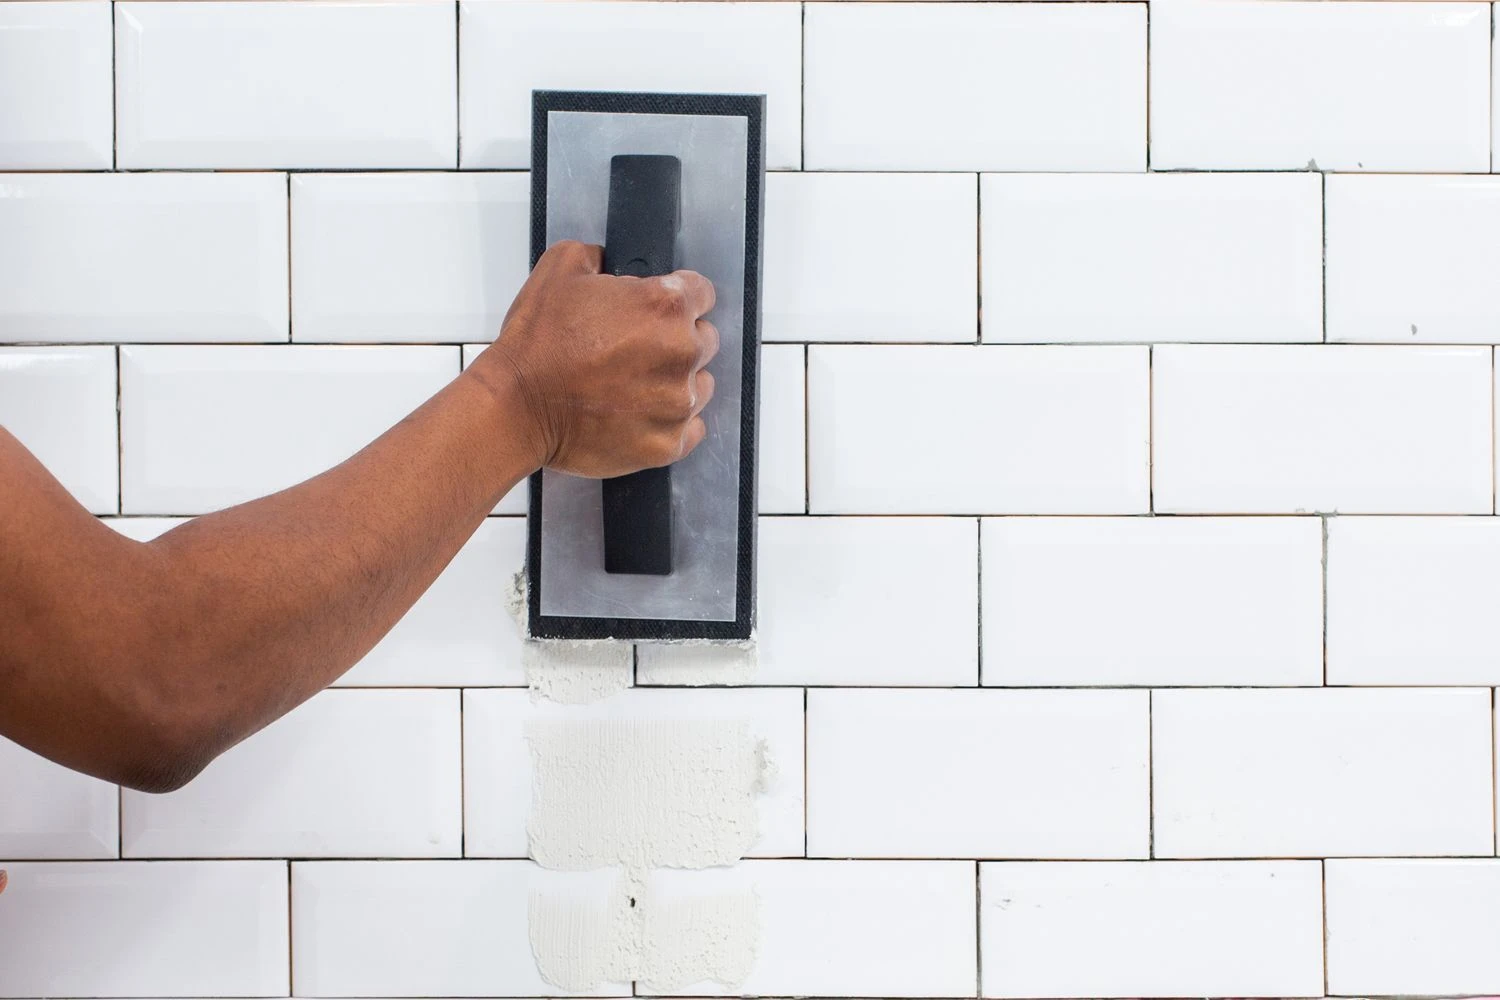
Using a rubber float, apply the grout diagonally across your tiles. This angle helps fill all gaps effectively and prevents air pockets from forming.
After covering all areas, wait 10-15 minutes before wiping excess grout off the tile surface with a damp sponge. Rinse frequently to avoid smearing.
Allow the grout to cure according to manufacturer guidelines, usually around 24 hours. Once fully set, seal it for extra protection against moisture and stains, ensuring your shower remains pristine for years ahead.
Tips and tricks for maintaining and cleaning grout in the shower
Keeping grout clean in the shower can be challenging, but it becomes manageable with a few simple strategies. Start by regularly spraying your grout lines with water and vinegar after each shower. As a result, soap scum and mildew are prevented from building up.
For deeper cleaning sessions, use a soft brush or an old toothbrush. Gently scrub the grout without damaging surrounding tiles, focusing on discolored areas.
For tougher stains, baking soda is your friend. Create a paste with water and apply it to stained areas. You should let it sit for about 10 minutes before gently scrubbing it off.
Seal your grout every six months to protect against moisture and dirt penetration. A good sealant makes future cleaning easier and extends the life of your installation.
Avoid harsh chemicals that could damage the grout and tile surface over time.