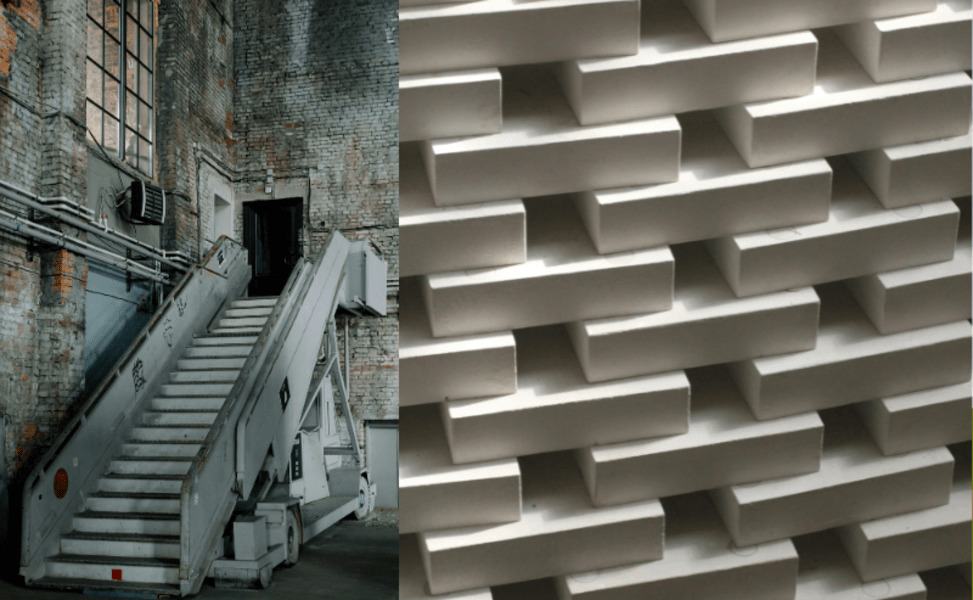
Against a brick wall concrete slabs are a fundamental element in construction, serving various purposes from flooring to foundations. A concrete slab is a flat, horizontal surface made from concrete, typically used in building structures, patios, driveways, and more. The durability and strength of concrete make it an ideal choice for these applications. However, the importance of proper installation cannot be overstated; a well-poured slab can last for decades, while a poorly executed one may lead to cracks and structural issues.
It involves several key steps, from preparation to finishing. Following this guide can ensure a successful installation that will stand the test of time. This guide aims to comprehensively understand how to pour a concrete slab against a brick wall. Whether you’re a DIY enthusiast or a seasoned contractor, this step-by-step approach will equip you with the knowledge needed to achieve a successful installation. You will learn about the necessary tools, materials, and techniques involved in the process, ensuring that your concrete slab is functional and aesthetically pleasing.
By the end of this guide, you will have a clear roadmap for pouring a concrete slab against a brick wall, allowing you to tackle this project confidently. So, let’s dive in and explore the world of concrete slabs!
Understanding Concrete Slabs

What is a Concrete Slab?
A concrete slab is a thick, flat piece of concrete that serves as a base for various structures. Common applications include:
- Foundations: Providing a stable base for buildings.
- Floors: Used in residential and commercial buildings.
- Patios and Driveways: Offering durable outdoor surfaces.
Concrete slabs can be designed to accommodate various loads and environmental conditions, making them versatile in construction.
Types of Concrete Slabs
There are several types of concrete slabs, each suited for different applications:
- Floating Slabs: These are not anchored to the ground and are often used in areas with unstable soil.
- Monolithic Slabs: Poured in a single pour, these slabs combine the footing and the slab into one unit, providing strength and stability.
- Reinforced Slabs: These include steel reinforcement to enhance strength and prevent cracking.
Understanding the type of slab you need is crucial for your project’s success.
Benefits of Using Concrete Slabs
Concrete slabs offer numerous advantages, including:
- Durability: Concrete is resistant to weather, pests, and wear, making it a long-lasting choice.
- Low Maintenance: Once installed, concrete slabs require minimal upkeep.
- Aesthetic Appeal: With various finishing options, concrete can be made to look attractive and fit any design style.
These benefits make concrete slabs a popular choice for many construction projects.
Preparing for the Project Of Concrete Slabs
Tools and Materials Needed
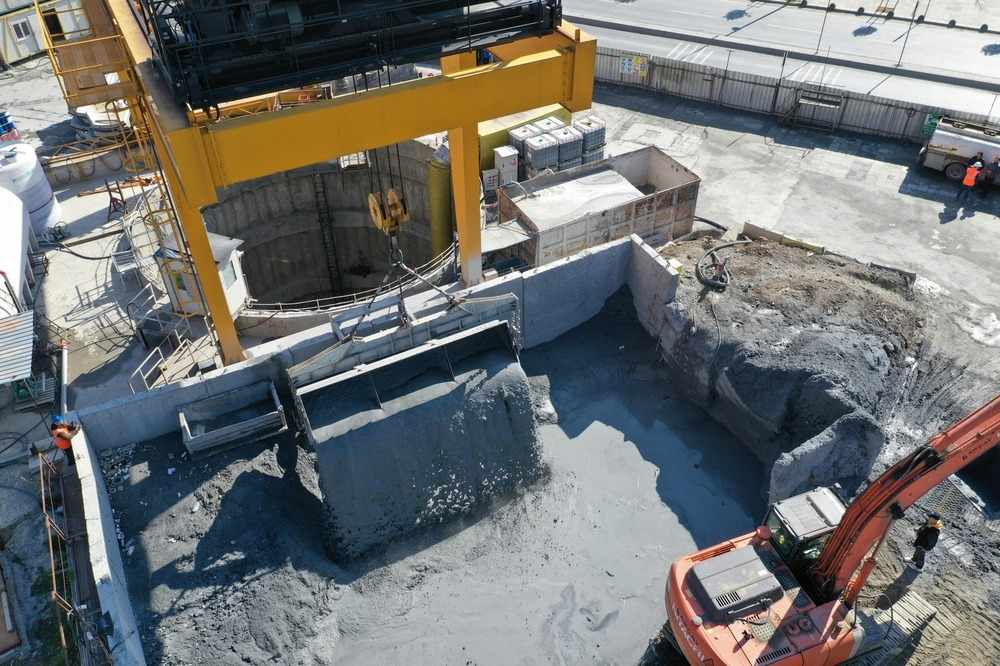
Before you start pouring your concrete slab, gathering the right tools and materials is essential. Here’s a list of what you’ll need:
Essential Tools
- Shovel: For digging and moving soil.
- Level: To ensure the surface is even.
- Concrete Mixer: For mixing the concrete.
- Screed: To level the concrete after pouring.
- Trowel: For finishing the surface.
Materials
- Concrete Mix: Choose a high-quality mix suitable for your project.
- Rebar: For reinforcement, especially in larger slabs.
- Gravel: To create a stable base and improve drainage.
Safety Precautions
Safety should always be a priority when working with concrete. Here are some essential safety precautions:
- Wear Protective Gear: Use gloves, goggles, and a dust mask to protect yourself from concrete dust and debris.
- Work in a Well-Ventilated Area: If mixing concrete indoors, ensure proper ventilation to avoid inhaling harmful fumes.
- Be Cautious with Heavy Materials: Use proper lifting techniques to avoid injury when handling heavy bags of concrete or equipment.
Site Assessment and Preparation
Before pouring your slab, assess the site thoroughly. Here’s how to prepare the area:
- Evaluate the Ground: Check for any soft spots or debris affecting the slab’s stability.
- Clear Debris: Remove any rocks, roots, or old concrete that could interfere with the new slab.
- Level the Ground: Use a shovel and level to ensure the ground is even, providing a solid foundation for your slab.
Planning the Concrete Slab
Calculating Dimensions
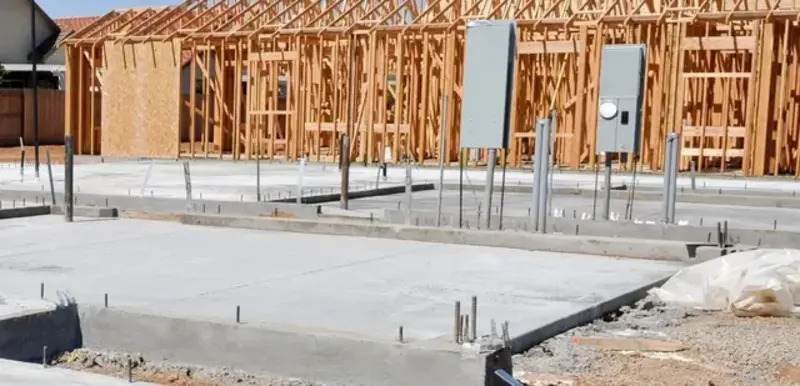
Accurate measurements are crucial for a successful concrete slab. Here’s how to measure and mark the area:
- Determine the Size: Decide on the dimensions of your slab based on its intended use.
- Mark the Area: Use stakes and string to outline the slab’s perimeter, ensuring it’s square and level.
Creating a Formwork
Formwork is essential for holding the concrete in place while it sets. Here’s a step-by-step guide to building formwork:
- Gather Materials: Use wood or metal boards to create the form.
- Construct the Frame: Assemble the boards to match the dimensions of your slab, securing them with stakes.
- Ensure Stability: Ensure the formwork is level and secure to prevent any shifting during the pour.
Understanding Drainage Needs
Proper drainage is vital to prevent water from pooling on your slab. Here’s how to incorporate drainage:
- Slope the Ground: Ensure the area around the slab slopes away from the brick wall to facilitate water runoff.
- Install Drainage Pipes: Consider adding drainage pipes to direct water away from the slab if necessary.
Pouring the Concrete Slab
Mixing Concrete Properly
Mixing concrete correctly is crucial for achieving the right consistency. Here’s how to do it:
- Follow the Instructions: Refer to the concrete mix package for specific mixing ratios.
- Use Clean Water: Ensure the water is clean and free from contaminants.
- Mix Thoroughly: Use a concrete mixer or a wheelbarrow to combine the dry mix and water until you achieve a uniform consistency.
Pouring Techniques
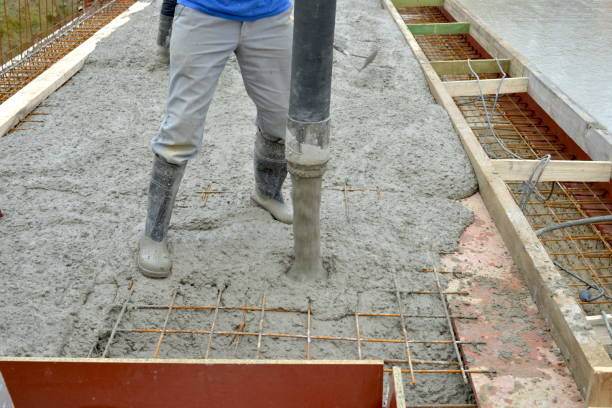
Pouring concrete against a brick wall requires careful technique. Follow these steps:
- Start from One End: Begin pouring at one end of the formwork and work your way to the other.
- Use a Screed: After pouring, use a screed to level the surface, ensuring it’s even and smooth.
- Fill Gaps: Pay special attention to gaps between the concrete and the brick wall, ensuring they are filled adequately.
Finishing Techniques
Finishing your concrete slab’s surface is essential for aesthetics and durability. Here’s how to do it:
- Use a Trowel: Smooth the surface with a trowel to eliminate imperfections.
- Add Texture: Create a textured finish using a broom or other tools if desired.
- Allow to Set: Let the concrete set for a few hours before applying sealants or coatings.
Curing and Maintenance Of Concrete Slabs
Importance of Curing Concrete
Curing is a critical step in the concrete pouring process. It involves maintaining moisture in the concrete to ensure proper strength development. Without adequate curing, the concrete may crack or weaken over time.
Curing Methods
There are several effective methods for curing concrete:
- Water Curing: Keep the surface moist by spraying it with water regularly.
- Covering with Wet Burlap: Lay wet burlap over the slab to retain moisture.
- Using Curing Compounds: Apply curing compounds that form a film over the surface to retain moisture.
Long-term Maintenance Tips
To ensure your concrete slab remains in good condition over time, consider these maintenance tips:
- Seal the Surface: Apply a concrete sealant to protect against moisture and stains.
- Regular Cleaning: Keep the surface clean by sweeping and washing it periodically.
- Inspect for Cracks: Regularly check for any cracks or damage and address them promptly.
Troubleshooting Common Issues OF Concrete Slabs
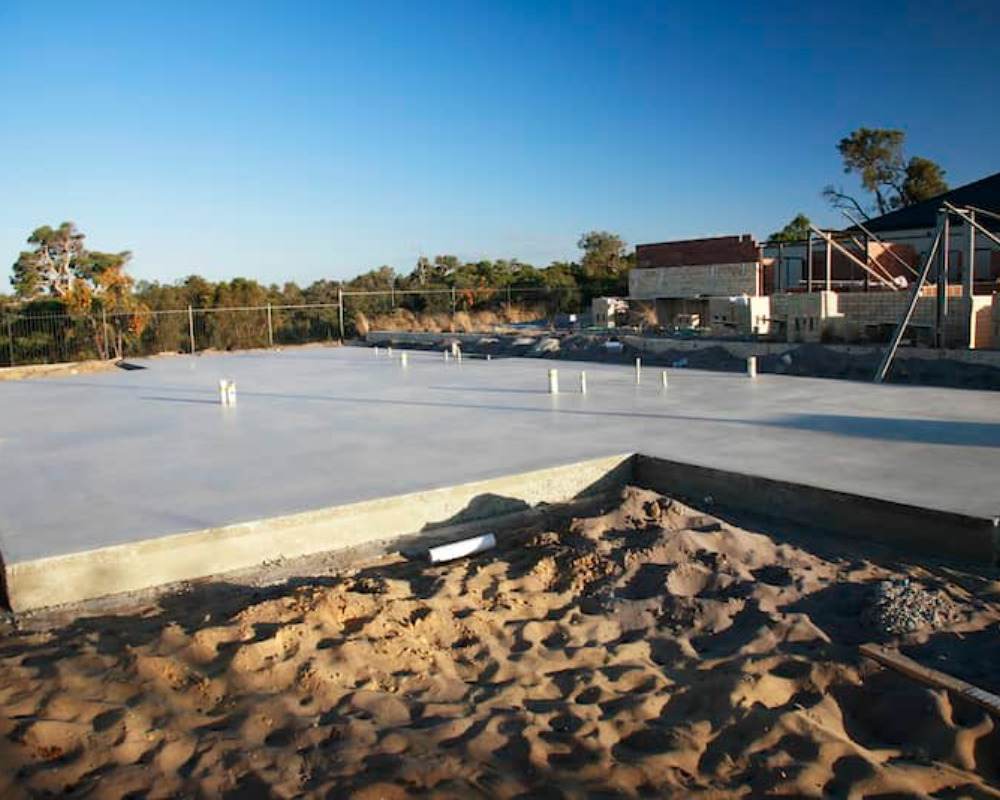
Common Problems When Pouring Concrete Slabs
Even with careful planning, issues can arise during the pouring process. Here are some common problems:
- Cracking: Often caused by rapid drying or improper curing.
- Uneven Surfaces: This can occur if the concrete needs to be leveled properly during pouring.
- Drainage Issues: Poor drainage can lead to water pooling on the slab.
Solutions to Address These Problems
Here are some tips to fix or prevent these issues:
- For Cracking: Ensure proper curing and consider using a curing compound to retain moisture.
- For Uneven Surfaces: Use a screed and level the concrete immediately after pouring.
- For Drainage Issues: Ensure proper grading and consider installing drainage solutions if necessary.
Final Thoughts on Best Practices: Always adhere to best practices during installation, and don’t hesitate to seek help. Concrete work can be challenging, but you can achieve excellent results with the right approach.
FAQ Section
What is the best time of year to pour concrete?
The best time to pour concrete is during mild weather, typically in spring or fall. Avoid extreme temperatures, as they can affect the curing process.
How long does it take for concrete to cure?
Concrete generally takes about 28 days to cure fully, but it can be

