Taking off window screens with tabs is a straightforward process that can enhance your windows’ functionality and appearance. By understanding the purpose of window screens, you gain insight into why maintaining them is essential. Removing these screens includes improved airflow, easier cleaning, and better visibility.
Equipping yourself with the right tools makes this job even simpler. Following our step-by-step guide ensures that you remove your screens safely and efficiently without causing damage. Remember to clean and maintain your screens regularly to prolong their lifespan and keep your home looking its best.
Alternative removal techniques are also available if traditional methods don’t work for you or if you face stubborn screens. With a little patience and care, you’ll find that removing window screens becomes an easy task in no time.
Understanding Window Screens and Their Purpose
Window screens are a home essential that often goes unnoticed. Their primary function is keeping pesky insects from invading your living space while allowing fresh air and light to flow.
These screens can complement almost any window type made from various materials, like fiberglass or aluminum. They act as a barrier against dust, pollen, and debris too.
Beyond their protective role, window screens enhance ventilation without compromising comfort. On warm days, when you want the windows open but worry about bugs buzzing around, they’re invaluable.
Some homeowners appreciate the aesthetic appeal of well-maintained screens; they frame the view without obstructing it. Understanding how these simple yet effective tools work can help you appreciate their value even more!
The Benefits of Removing Window Screens
Removing window screens offers several advantages that can enhance your home environment. One key benefit is improved visibility. Without the screens, you can enjoy unobstructed views of your surroundings, allowing natural light to fill your space more effectively.
Another advantage is better airflow. Screens can sometimes restrict the flow of fresh air into a room. Taking them off creates an opportunity for enhanced ventilation, leading to a more comfortable atmosphere on warm days.
Removing screens makes it easier to clean windows thoroughly. Dust and grime accumulate on both sides of glass panes over time, but without screens in place, accessing these areas becomes much simpler and quicker.
Seasonal changes often mean different needs for managing pests or sunlight exposure. Taking down screen panels allows greater flexibility as seasons shift and helps tailor your indoor conditions accordingly.
Tools Needed to Remove Window Screens with Tabs
Removing window screens with tabs requires just a few simple tools. Having the right equipment makes the task easier and more efficient.
Start with a flathead screwdriver. This tool is handy for gently prying apart any tight spots, especially if the screen is stuck.
Next, grab a pair of gloves. They protect your hands from sharp edges or dirt while handling the screens.
A vacuum cleaner can be useful, too, particularly for cleaning debris around the window area before you begin removing the screen.
A soft cloth or rag is used to wipe down both sides of the screen after removal. This ensures it’s ready for cleaning without leaving scratches behind.
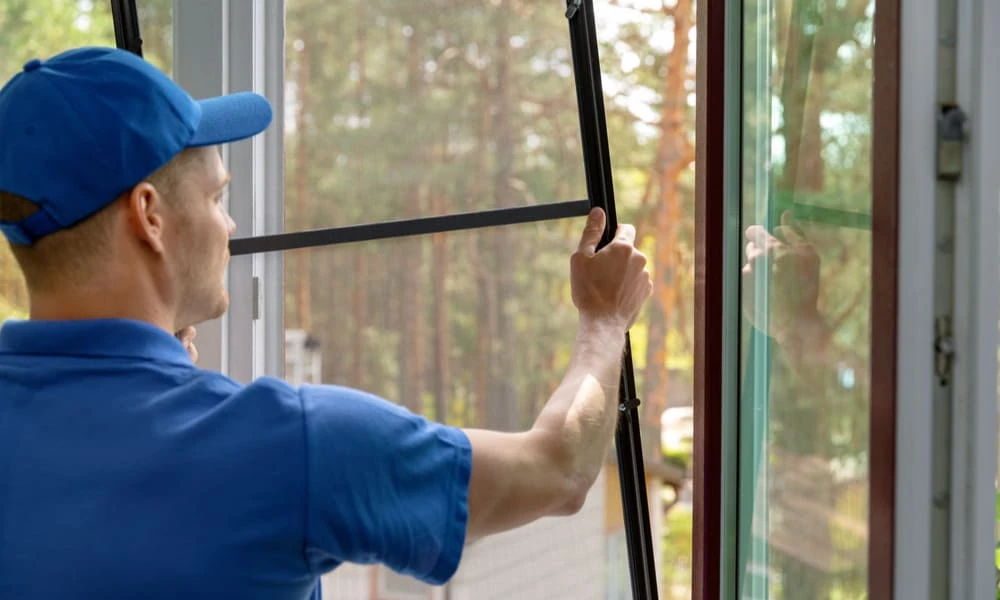
Step-by-Step Guide on How to Take Off Window Screens with Tabs
Start by ensuring the area around your window is clear. Having enough space to work comfortably will make it easier for you.
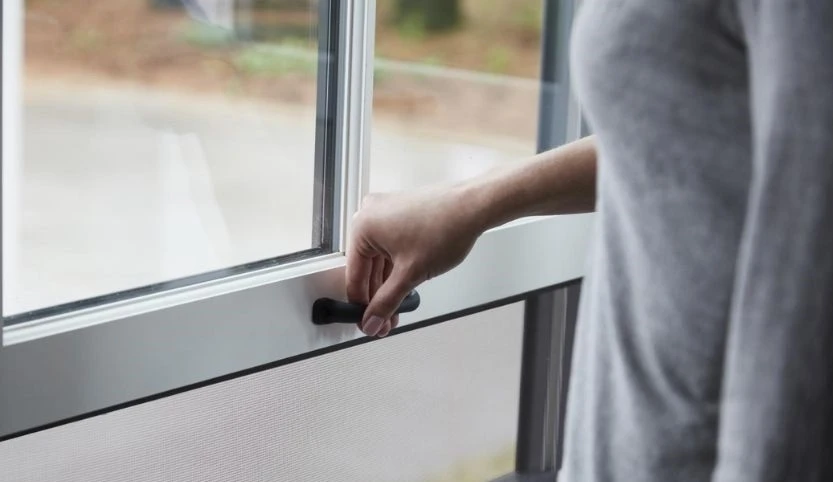
Next, locate the tabs that hold your screen in place. These tabs might slide or lift depending on your window design.
Grasp the tab firmly and pull it towards you while gently pushing the screen inward. It would help if you wiggled it to free any stubborn spots.
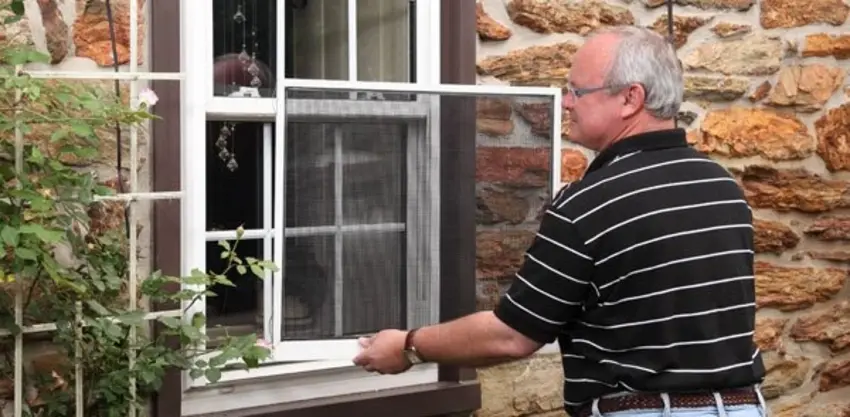
Once one side is loose, repeat this process with the opposite tab. Keep applying gentle pressure until both sides are released from their frames.
Carefully tilt the screen at an angle as you remove it completely from the window frame. Place it down softly to avoid bending or damaging it.
Tips for Cleaning and Maintaining Window Screens
Cleaning window screens doesn’t have to be a chore. Start by removing them, as this allows easier access for thorough cleaning.
The best way to remove loose dirt and dust is to use a soft brush or a vacuum attachment. A gentle approach is key to avoid damaging the mesh.
For deeper cleaning, mix warm water with mild detergent. Dip a sponge into the solution and wipe down both sides of the screen. Rinse with clean water afterward to eliminate any soap residue.
If your screens are particularly grimy, soak them in soapy water for about 15 minutes before scrubbing gently.
Ensure they dry completely before reinstallation; moisture can lead to mold and mildew buildup.
Alternative Methods for Removing Window Screens
If you struggle with traditional methods, several alternative techniques can help. One option is using a flathead screwdriver for stubborn screens. Gently insert the blade under the tab and pry it up carefully without damaging the frame.
Another method involves utilizing a pair of pliers to grip the tabs firmly. This provides better leverage, especially if your screen has been painted over or stuck in place due to age.
For those who prefer a more hands-off approach, consider applying a lubricant around the screen edges. A silicone spray can ease friction and make removal smoother.