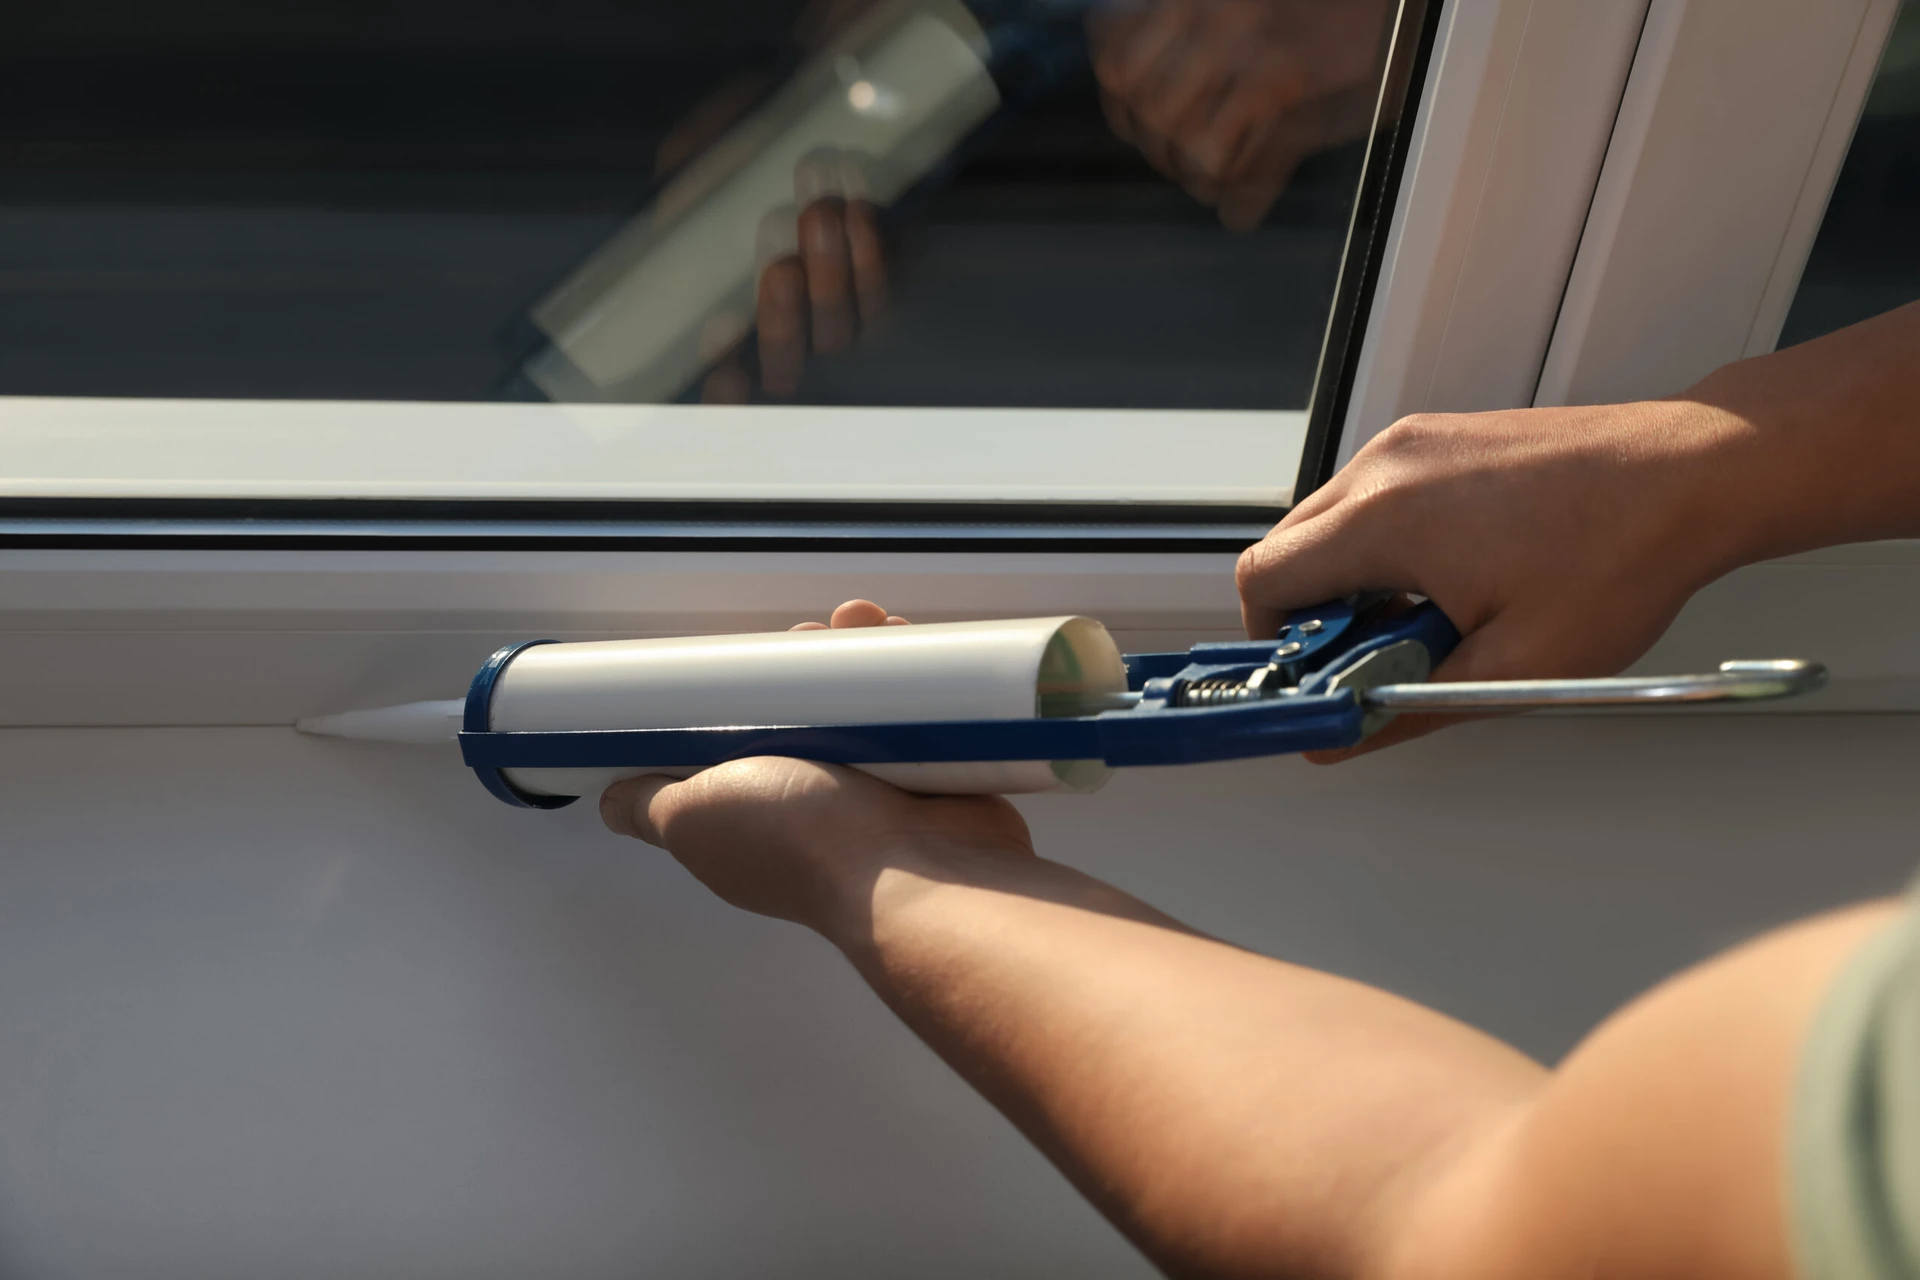
Resealing windows can be a rewarding DIY project, offering both practical benefits and the satisfaction of enhancing your home. If you’re motivated by energy savings or want to improve aesthetics, understanding how to seal your windows properly equips you with valuable skills.
This task saves you money while ensuring your living space remains comfortable throughout the year. With the right tools and techniques, many homeowners find they can achieve professional-quality results. Recognizing when a job is beyond your expertise is crucial; don’t hesitate to ask for help.
Mastering window resealing enhances your home’s efficiency and gives you confidence in tackling future home improvement projects.
Reasons for resealing windows

Windows are constantly exposed to the elements. Over time, seals can deteriorate due to weather changes, UV rays, and general wear and tear.
Drafts are a common issue with aging windows. Resealing helps eliminate those uncomfortable breezes that sneak into your home.
Energy efficiency is another key reason. Poorly sealed windows allow heated or cooled air to escape, leading to higher energy bills. A proper seal keeps your indoor climate stable.
Moisture intrusion can lead to mold growth and structural damage. Resealing prevents water from seeping through gaps, protecting your health and property.
Aesthetic concerns shouldn’t be overlooked, either. Cracked or peeling caulk not only looks unappealing but also signals a problem beneath the surface that needs attention. Regular resealing maintains the integrity of your home’s appearance and functionality.
Tools and materials needed
To reseal windows effectively, you’ll need a few essential tools. First, grab a caulking gun. This handy device allows for easy application of sealant.
Next, ensure you have high-quality window caulk on hand. Silicone—or latex-based options work well in most situations.
A utility knife is also handy. It helps remove old caulk without damaging the frame or glass.
Remember to clean supplies! A rag and some rubbing alcohol will keep surfaces free from dust and debris before sealing.
For those tricky spots, having painter’s tape can make your job easier by creating clean lines during application.
Safety goggles protect your eyes while working with sharp tools and chemicals.
Step-by-step guide to resealing windows

Start by gathering your tools. You’ll need a utility knife, caulk gun, and weatherproof sealant. Ensure you have a putty knife for removing old seals.
Next, inspect the window frames closely. Look for gaps or cracks where air might escape. If you find any areas of concern, it’s time to act.
Carefully use the utility knife to remove the old caulking. Be gentle to avoid damaging the frame or glass. Once cleaned, wipe down the surface with a cloth for better adhesion.
Load your caulk into the gun and apply an even bead along the seams of the window frame. Aim for steady pressure as you move along each edge.
After applying, smooth out the sealant with your finger or a putty knife for an even finish. This will look nicer and ensure a tight seal against moisture and drafts.
Tips and tricks for a successful seal
Preparation is key to a successful window seal. Start by cleaning the area thoroughly. Remove any old caulking or debris that could interfere with adhesion.
Choose high-quality sealant designed for windows. Silicone-based products offer flexibility and durability, making them ideal for sealing gaps.
Apply even pressure when dispensing the sealant to ensure smooth lines. A caulk gun allows for precise application, which can prevent messy results.
Create a tool kit that is ready at hand. A putty knife or your finger will help you shape and smooth out the sealant as needed.
Benefits of DIY window sealing
One significant advantage is cost savings. Hiring professionals can add up quickly, but doing it yourself often requires a small investment in materials.
DIY window sealing also provides flexibility. You choose when to start and how much time to dedicate, fitting the work into your schedule without pressure.
Another benefit is that it enhances your skills. With each project, you’ll learn more about home maintenance—skills that could serve you well in future repairs or upgrades.
When to call a professional
Sometimes, more than the DIY approach is needed. If you notice significant damage around your windows or if they are old and need extensive work, call in an expert.
Complex issues like rot or mold can compromise the integrity of your home. These problems typically require specialized knowledge and skills that go beyond basic resealing.
If you need help choosing the type of sealant to use or applying it correctly, getting professional help ensures a proper job. Mistakes can lead to air leaks or water infiltration.
If safety is a concern—like working on high-rise buildings—it’s wise to leave it to trained professionals with the right equipment and experience for such tasks.


